Pootler’s Blog Hop, Dashing Deer card

Yay, it’s time for another Pootler’s Blog Hop! We hop each time there is a new catalogue launch. So – this hop is for the new Autumn/Winter catalogue and each project on the hop uses items from it. We’d love it if you could take time to hop around every blog. Yes, I know there’s a lot of them, but I promise that the projects will be awesome!

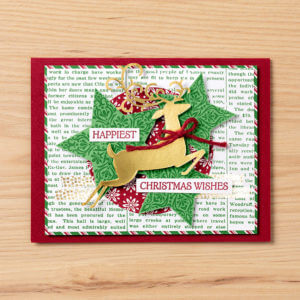
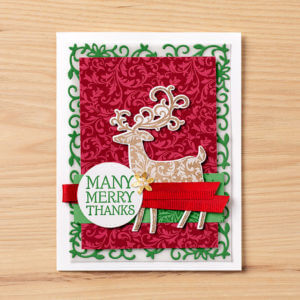
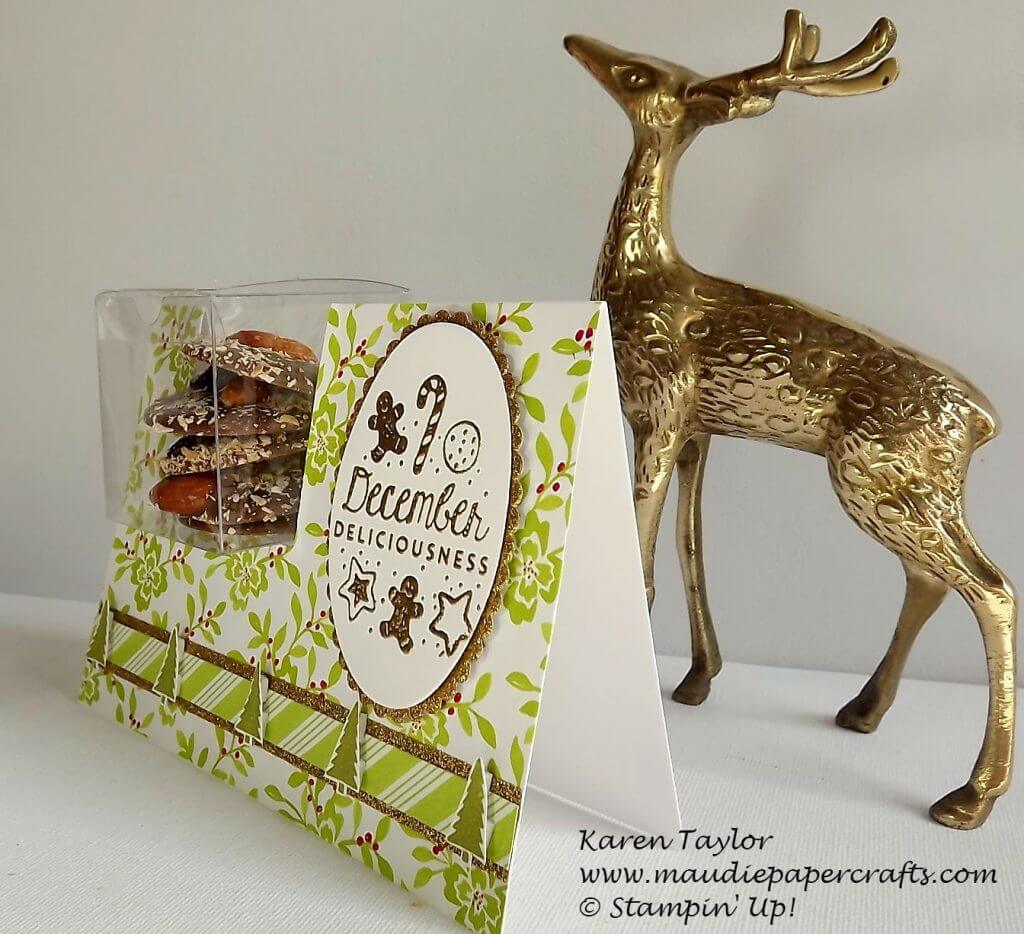
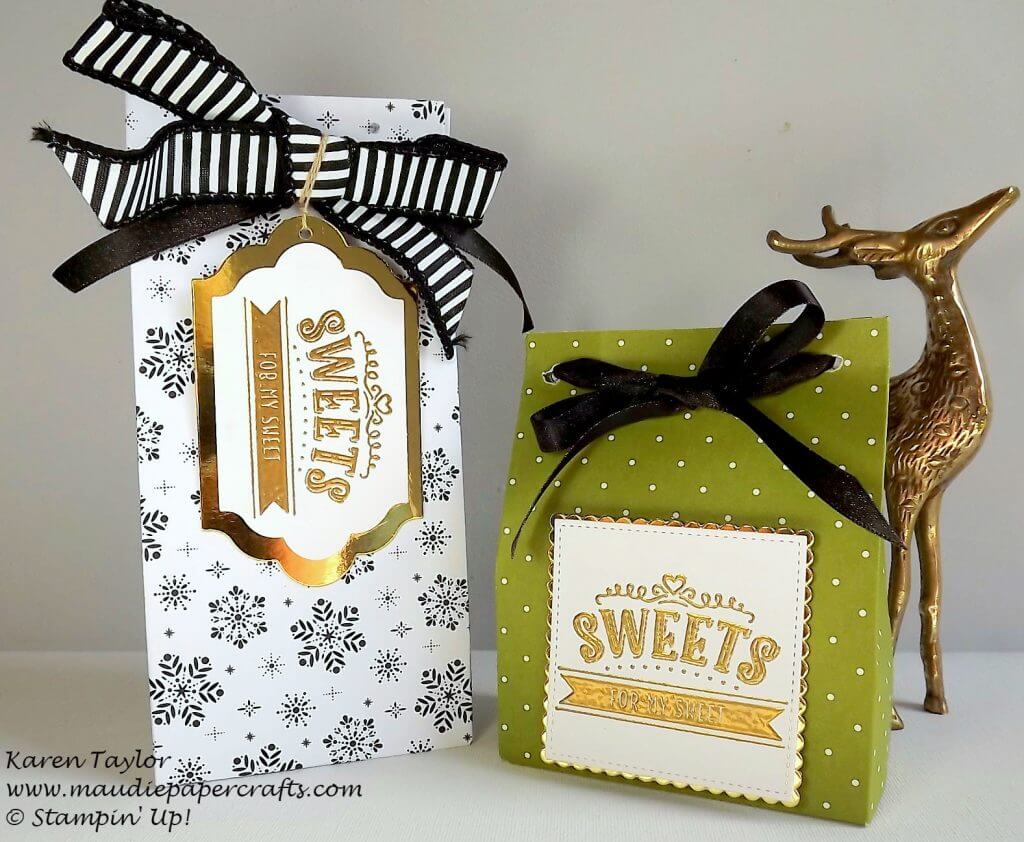
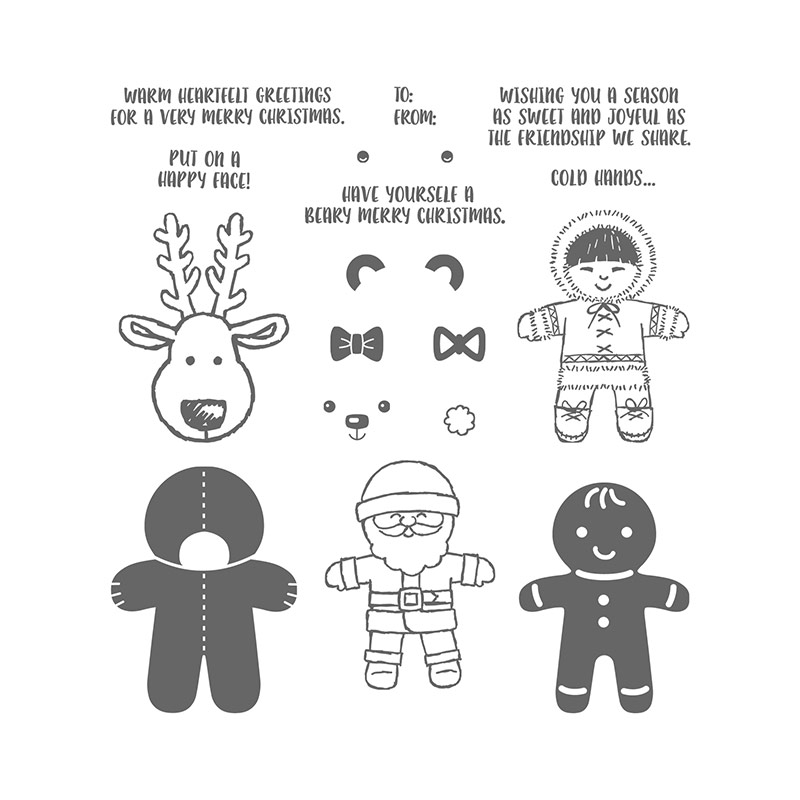
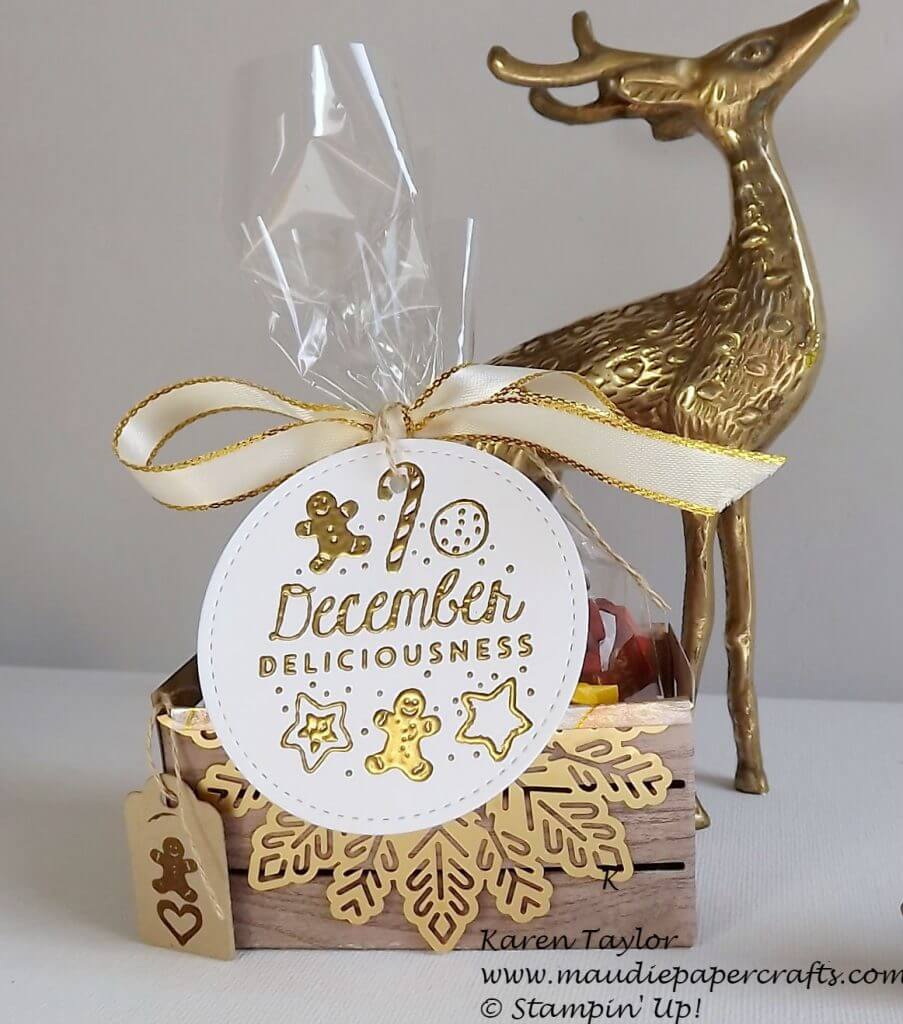
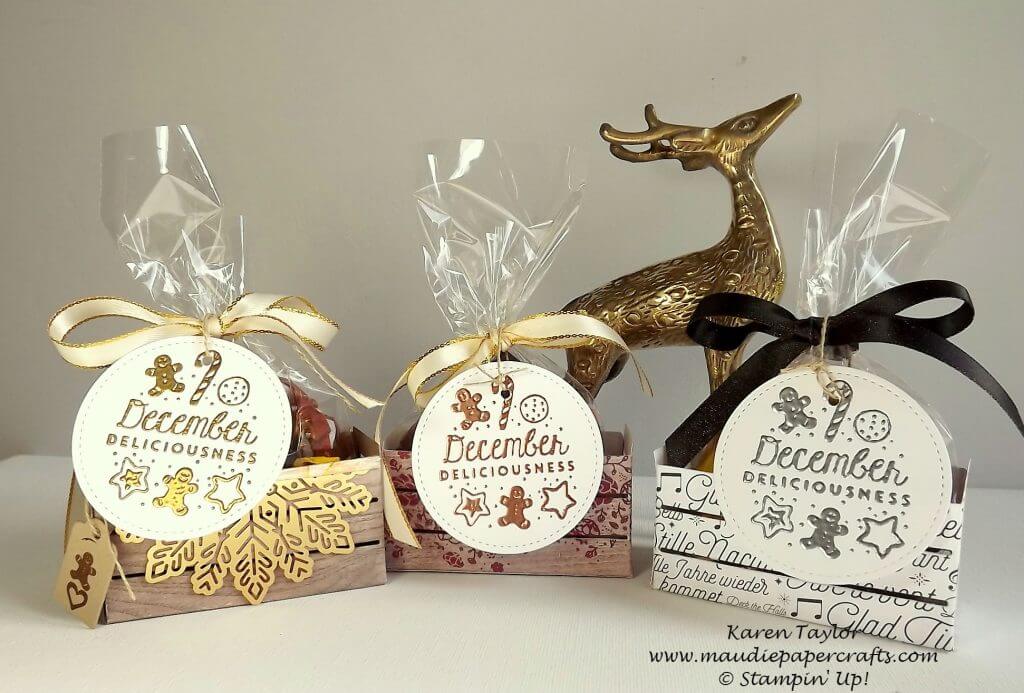
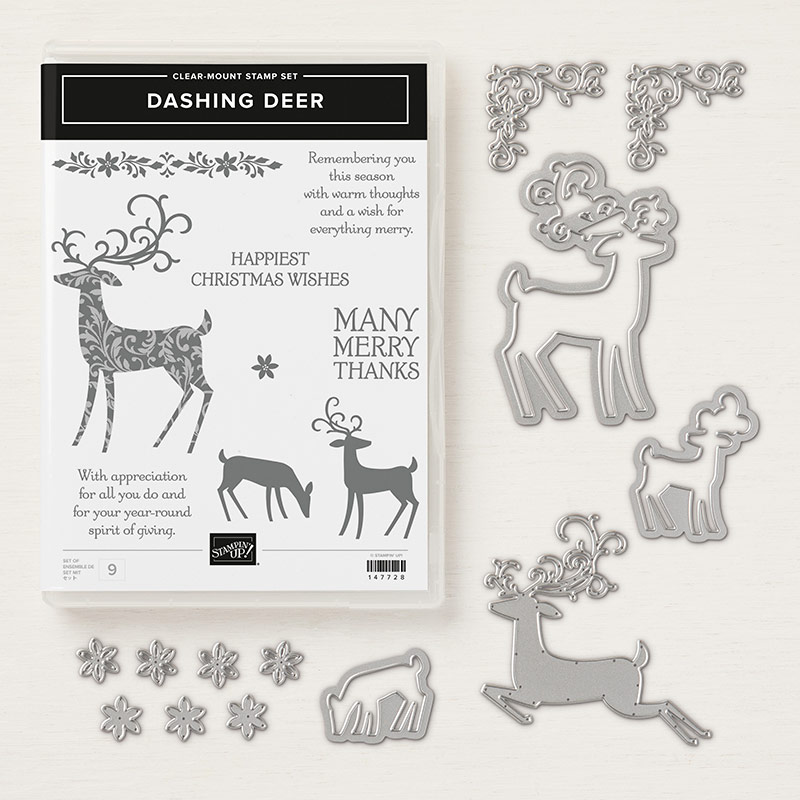
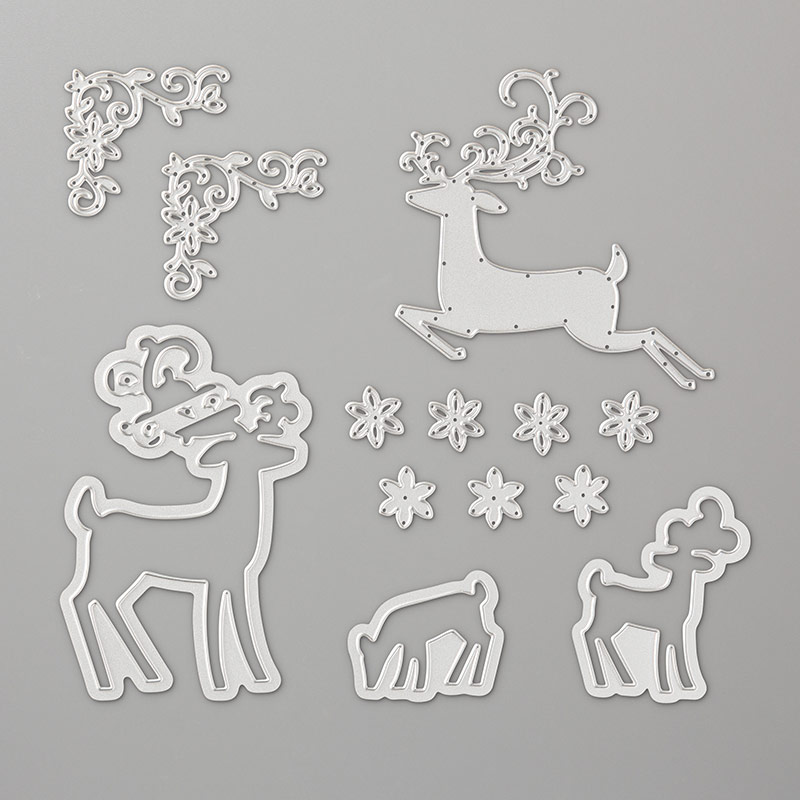
My card uses the wonderful Dashing Deer bundle:

Stampin' Up! Dashing Deer

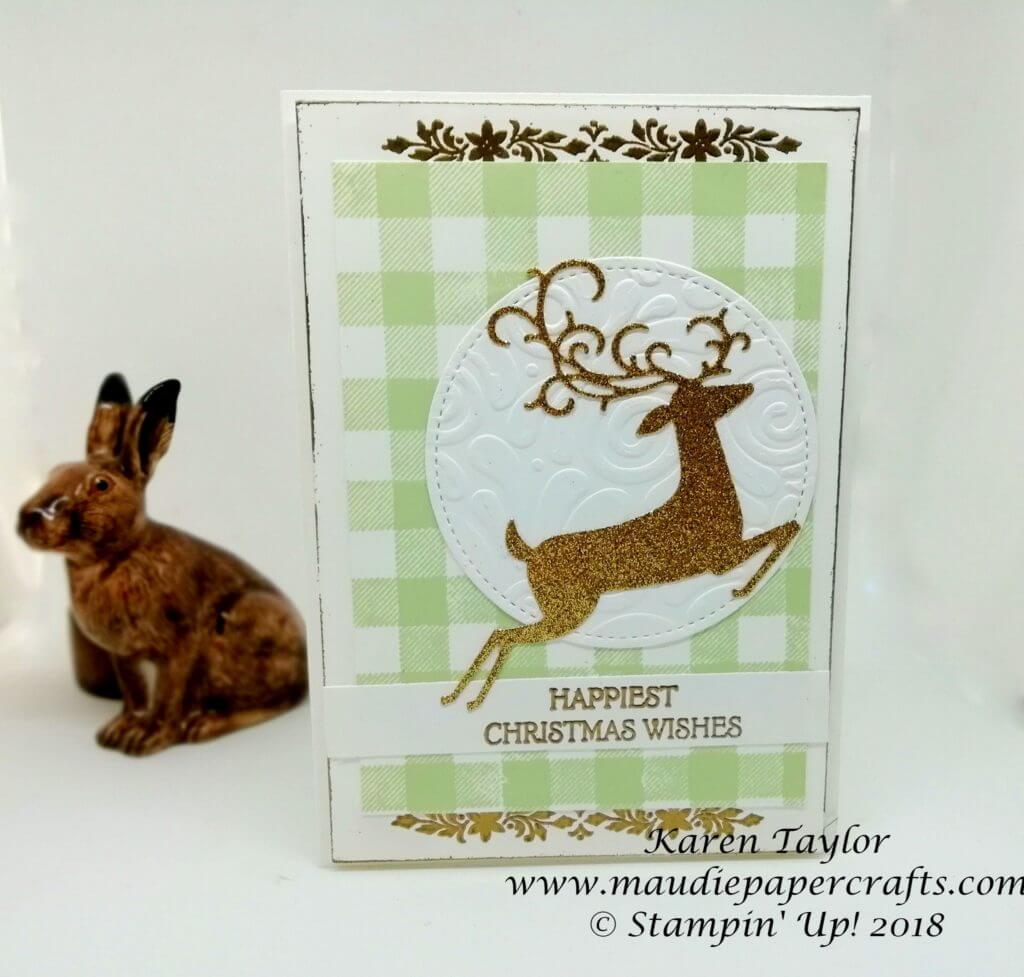
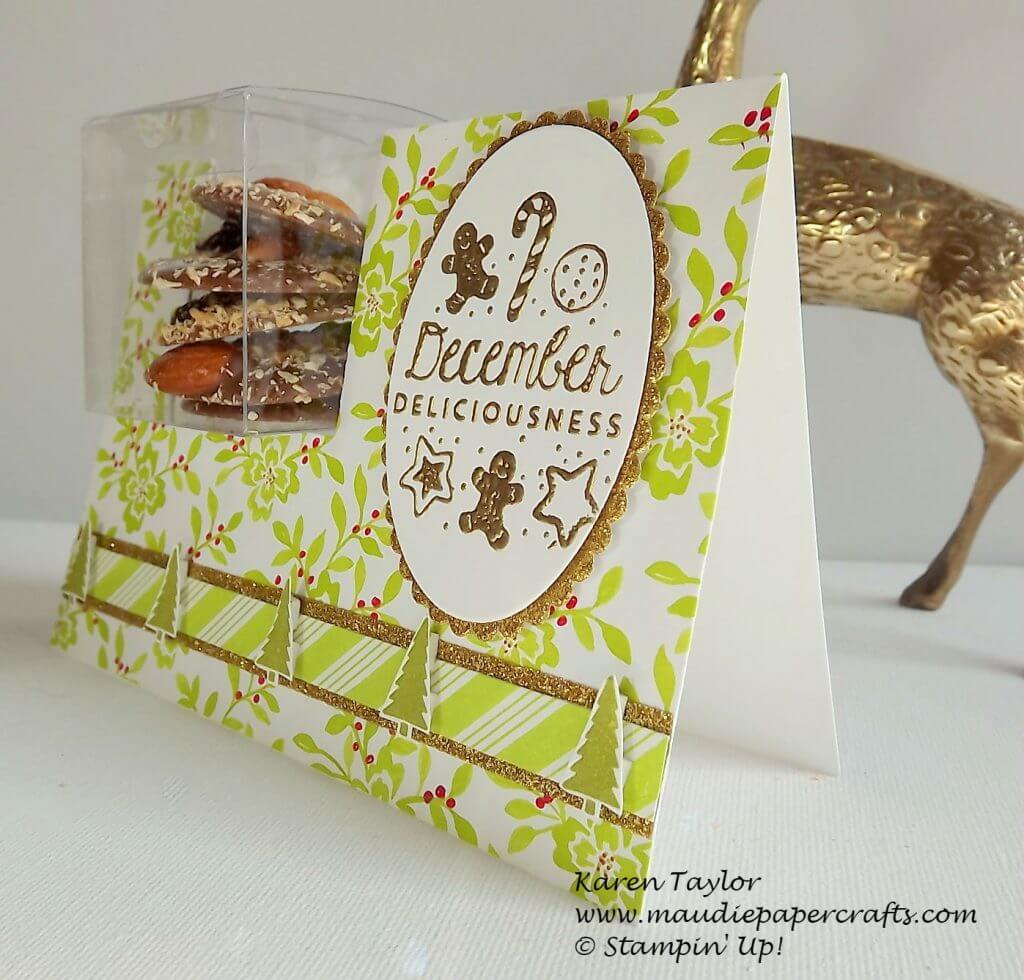
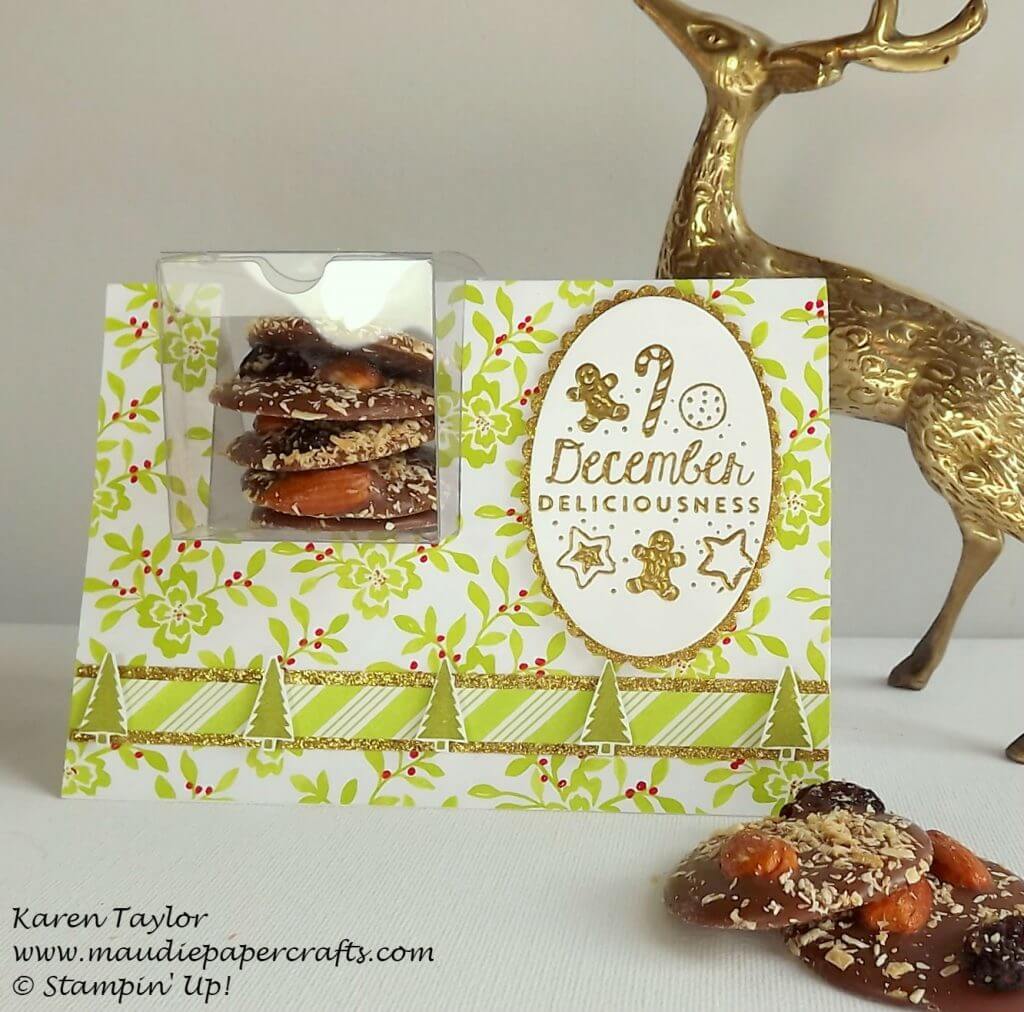
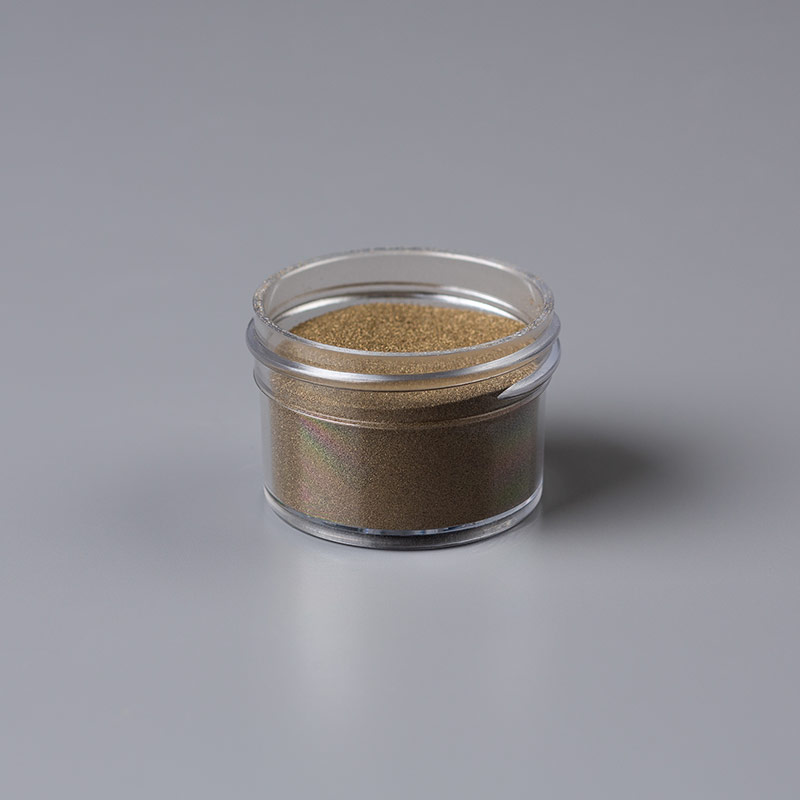
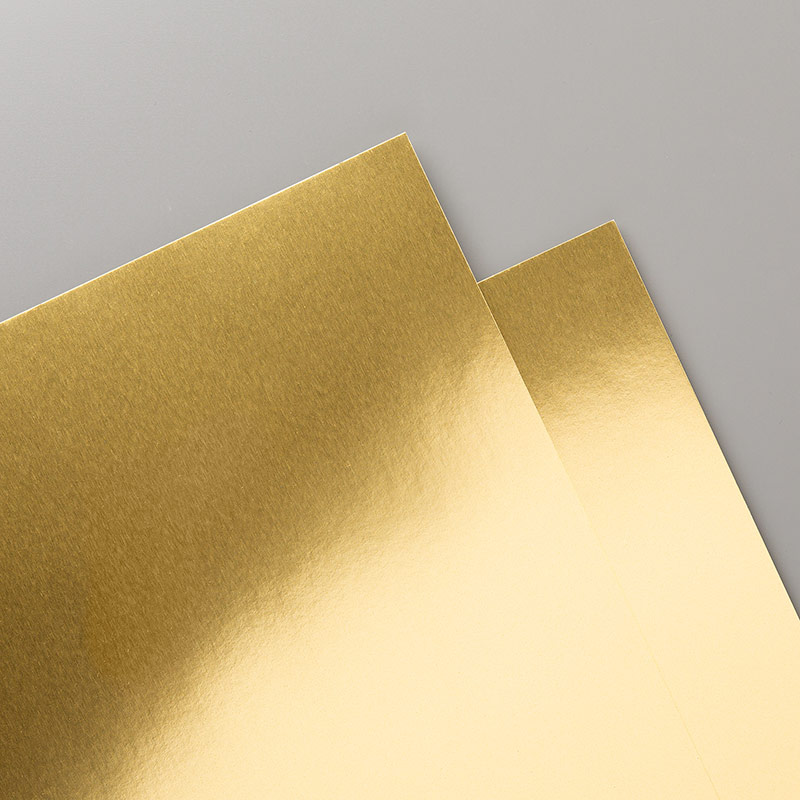
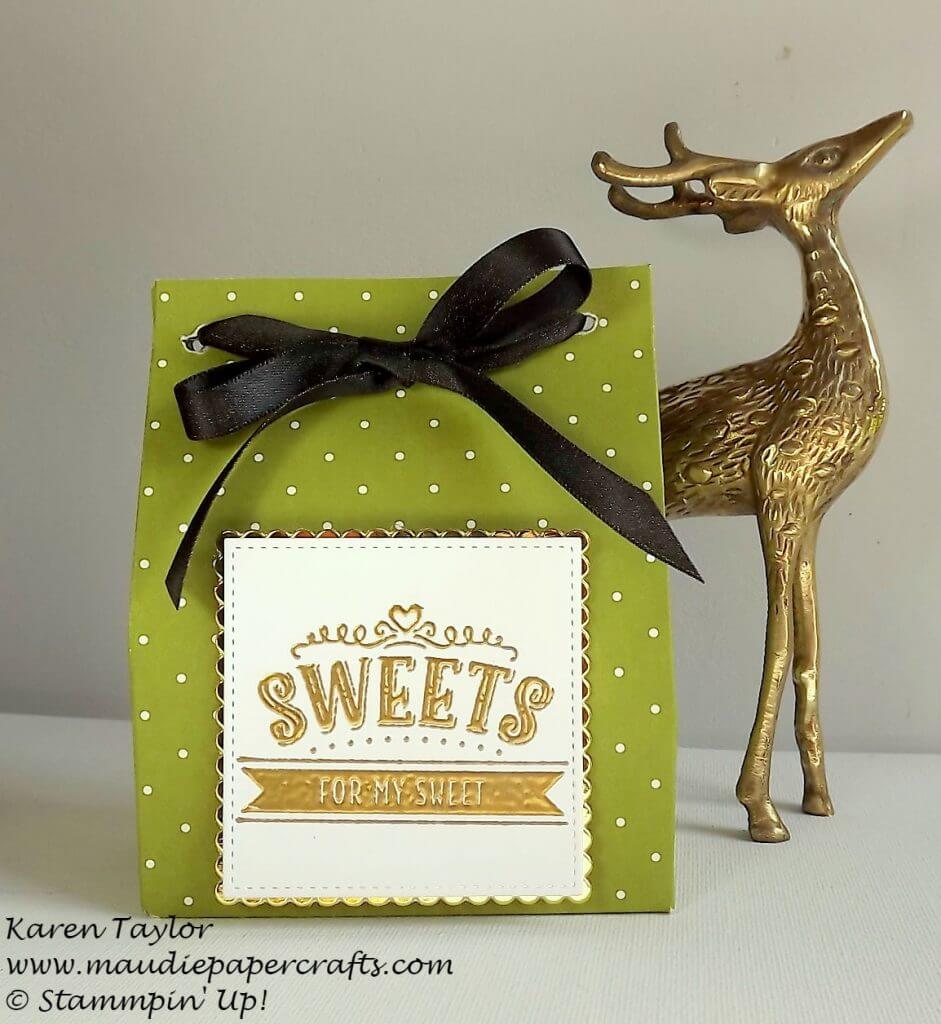
I’ve kind of CASED the catalogue but changed a few things too. All the gold elements are from the bundle – I heat embossed the gold sentiment and floral wreath design and die cut the deer. I also added some gold embossing around the edge of the mat in the background.

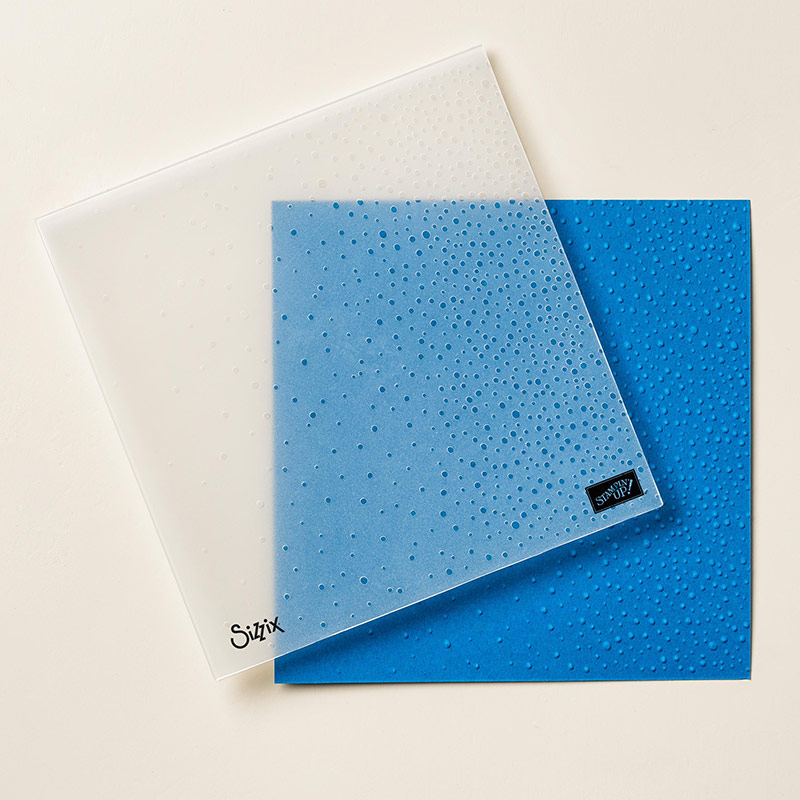
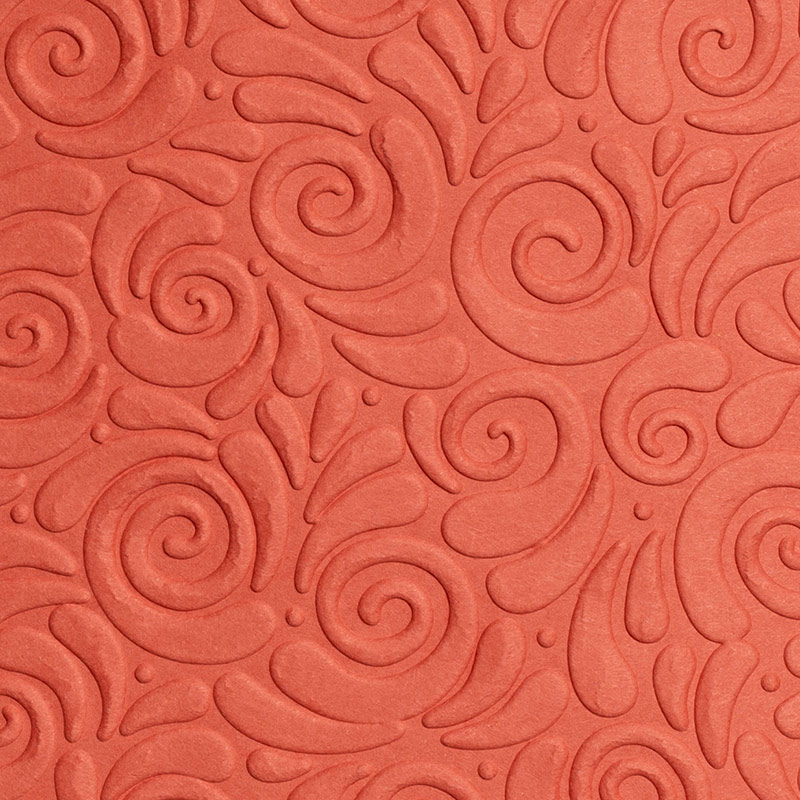
The circle that the deer is sitting on I embossed using the Swirls and Curls embossing folder – love it, and it’s not just for Christmas!

Stampin' Up! Dashing Deer

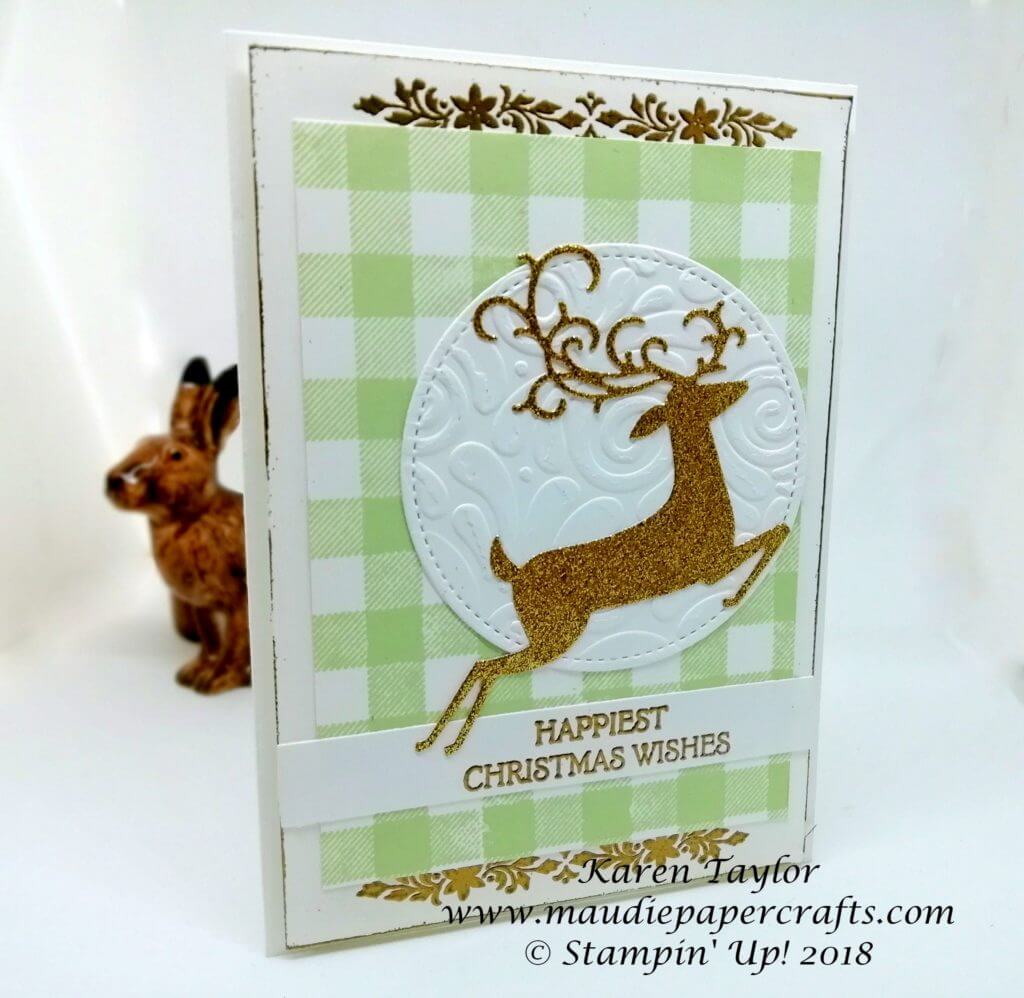
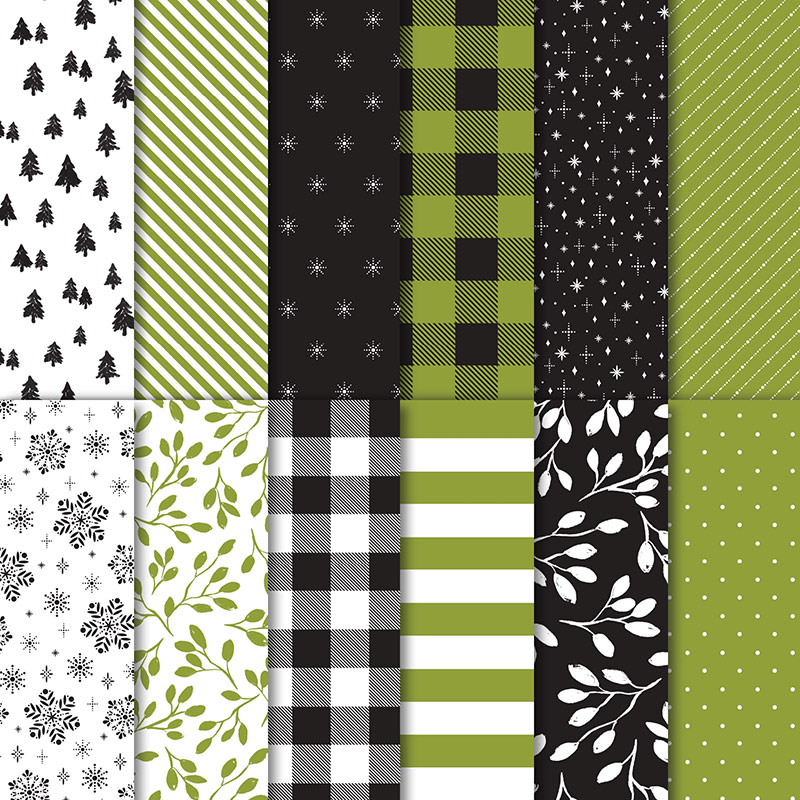
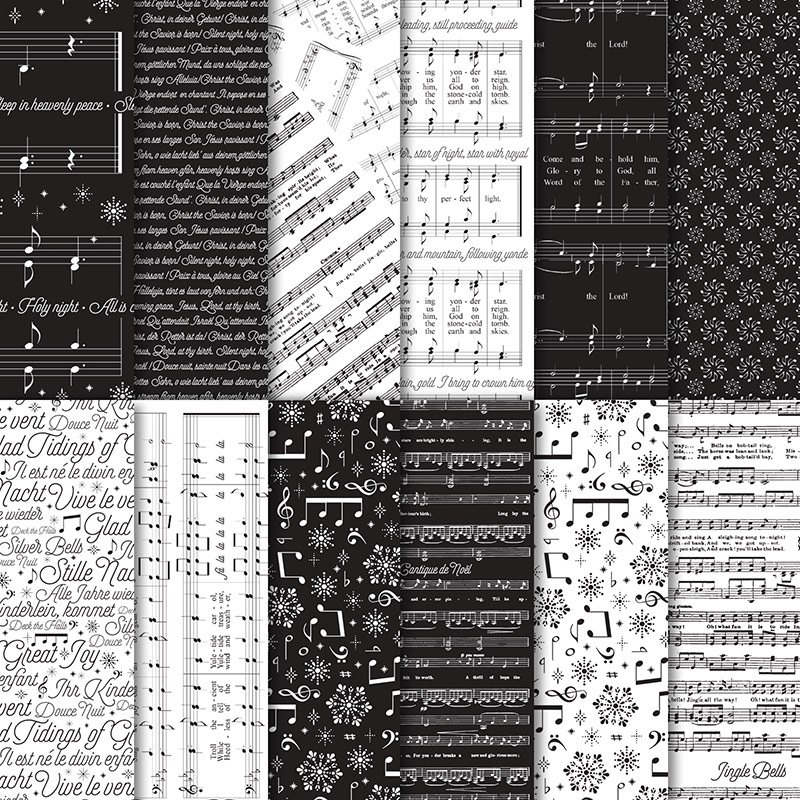
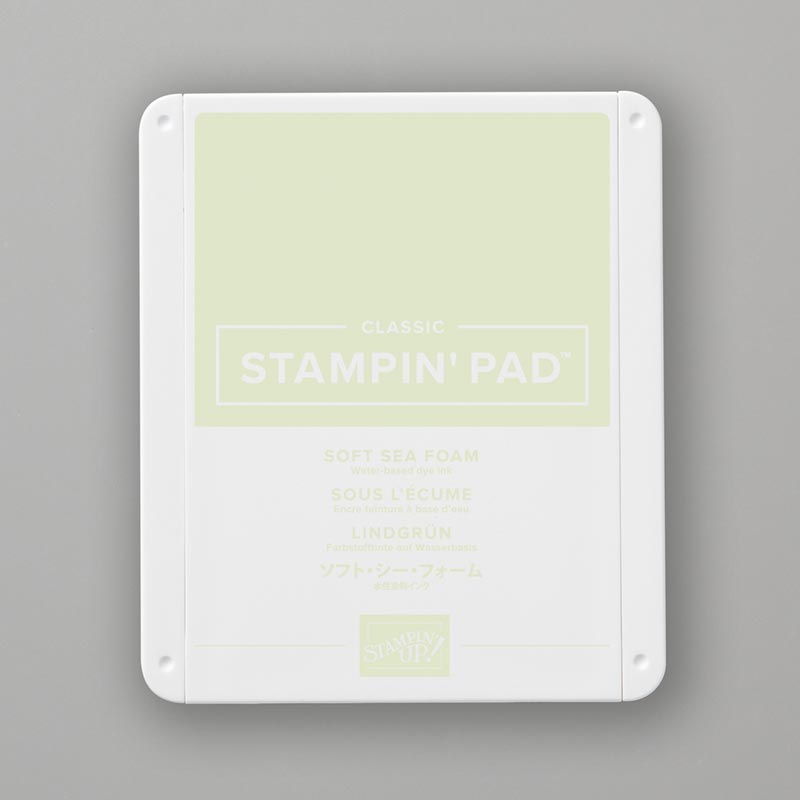
And last but certainly not least, the checkered background is the Buffalo Check background stamp. I used Soft Sea Foam ink, not immediately Christmassy, but it’s a colour I love and had to use.

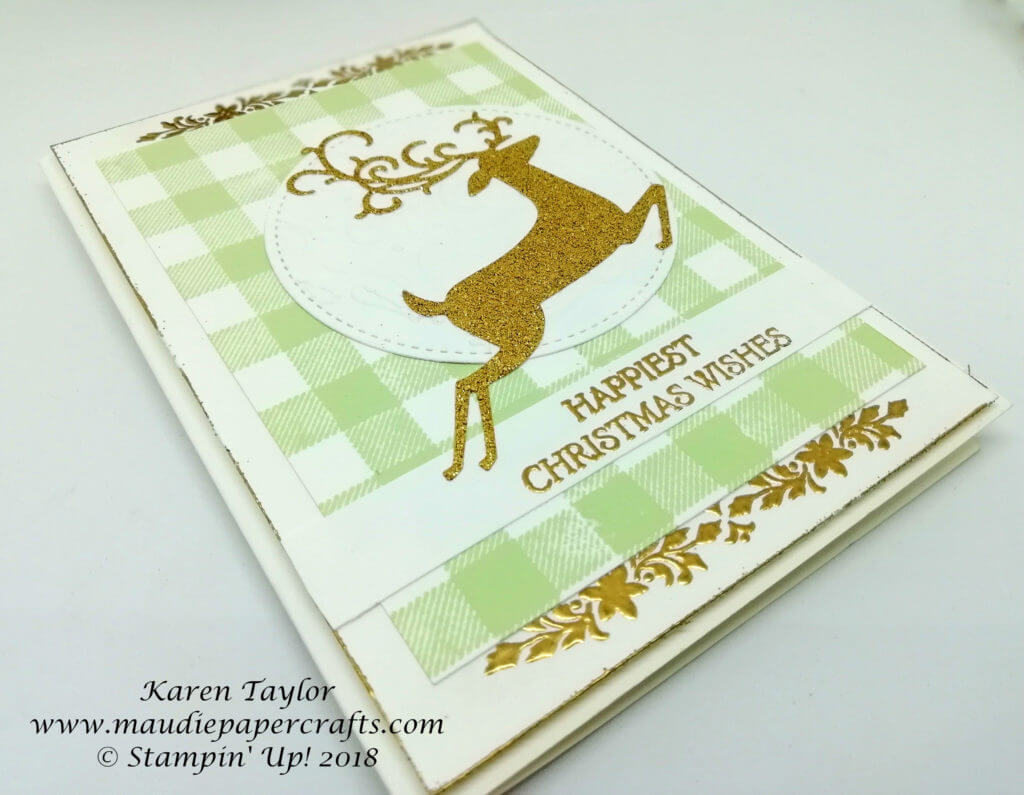
Here’s one last close up look:

Stampin' Up! Dashing Deer card

This is a beautiful bundle, and one I plan to use a lot this year so look out for more cards and projects using it from me.

Here are the other Pootlers who are hopping:


Table built using Product Table Builder by The Crafty Owl – Independent Stampin’ Up! Demonstrator.

Autumn/Winter catalogue launch from Stampin’ Up!

Yippeeee, it’s here! The new Autumn/Winter catalogue is now available to everyone. Click the above link to see the pdf, or over there in the side bar.

If you’d like to see a real copy (in English) and you don’t already have a demonstrator and live in the UK, France, the Netherlands, Germany or Austria please get in touch and I’ll send you one.

There are lots of goodies in the catalogue. Including a new pick up tool.

Here’s the video Stampin’ Up! made about it – it’s so useful!!

Back soon with more projects using stuffs from the new catalogue!


Dashing Along DSP promotion from Stampin’ Up! earn it free!

I have some exciting news for you! From 1 – 30 September if you host a party, or place an order for £200/€275 or more you’ll earn the fabulous Dashing Along DSP FREE! That’s on top of your hostess rewards.

What a great offer, just in time for you to get making your Christmas cards!

If you’d like any more information please contact me. Don’t forget that the new Autumn/Winter catalogue goes live on September 5.

If you live in the UK, France, the Netherlands, Germany or Austria, you don’t already have a demo, and you’d like an English catalogue please let me know and I’ll get one in the post to you.

Here are a couple of cards that Stampin’ Up! made with the Dashing Along DSP and great new Dashing Deer bundle. Look out for a post from me about that bundle on Saturday!

Stampin’ Up! Hearts Come Home Christmas card version 2

Stampin' Up! Hearts Come Home card with Maudiepapercrafts

So here it is, my last Christmas card this year. Unless I change my mind and make more of course, but that is unlikely.

Like my last post, these cards also use the Hearts Come Home stamp set, but this time I’ve teamed it with the Hometown Greeting edgelits. Aren’t those egdelits wonderful? Love them.

I used all three of the detailed dies for these cards, and layered them up. They are so cleverly done, with the top layer having a little gap so that the church spire from the next row down can fit in.

Stampin' Up! Hearts Come Home card with Maudiepapercrafts

For the sky I started with Pool Party card, then sponged some Dapper Denim on to it. It’s not completely smooth which gives it some dimension and it looks like a snowy sky I think.

You can see that I coloured the trees on one of the cards, and just added some Wink of Stella on the other.

Stampin' Up! Hearts Come Home card with Maudiepapercrafts

What took the most time when making these cards was popping out all the little bits from the die cuts!

What’s coming next? I don’t know, you’ll have to come back and see.


Table built using Product Table Builder by The Crafty Owl – Independent Stampin’ Up! Demonstrator.

Stampin’ Up! Hearts Come Home Christmas card

Stampin' Up! Hearts Come Home card from Maudiepapercrafts

This is the last but one Christmas card that I have to show you – if you haven’t made yours by now then you’re really leaving it til the last minute!

These cards use the Hearts Come Home stamp set. It’s available as a bundle with the Hometown Greetings Edgelits dies – buy the bundle and get 10% discount. See my next post for the Edgelits.

This is a simple card that looks great nonetheless. I die cut a circle from the Stiched Shape Framelits set and stamped in a house and trees from the stamp set. Not forgetting Santa of course!

Stampin' Up! Hearts Come Home card from Maudiepapercrafts

Then I added a silver or copper circle around it and put that on Whisper White mat that I had embossed using the Softly Falling embossing folder.

Add a heat embossed sentiment and you’re done!

Stampin' Up! Hearts Come Home card from Maudiepapercrafts

A little tip regarding the ink pads. My Real Red ink pad has always been so juicy that I’ve rarely used it. Well, I got fed up with that, what’s the point of having it and not using it? So, I ran the open pad across my grid paper to soak up some of the ink, and now it works like a dream!

So, if your ink pads seem a little juicy – if the bubble when you use them – try getting rid of some of the ink.

My next card also uses the Hearts Come Home stamp set with the matching edgelits.


Table built using Product Table Builder by The Crafty Owl – Independent Stampin’ Up! Demonstrator.


Stampin’ Up! Christmas card using Lovely as a Tree eclipse technique

Stampin' Up! Lovely as a Tree eclipse Christmas card from Maudiepapercrafts

I wanted to make a Christmas card that used trees, and the only set I have that has trees is Lovely as a Tree. Then I wanted to use my lovely new Large Letters Framelits, and Softly Falling embossing folder. I had it all planned in my head, then found that Jan Clothier – a demo in New Zealand – had made the exact card that I had planned already! I guess that does happen sometimes.

This is such a striking card that I have made several to give to family members. You do need to make it in a certain way to get it all to work properly.

Stampin' Up! Lovely as a Tree eclipse Christmas card from Maudiepapercrafts

The first step is to blend in your snow banks, and then stamp your trees. I stamped mine so that that part of them would be cut out with the framelits.

Then add the Noel word from you Large Letter Framelits and die cut it out, making sure to keep the middle bit from the O.

Then, use the Softly Falling embossing folder to emboss the snow. Put the middle bit from the O in somewhere so that it fits with everything else.

Then you can add back your letters to the card. I used a Real Red background to contrast against the white.

Stampin' Up! Lovely as a Tree eclipse Christmas card from Maudiepapercrafts

The last step was to add some glitter to the trees which doesn’t show up well in the photos, but does make a difference.

Hope you like it!

This is what I used to make the card:


Table built using Product Table Builder by The Crafty Owl – Independent Stampin’ Up! Demonstrator.

Pootler’s Design Team – The Little Things week 5

I can’t believe it, my last week on the Pootler’s Design Team. Thanks so much to my wonderful upline Sam for giving me the chance to bring these projects to you – 5 projects made using The Little Things stamp set.

This week I’ve made a box in a card that you may have seen on Pinterest or other social media. I have to give my credit to Dawn Griffiths for the box, but I think Rachel Tessman may have been an earlier designer.

Stampin' Up! The Little Things box in a card

For the box I used the Clear Tiny Treat boxes – they are 2″ x 2″ x 2″ (5.1cm x 5.1cm x 5.1cm) so just the right size to fit something tiny but delicious or adorable, or both in. They also fit in the card beautifully.

To make this card you need to cut a 2″ x 2″ (5.1cm x 5.1cm) hole out of the card 1″ (5.1cm) in from the edge. Cut through both pieces of card.

Stampin' Up! The Little Things box in a card

For the DSP background I used the Lemon Lime Twist from the Fresh Florals DSP, and added some red berries with my Real Red marker to make it look more festive. The trees along the strip at the bottom are from the Hearts Come Home stamp set.

I heat embossed the sentiment in gold, and die cut it using the Layering Ovals framelits.

Stampin' Up! The Little Things box in a card

I hope you’ve enjoyed seeing my projects as much as I’ve enjoyed making them!

Look out for Christmas ideas coming in the next few weeks.

Here’s what I used to make this card:


Table built using Product Table Builder by The Crafty Owl – Independent Stampin’ Up! Demonstrator.

Pootler’s Design Team – The Little Things week 4


Here’s my project for week 4 of my time on the Pootler’s Design Team – 5 Thursdays during November where 5 members of the Pootler’s team share projects made with The Little Things stamp set.

This week I’ve made 2 gift bags, one of them using the Gift Bag punch board:

Stampin' Up The Little Things gift bags

I don’t use the Gift Bag punch board as much as I should so after making one bag with the score board I thought I’d get out the punch board for the other.

Can you guess which is which? Hard to tell isn’t it – the black and white was made with the Gift Bag punch board.

I used the Merry Little Christmas DSP to make the bags. The cardstock is just the right weight, not too flimsy, and not too thick either.

Stampin' Up The Little Things gift bags

For the ribbon I used the Shimmer Ribbon in black, and also the Striped ribbon. The Striped ribbon is wired and so I used the Shimmer ribbon to go around the bag, then added the Striped ribbon bow on top.

The sentiments are heat embossed in gold. I think this sentiment is lovely, and you could just use the For My Sweet if you didn’t want the top.

Stampin' Up The Little Things gift bags

Both bags are the right size for putting some sweet goodies in – a lovely surprise for someone for Christmas!

Next Thursday is my last week on the Design Team. It’s gone so fast. Please come and and see what my last project is – hit the subscribe button so you don’t miss it.

Here’s what I used to make these bags (clicking on each image will take you to that item in my shop should you want to buy anything).


Table built using Product Table Builder by The Crafty Owl – Independent Stampin’ Up! Demonstrator.

Pootler’s Design Team – The Little Things week 3

It’s the third week of the Pootler’s design team challenge for me, and this week I decided to make some gift tags.

Our team leader Sam has challenged five of us to use The Little Things stamp set to make five projects – one for each Thursday during the month of November.

This week I combined the stripe that’s in the stamp set with the wonderful Cookie Cutter Christmas set that carried over from last year.

Stampin' Up! The Little Things meets Cookie Cutter Christmas

I used the stripe in either Old Olive or Real Red across the bottom of each tag, then added one of the crew from the Cookie Cutter Christmas set, and a sentiment at the top.

I found some googly eyes to add to the gingerbread men and reindeer.

Stampin' Up! The Little Things meets Cookie Cutter Christmas

To make each tag I used a piece of Thick Whisper White card cut at 4″ x 2″ (10cm x 5cm), then stamped the stripe across the bottom. Then I used the envelope punch board to round the corners.

Stampin' Up'! The Little Things meets Cookie Cutter Christmas

I used the Scalloped Tag Topper punch to punch out the tags and then finished them off with gold metallic ribbon.

I’d like to think that they’d make a great addition to any present!

For next week’s project – gift bags.

Here’s what I used to make the tags – click on an item to go to it in my shop.


Table built using Product Table Builder by The Crafty Owl – Independent Stampin’ Up! Demonstrator.

Pootler’s Design Team – The Little Things, week 2

Welcome to my second project for the Pootler’s Design Team. I’ll be posting a new project each Thursday in November using The Little Things stamp set.

This week I have used the December Deliciousness stamp – what a great sentiment!

I wanted to make some little treat bags and thought I’d make some tags to hang around the top.

Stampin' Up! The Little Things


I love those little candy canes and ginger bread men. I heat embossed the sentiments in gold, copper and silver, and used the Stitched Framelits to die cut them. Then I added some sweets to clear bags and attached the tags using either gold metallic edge ribbon or black shimmer ribbon.

As you can see I also made some crates using the wood crates framelits. I wanted to see what different designs would look like so I made three crates, each different.

Stampin' Up! The Little Things

I used wood textures DSP on one (with a foil snowflake), Merry Music DSP on another, and more wood textures DSP that I stamped for the third.

I glued each piece of DSP to a piece of carstock before I die cut them to make a very sturdy crate – you will need to burnish well if you try this.

Stampin' Up! The Little Things

I think I might take these to a Christmas craft fair where I have booked a table at the beginning of December. I hope you like this week’s project – don’t forget to come back and see what I have made next week.

This is what I used for this week’s makes:


Table built using Product Table Builder by The Crafty Owl – Independent Stampin’ Up! Demonstrator.