Stampin’ Up! Oh So Eclectic thank you card

Stampin' Up! Oh So Eclectic

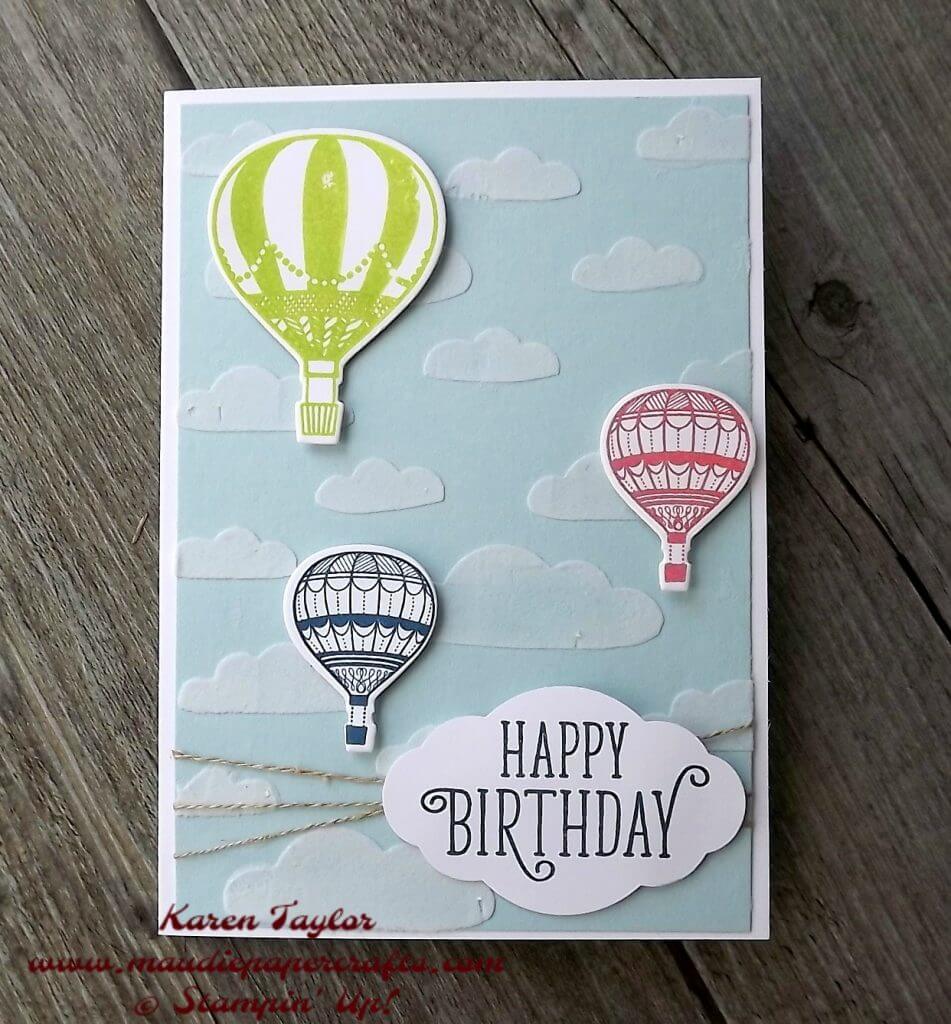
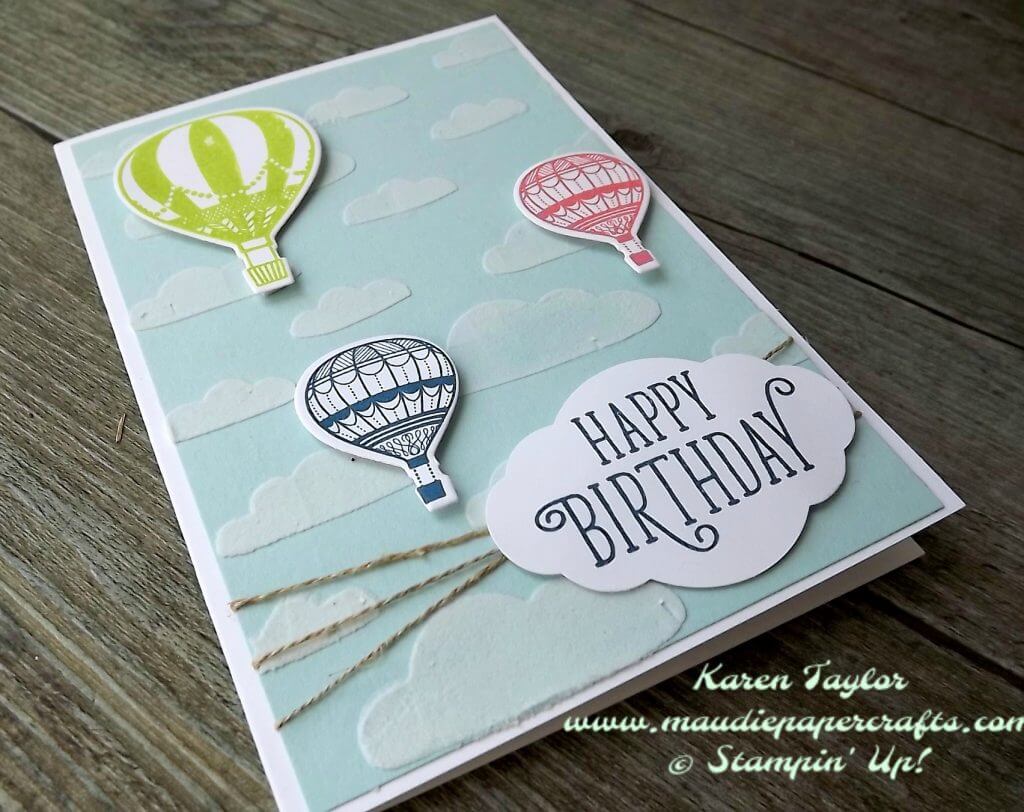
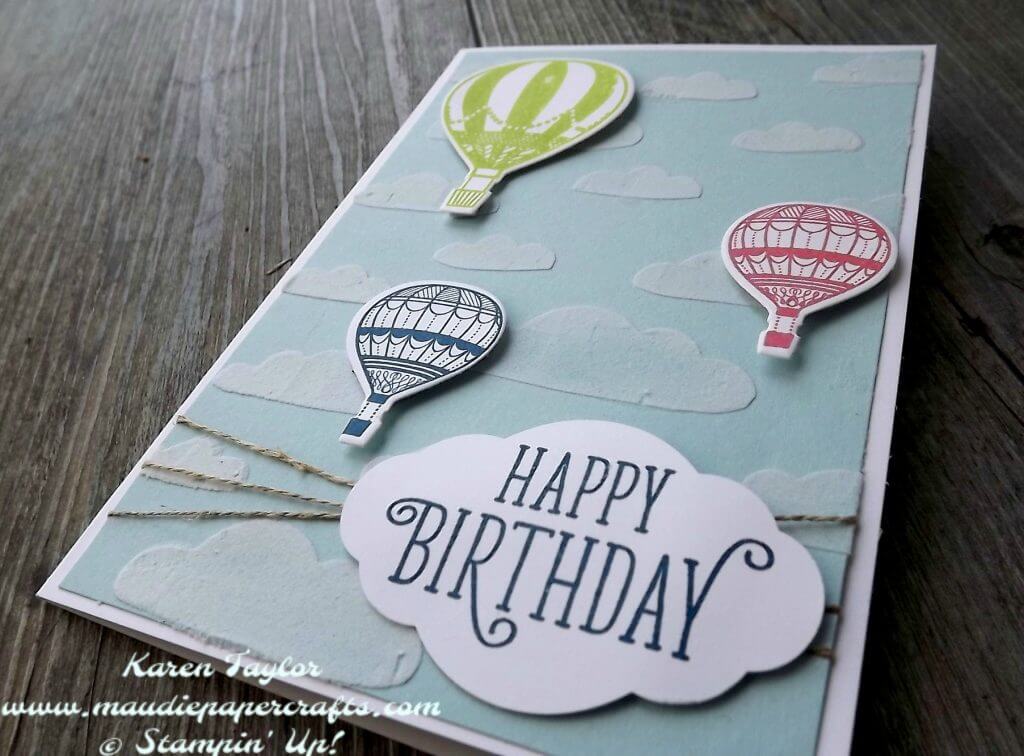
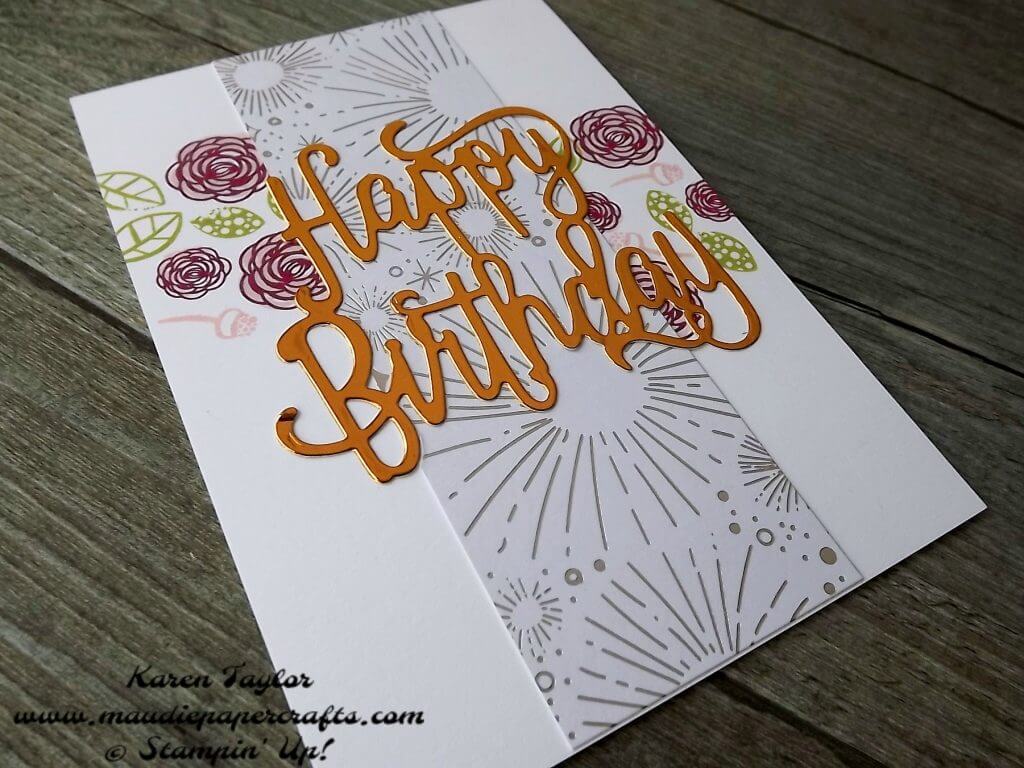
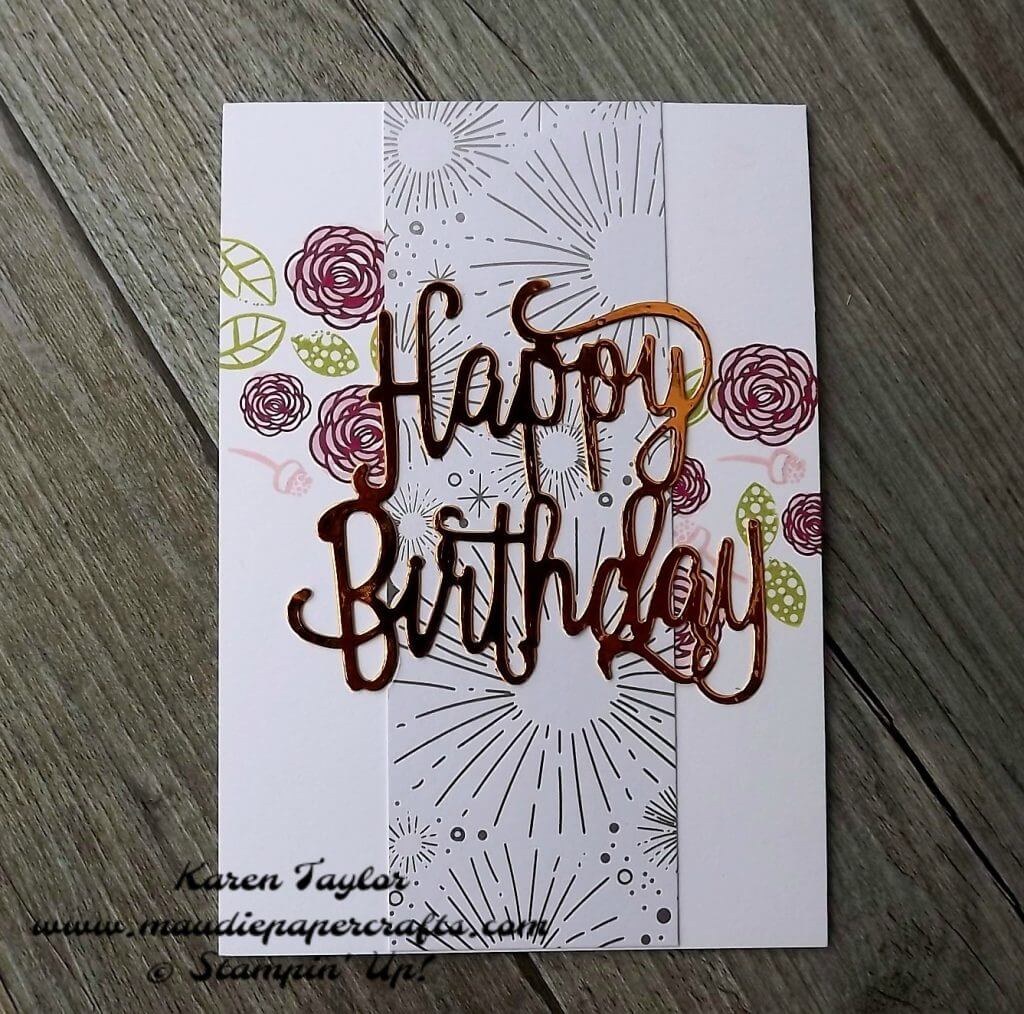
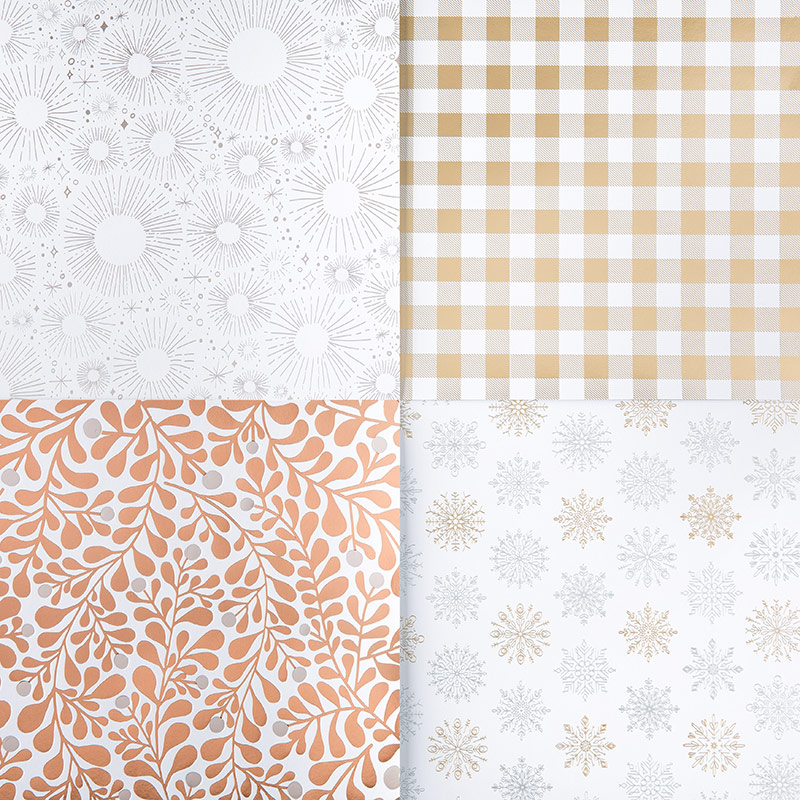
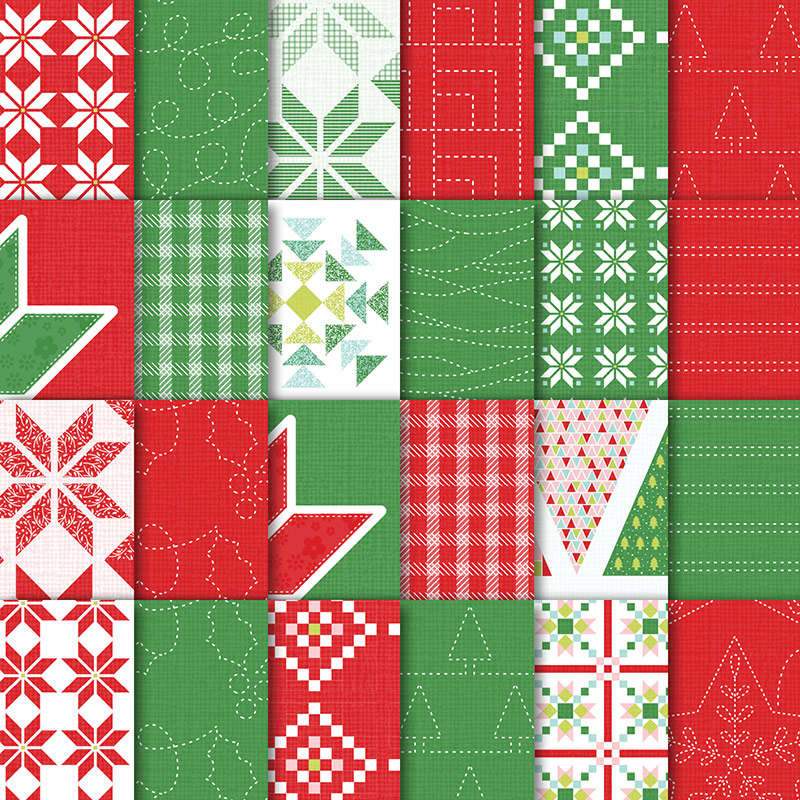
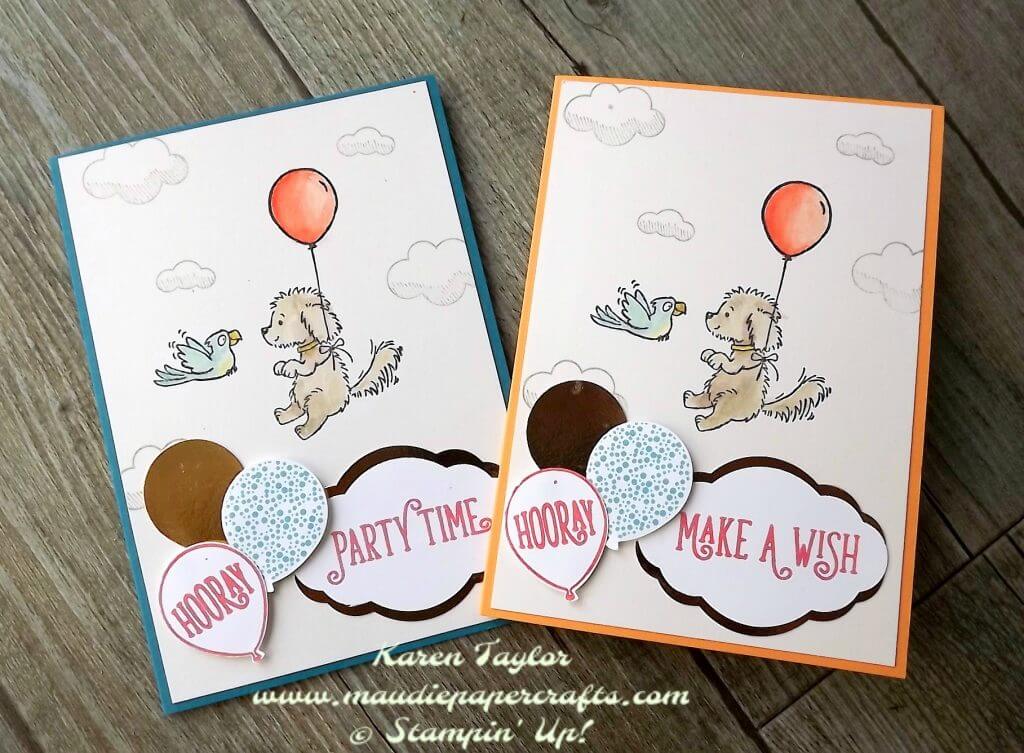
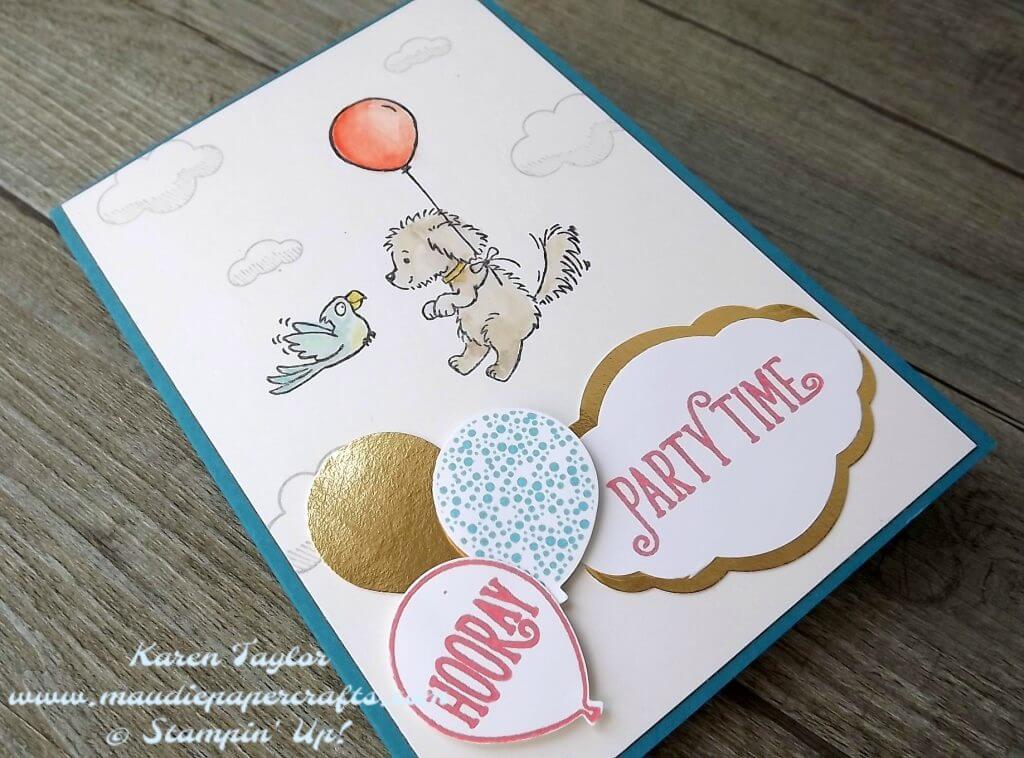
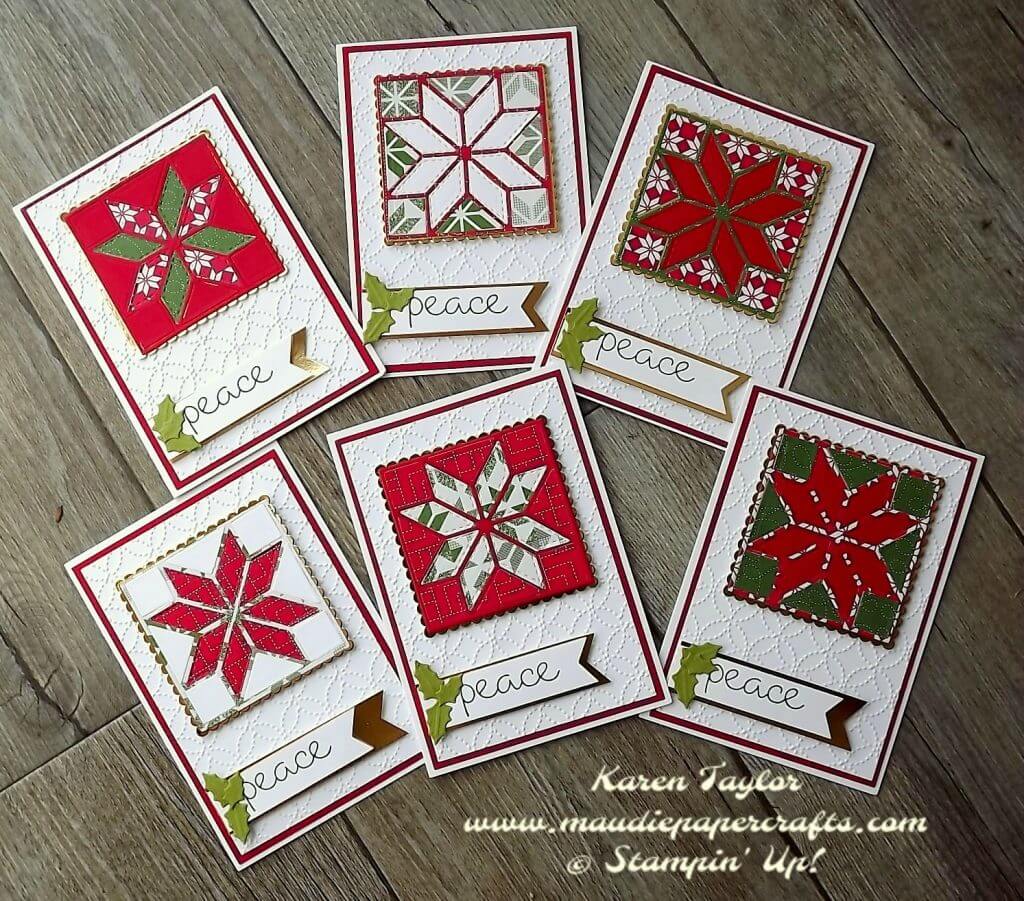
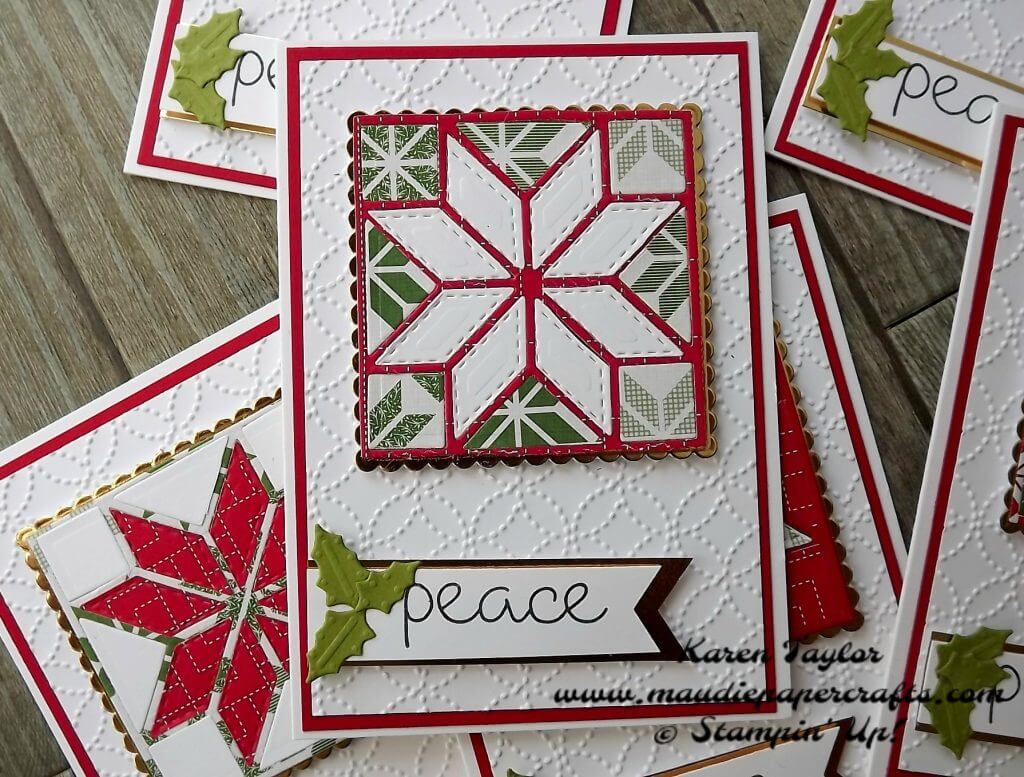
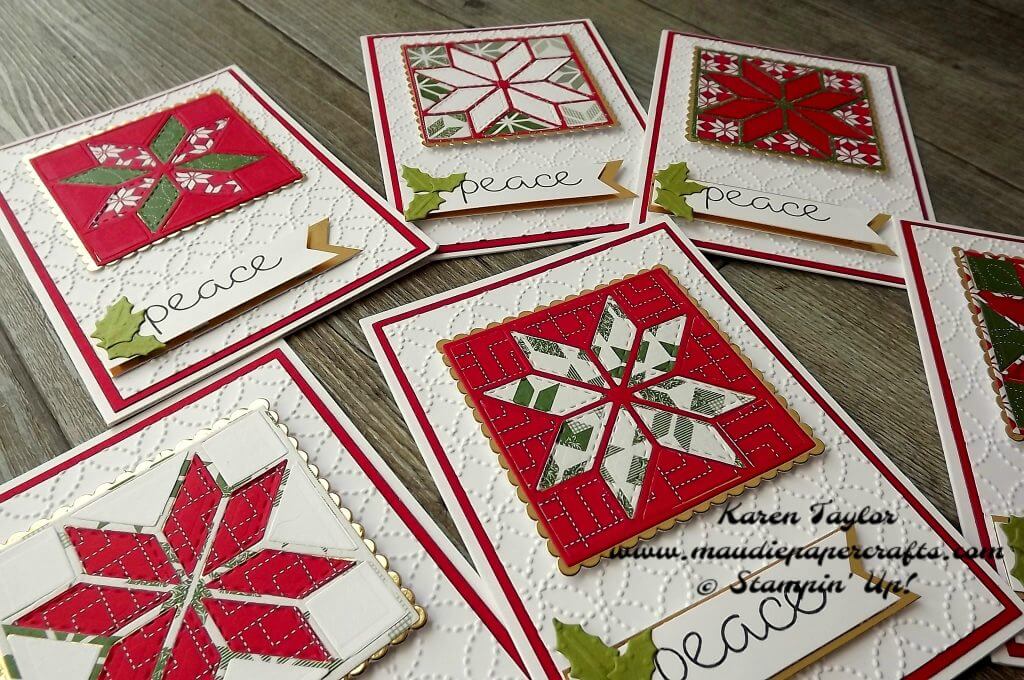
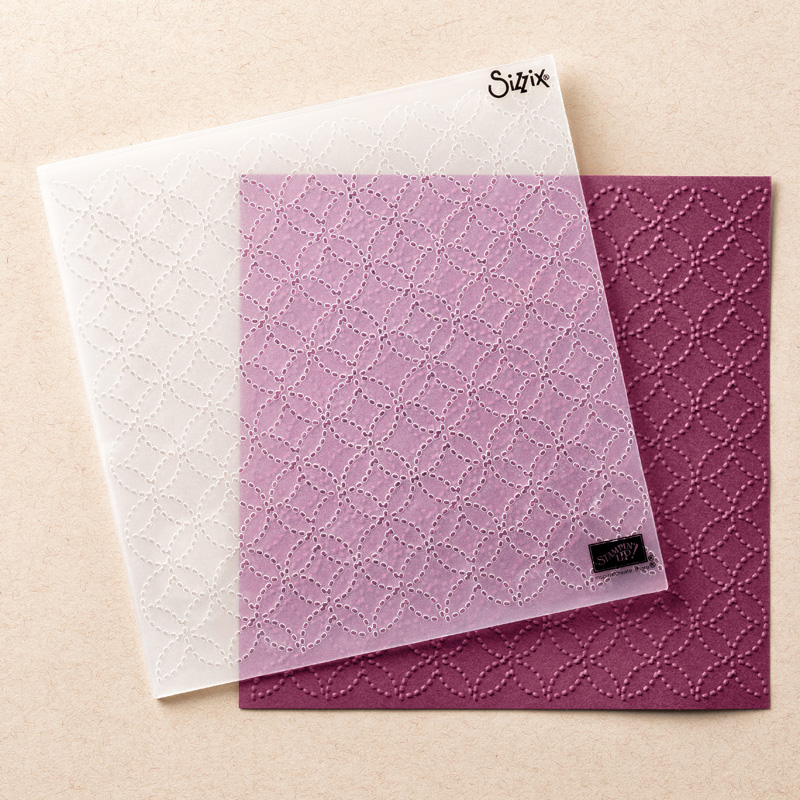
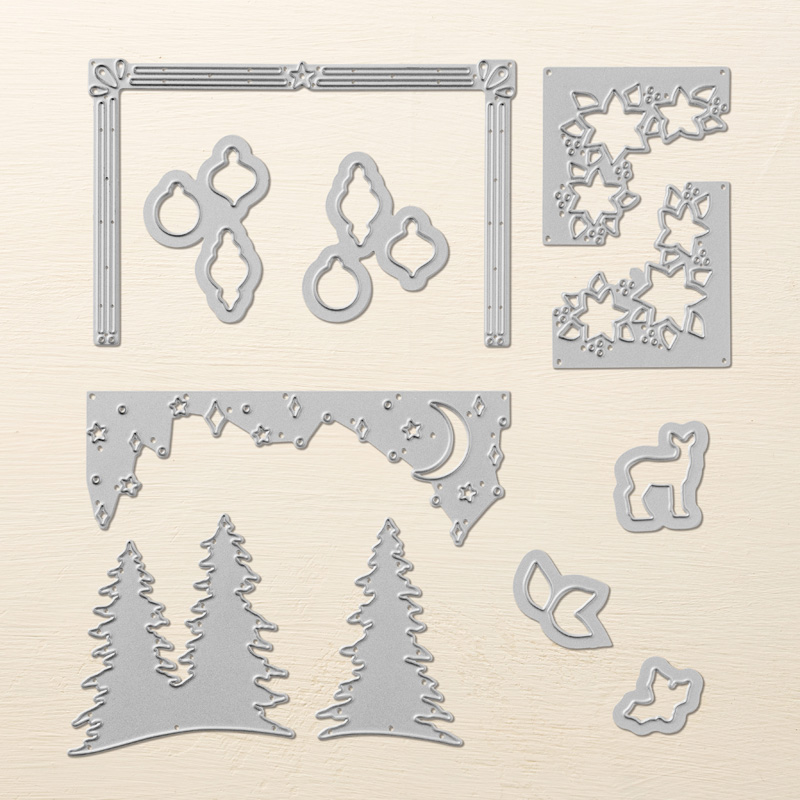
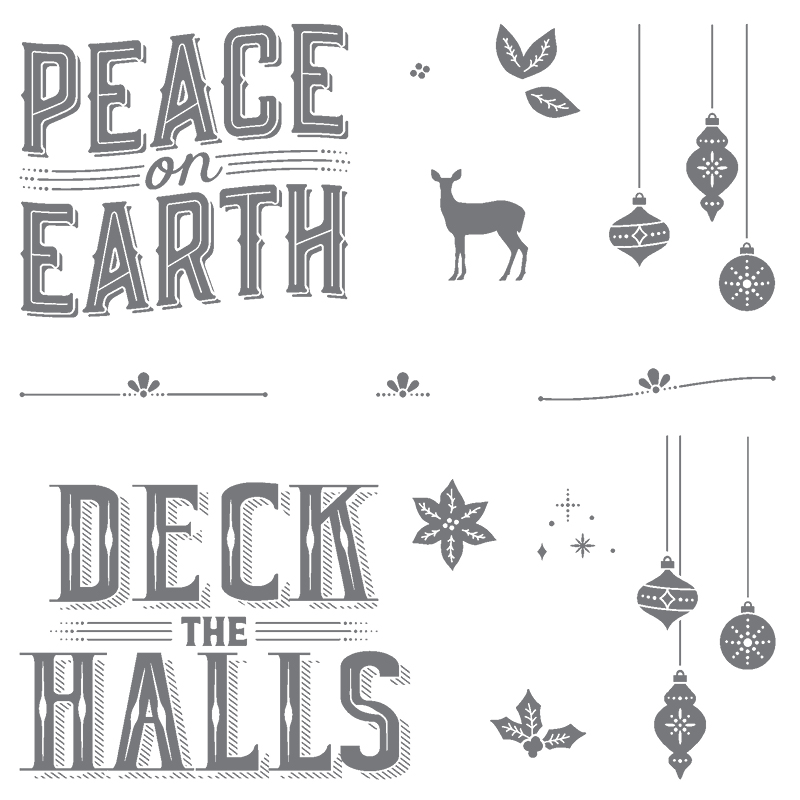
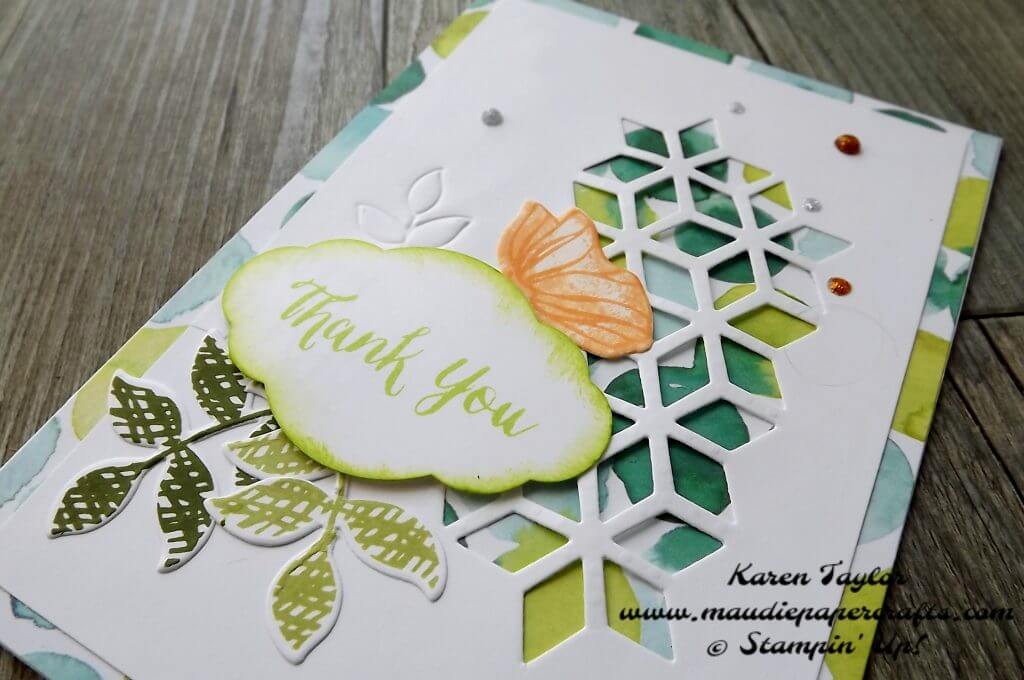
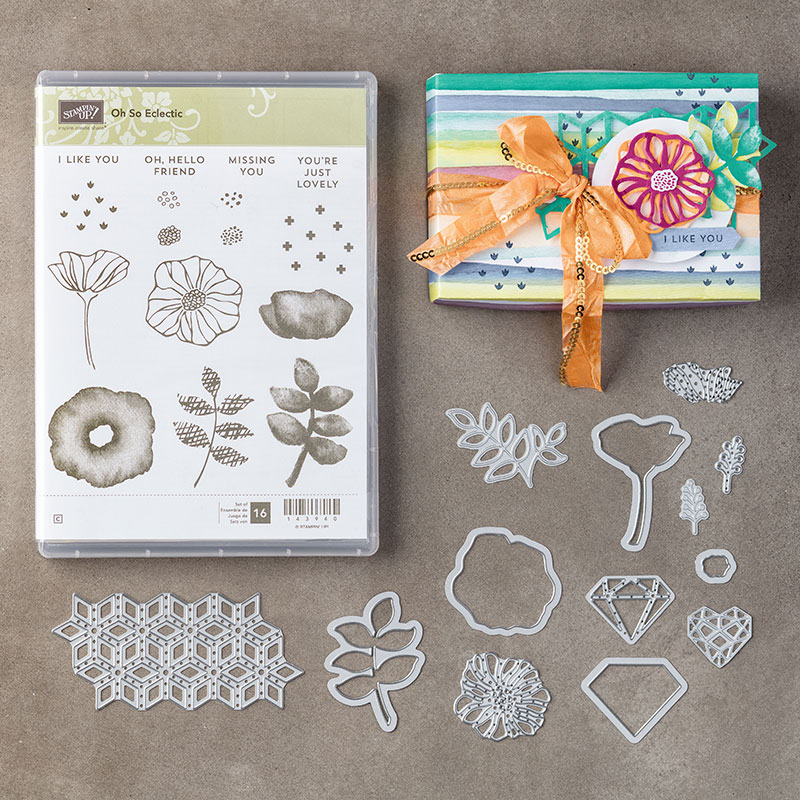
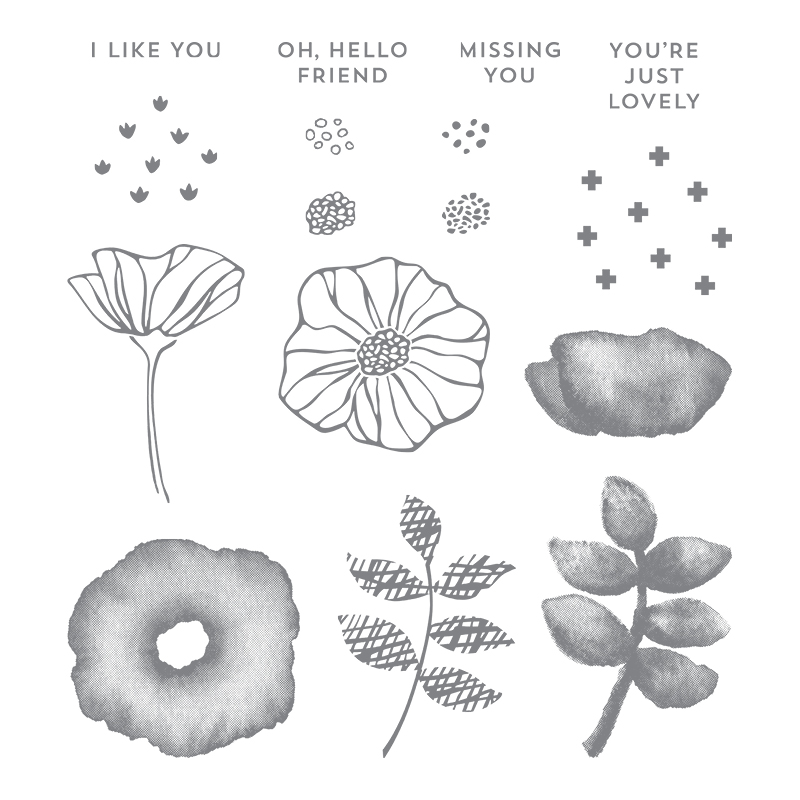
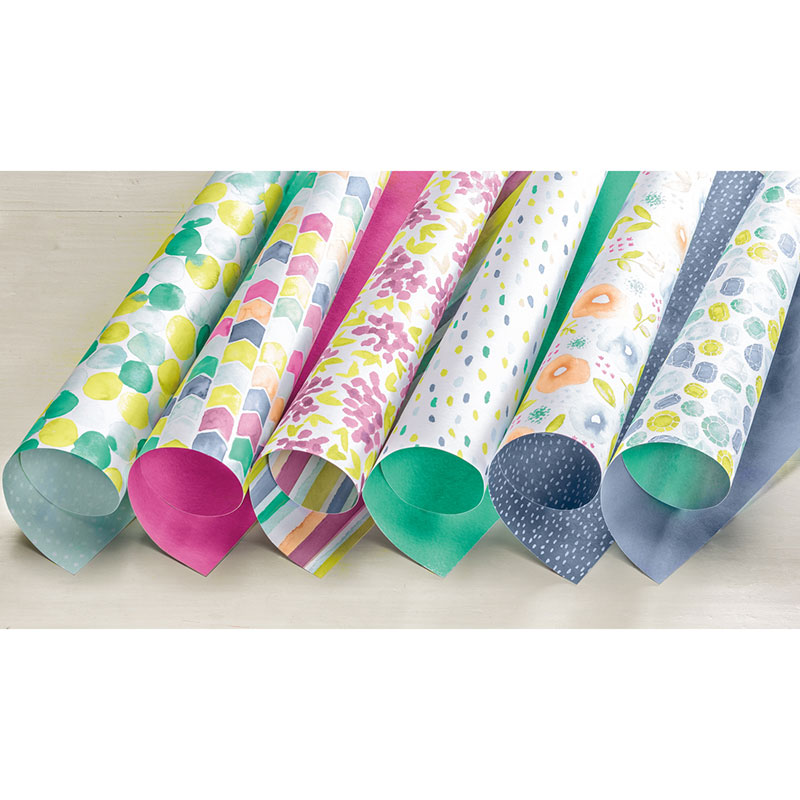
This is one of the Thank You cards I sent out to my customers last month. I’ve made cards before using the Oh So Eclectic bundle, but this time I also used the Naturally Eclectic DSP as a background.

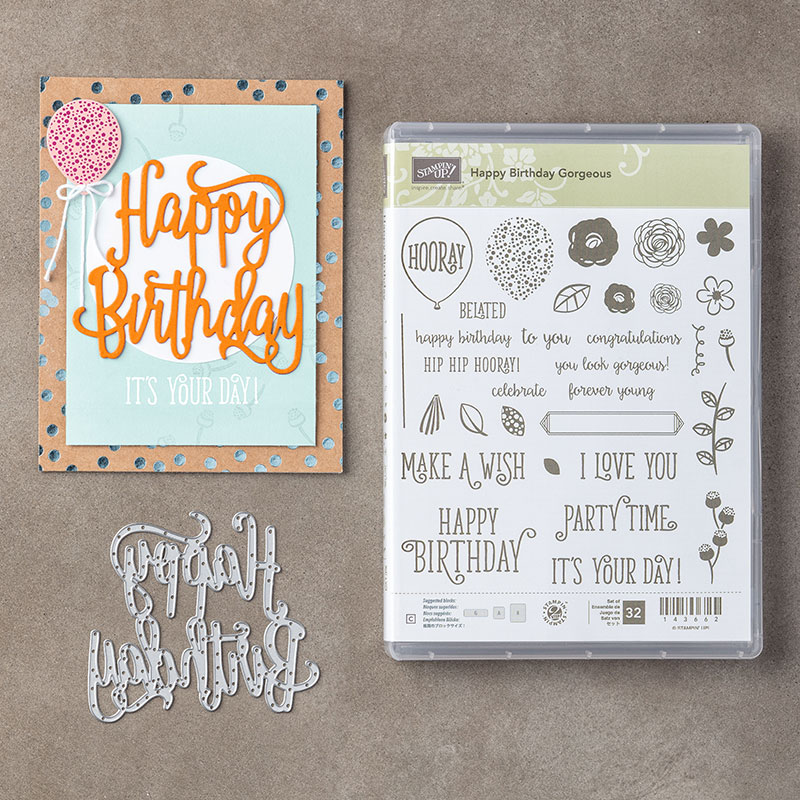
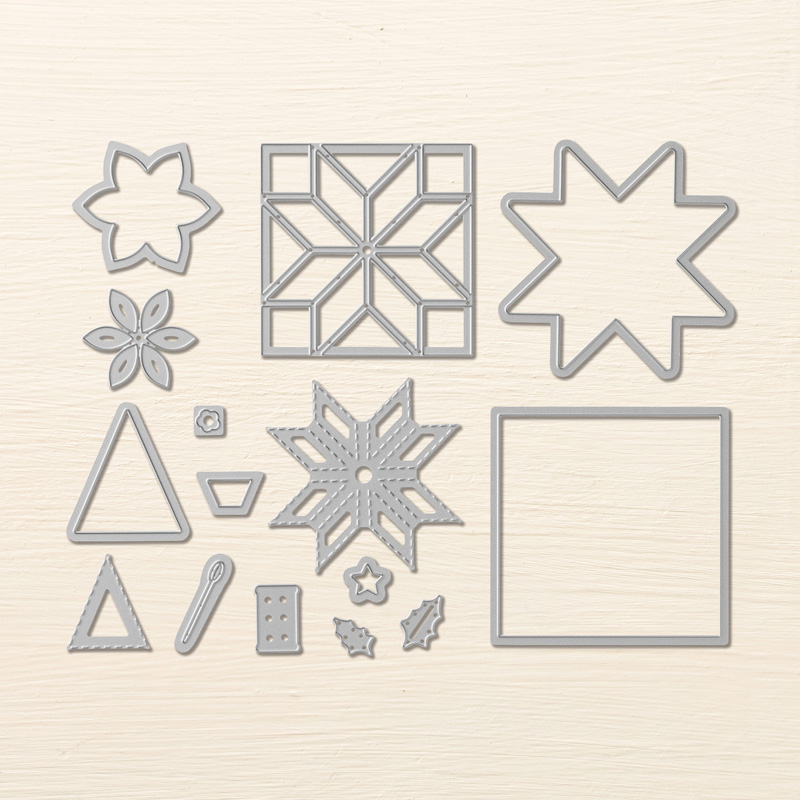
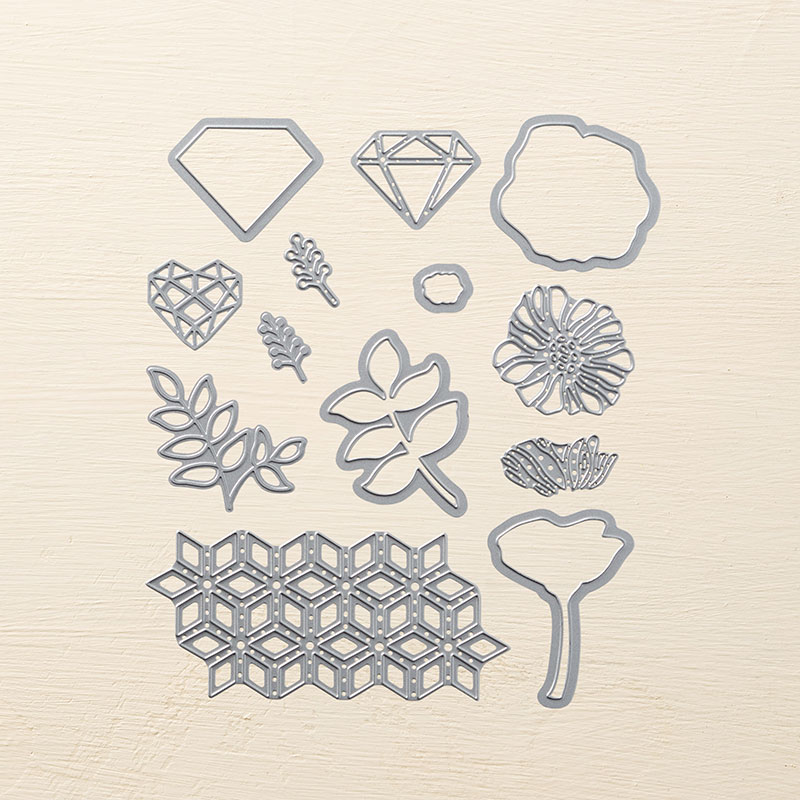
I am completely won over by this bundle, after being luke warm about it to begin with. Three of the Thinlits dies emboss rather that cut, and you can see that I’ve used the leaf embossing thinlit on this card.

Stampin' Up! Oh So Eclectic

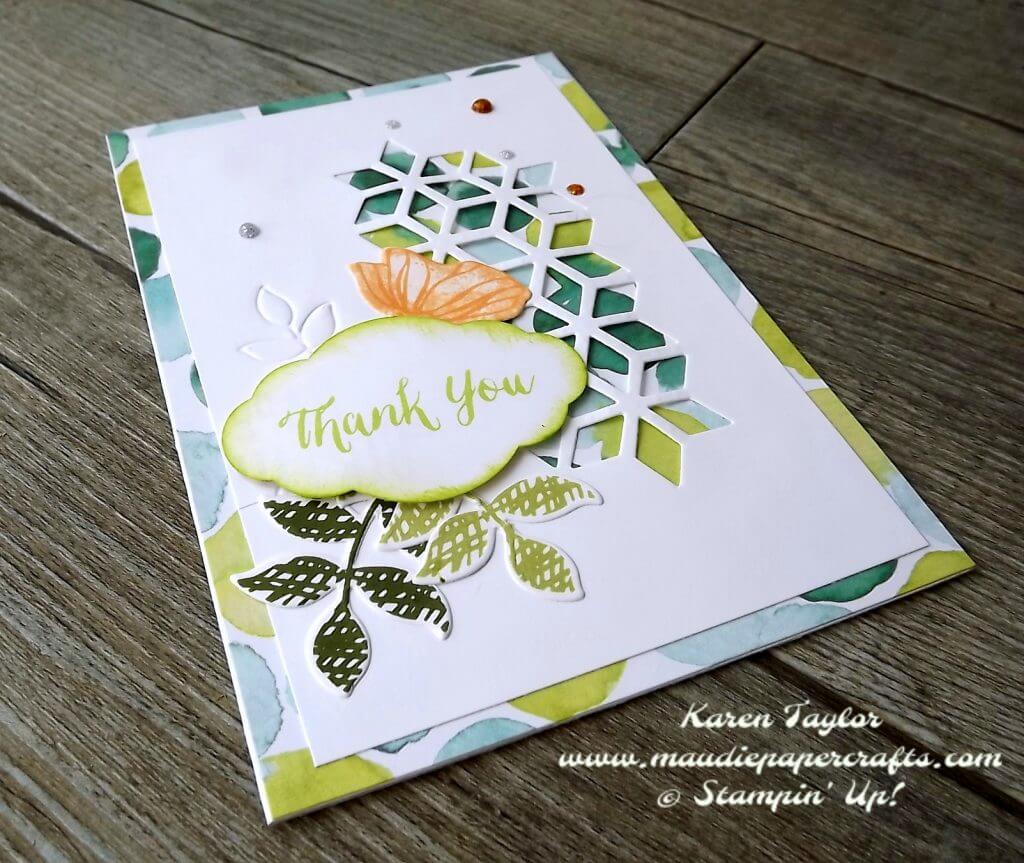
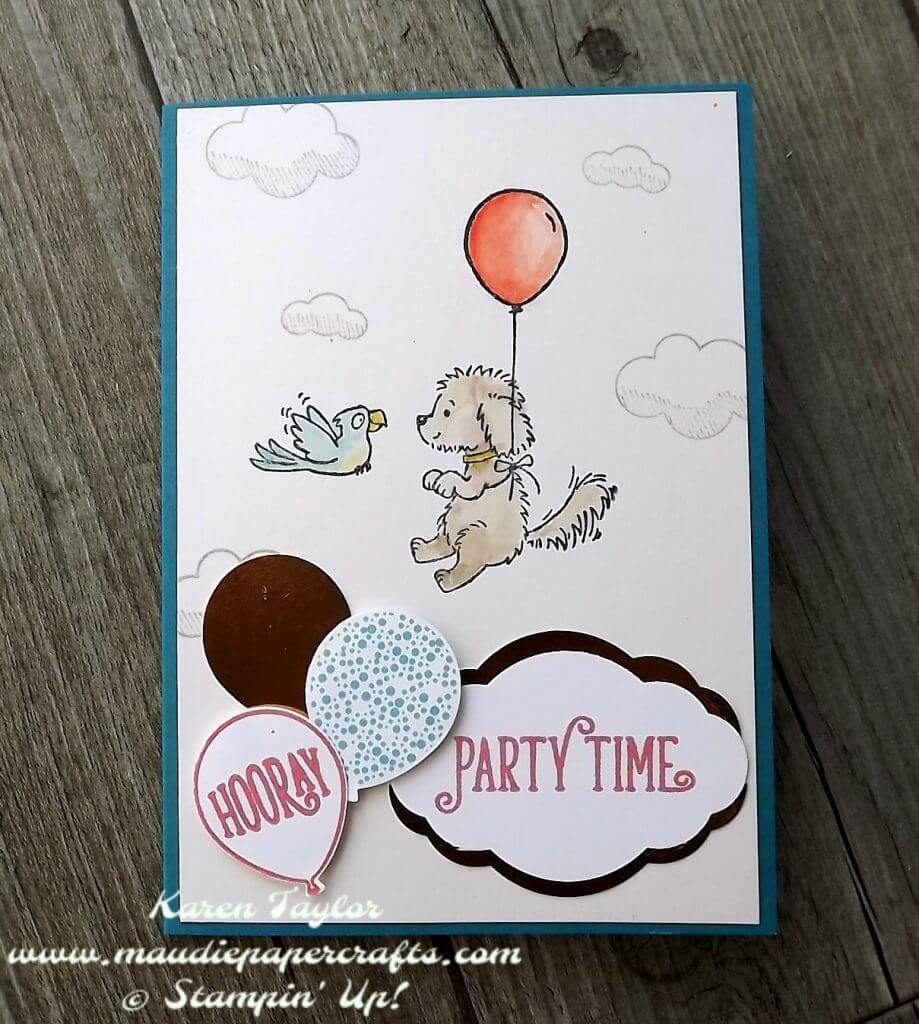
If I could remember which set the Thank You set came from I’d tell you! It’s a current one, but I can’t remember which. The punch is of course my current favourite, the Pretty Label punch.

Stampin’ Up! have made a video to tell you all the wonderful things you can do with this bundle:

I think I’d better get back to the Autumn/Winter catalogue soon!

Please feel free to contact me if you have any questions, or want to order from me. You can order if you live in France, the UK, the Netherlands, Germany or Austria and you don’t have a demo you already order from.

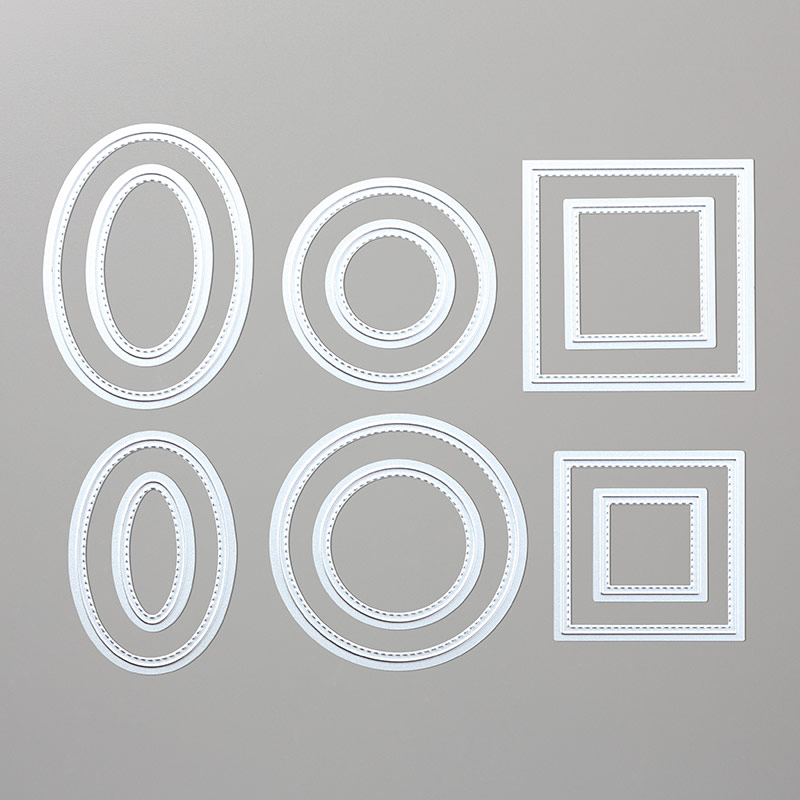
Here’s what I used to make this card


Table built using Product Table Builder by The Crafty Owl – Independent Stampin’ Up! Demonstrator.

Stampin’ Up! Lift Me Up card with embossing paste

Stampin' Up! Lift Me Up

I had been wanting to use some of the new embossing paste for a while and I thought it would work well on this card as clouds.

The stamp set I have used is Lift Me Up with the matching Up & Away thinlits dies.

Using the embossing paste is very easy. You will need a spatula, or something to spread the paste, and a stencil. I used the cloud stencil, one of four in the Pattern Party decorative masks set – they are inexpensive and the designs are all different.

Stampin' Up! Lift Me Up

Adding the paste was easy, it is soft and easy to work with. Make sure you hold tight to the stencil, or secure it down somehow. The paste dries fairly quickly, and you’ll need to clean off your stencil and spatula straight away or it will dry on.

You can colour the embossing paste with reinker or by smearing some ink from an ink pad onto a slick surface and adding some paste. As I wanted my clouds to be white I didn’t on this card, but I will try colours at a later date.

Stampin' Up! Lift Me Up

To finish off my card I stamped the sentiment (from Happy Birthday Gorgeous), and punched it out with the Pretty Label punch. I added some linen thread behind it and voilà, finished.

Stampin’ Up! have made a video about the embossing paste which tells you everything you need to know:


Here’s what I used to make the card


Table built using Product Table Builder by The Crafty Owl – Independent Stampin’ Up! Demonstrator.

Stampin’ Up! Happy Birthday Gorgeous card

Stampin' Up! Happy Birthday Gorgeous

My friend Dawn had a significant birthday today – I won’t embarass her by telling you what it is.

Dawn is a fellow crafter, you can find her blog at All Things Pretty Craftee and she has always been so supportive of me and my Stampin’ Up! journey.

I made this card for her using the Happy Birthday Gorgeous bundle – very apt for Dawn! I die cut the Happy Birthday sentiment from Stampin’ Up! copper card.

Stampin' Up! Happy Birthday Gorgeous

The flowers are from the same stamp set, which is one of the things that makes it so versatile and useful. Then I added some Year of Cheer speciality DSP from the Autumn/Winter catalogue.

Happy Birthday to you Dawn, I hope you like it!

Stampin' Up! Happy Birthday Gorgeous


Table built using Product Table Builder by The Crafty Owl – Independent Stampin’ Up! Demonstrator.

Stampin’ Up! Santa Paws card

Stampin' Up! Santa Paws

Well, who could resist this stamp set? Not me obviously! A pile of cats and dogs in a Christmas tree shape, what could be better.

I decided the large dog at the bottom was a dog, and not a reindeer as I had originally thought – don’t you love his trousers?

The background to this card is a sheet from the Quilted Christmas DSP, and I stamped the animal tree onto watercolour paper so I could use the ink pads to watercolour the animals.

Stampin' Up! Santa Paws

I tried not to use too many colours so that it would not look too busy – there are already a lot of animals after all.

The sentiment is popped up over some gold card.

A great card for animal lovers I think.

Stampin' Up! Santa Paws


Back soon! Here’s what I used to make the card:

Table built using Product Table Builder by The Crafty Owl – Independent Stampin’ Up! Demonstrator.

Bella and Friends cards from Stampin’ Up!

Stampin' Up! Bella & Friends

Aren’t these cards so cute! I needed a birthday card and made two to see the difference using a different cardstock background made. I think I prefer the blue, but I love them both.

The main stamp set I used is Bella and Friends which I stamped onto Shimmery White card so I could watercolour it using AquaPainters. The Shimmery White card is better that Whisper White for this.

Stampin' Up! Bella & Friends

The balloons and sentiment come from the equally lovely Happy Birthday Gorgeous stamp set – so useful, I bet it’s in the catalogue for years.

I also used my new favourite punch, the Pretty Label punch to stamp the sentiment on, and added a gold one (cut in half) behind it.

Stampin' Up! Bella & Friends

Back to the new Autumn/Winter catalogue for my next post – more animals!


Table built using Product Table Builder by The Crafty Owl – Independent Stampin’ Up! Demonstrator.

Stampin’ Up! Christmas Quilt cards

Stampin' Up! Christmas Quilt

This is the first of no doubt many using some new products from the new Autumn/Winter catalogue

This is the Christmas Quilt bundle. Now, I am not a quilter but I loved this suite as soon as I saw it. One of the reasons for that is that although you can see I’ve made Christmas cards this time, you could use the bundle all year round – I’ve already made some non-seasonal cards with it.

Stampin' Up! Christmas Quilt

The Framelits dies cut out the pinwheel and you can fit in different colour/design pieces. I’ve also used the Quilt Top embossing folder, which you can see above, which is also not just for Christmas!

What made piecing this altogether an easy process was using some of the new Mulitpurpose adhesive sheets – they have adhesive on both sides and are so useful.

Stampin' Up! Christmas Quilt

I made these cards for a swap, hope the recipients like them!

To see more uses of this versatile bundle watch this Stampin’ Up! video

This is what I used to make the cards. Please contact me if you have any questions about them. Clicking on the products below will take you to that item in my shop should you wish to order.


Table built using Product Table Builder by The Crafty Owl – Independent Stampin’ Up! Demonstrator.

Stampin’ Up! Carols of Christmas

Stampin' Up! Carols of Christmas

So, the Seasonal Catalogue is now live – hurrah!

I know you could already buy this bundle in August, but I think it deserves another outing because it is so diverse. I have seen lots and lots of different cards made with it, each different, and each beautiful.


Stampin' Up! Carols of Christmas

This is what I’ve made with my bundle. I have plans for more designs so watch this space!

In the example above I’ve also used the beautiful Softly Falling embossing folder, and a stitched oval framelit as well as heat embossing the sentiment.

Stampin' Up! Carols of Christmas

This card uses the frame, which you could easily use on non-seasonal cards. I’ve used Old Olive cardstock and ink here but it doesn’t show up as well on the photos as it does in real life.

Here’s the video Stampin’ Up! made to go with the bundle:

So – if you’d like a Seasonal Catalogue and you don’t already have a demonstrator I can send you one. You need to live in France, the UK, The Netherlands, Germany or Austria – I can’t send one outside Europe, sorry!

I’m off the Cornwall for a couple of weeks, I’ll still be posting with new catalogue goodies, as well as some from the Annual catalogue.


Table built using Product Table Builder by The Crafty Owl – Independent Stampin’ Up! Demonstrator.