Today’s card uses the Happiest of Days card like the last post, but in a completely different way. I’ve used the Lemon Lime Twist DSP from the Fresh Florals pack to make a very cheerful card.
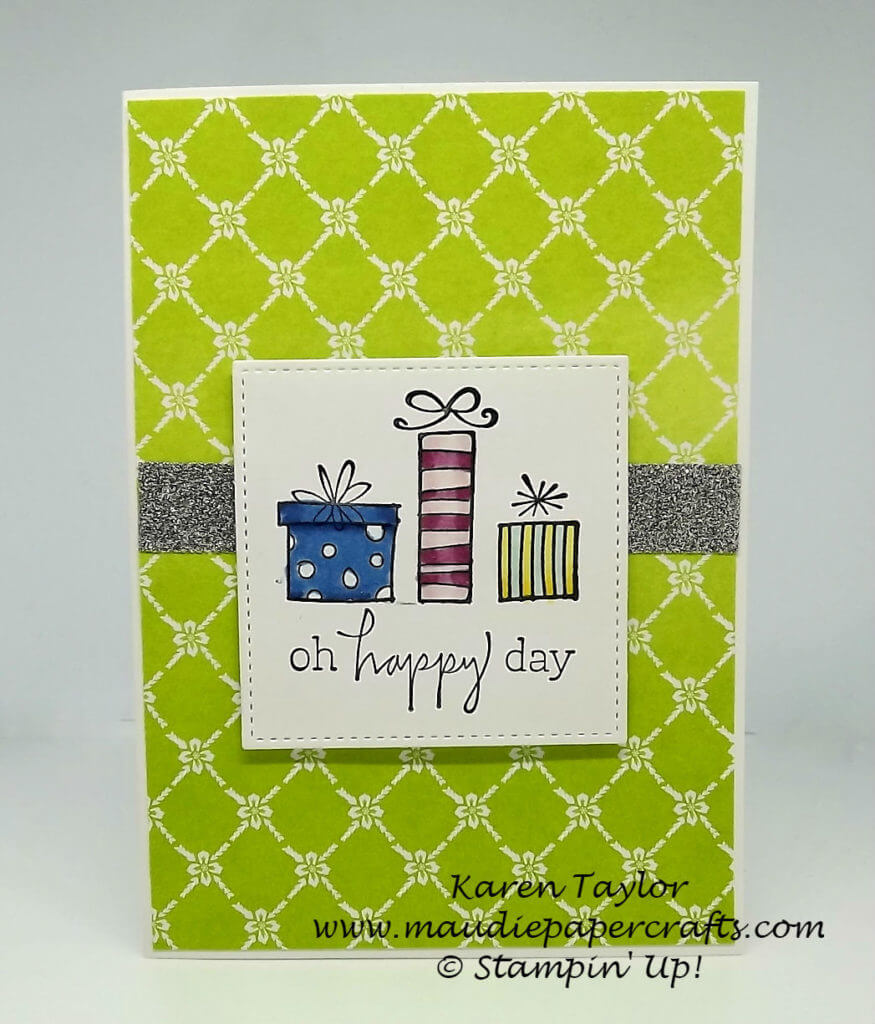
And like there had to be cake on the last cards, there had to be presents on this one. Once again I used Stamin’ Blends to colour them in – I can’t stop using those pens!
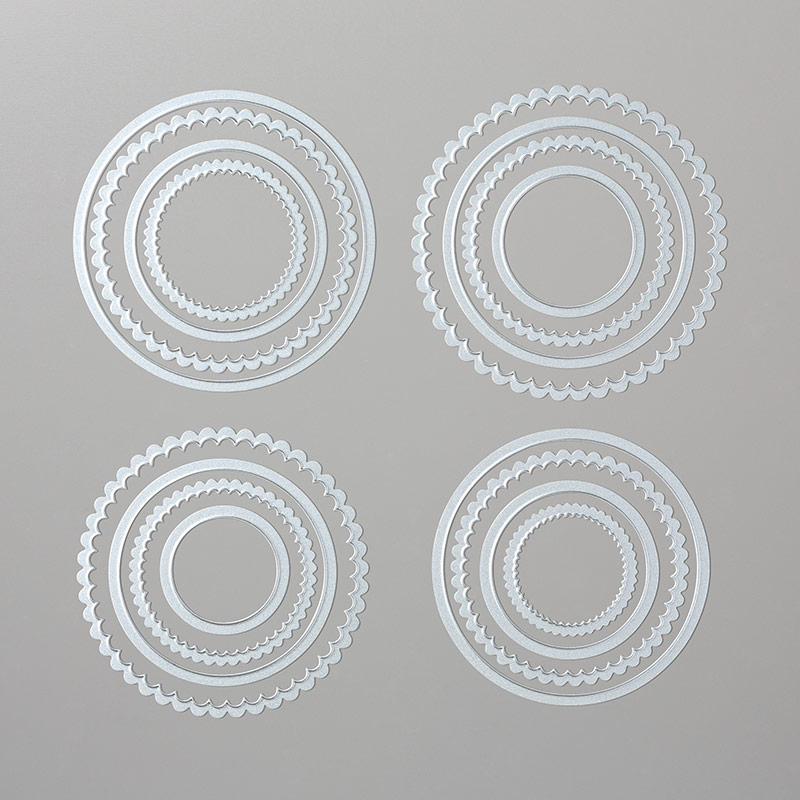
There’s not much more to it. I die cut the presents using the Stitched Shapes Framelits and popped it up on the background.

I don’t know what I’ll be posting next – sneak peek or not? You’ll have to wait and see.
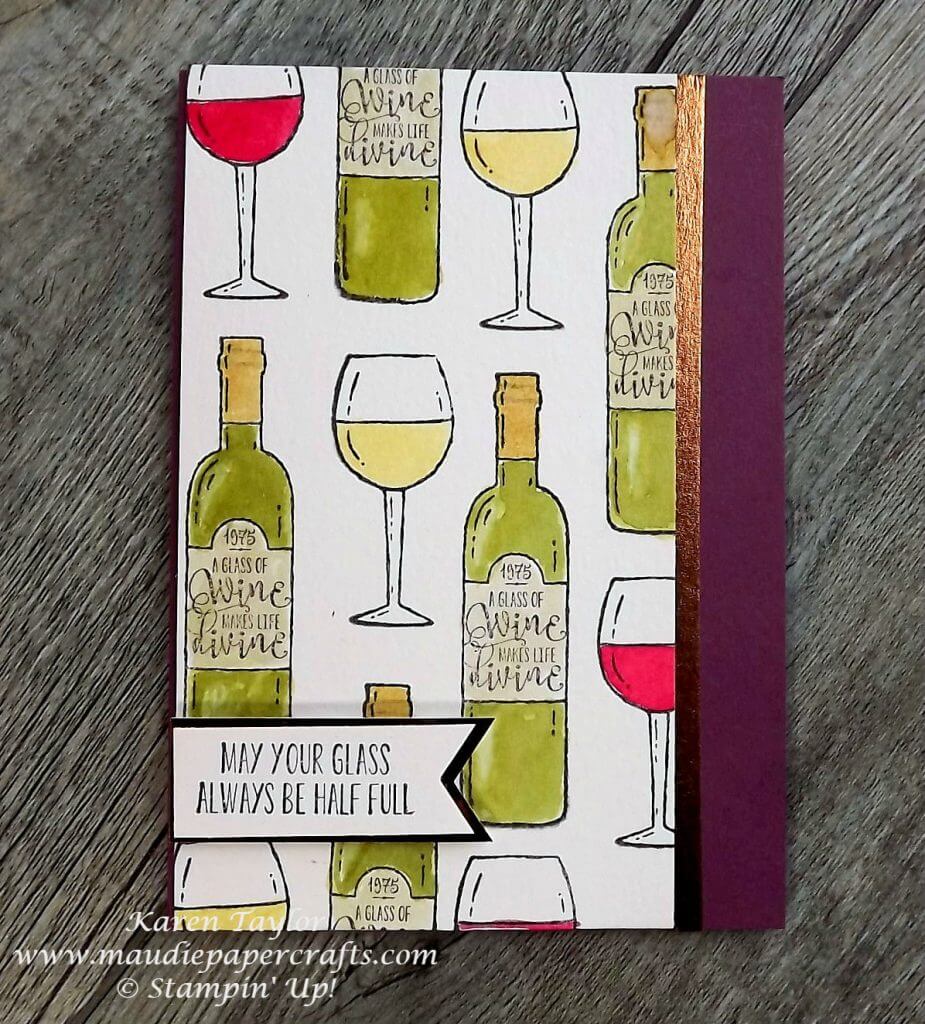
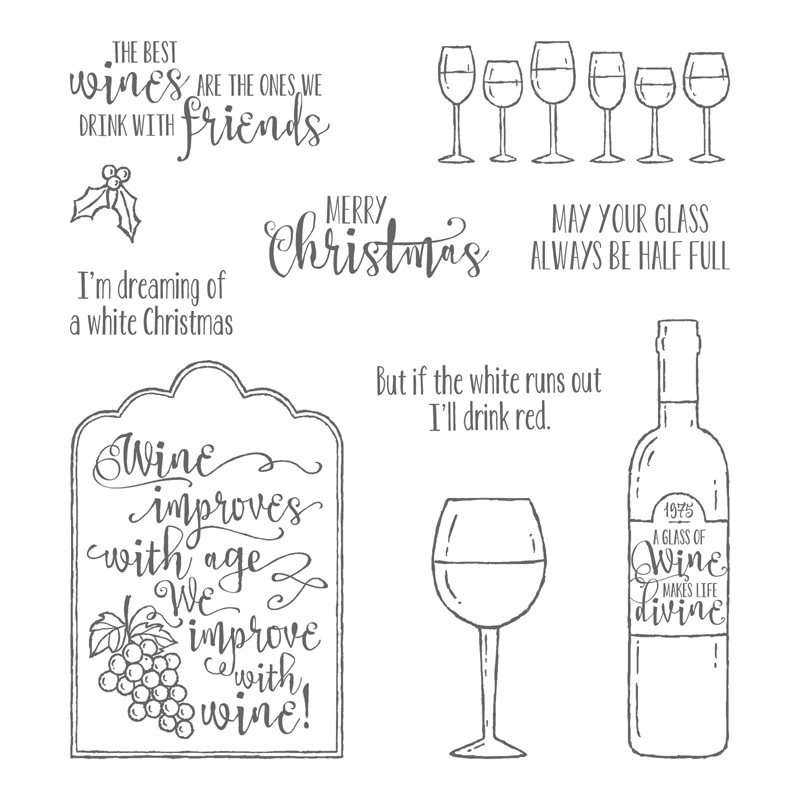
Here’s both types of card I made with this lovely stamp set.

Back soon!
Here’s what I used to make this card:
 |
 |
 |
 |
 |
 |
 |
 |
 |
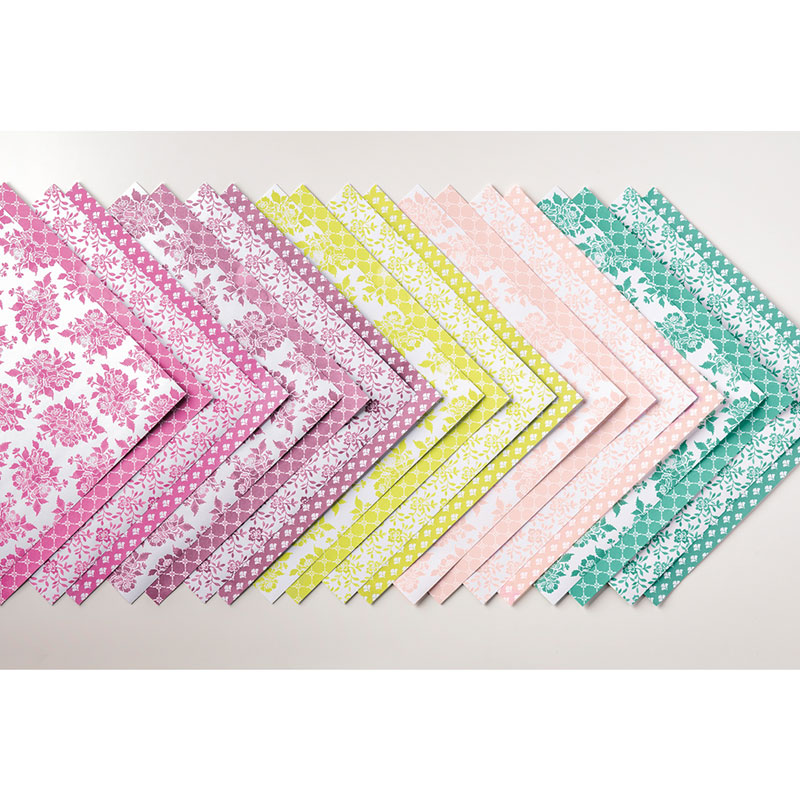 |
Table built using Product Table Builder by The Crafty Owl – Independent Stampin’ Up! Demonstrator.