Pootler’s Design Team – The Little Things, week 2

Welcome to my second project for the Pootler’s Design Team. I’ll be posting a new project each Thursday in November using The Little Things stamp set.

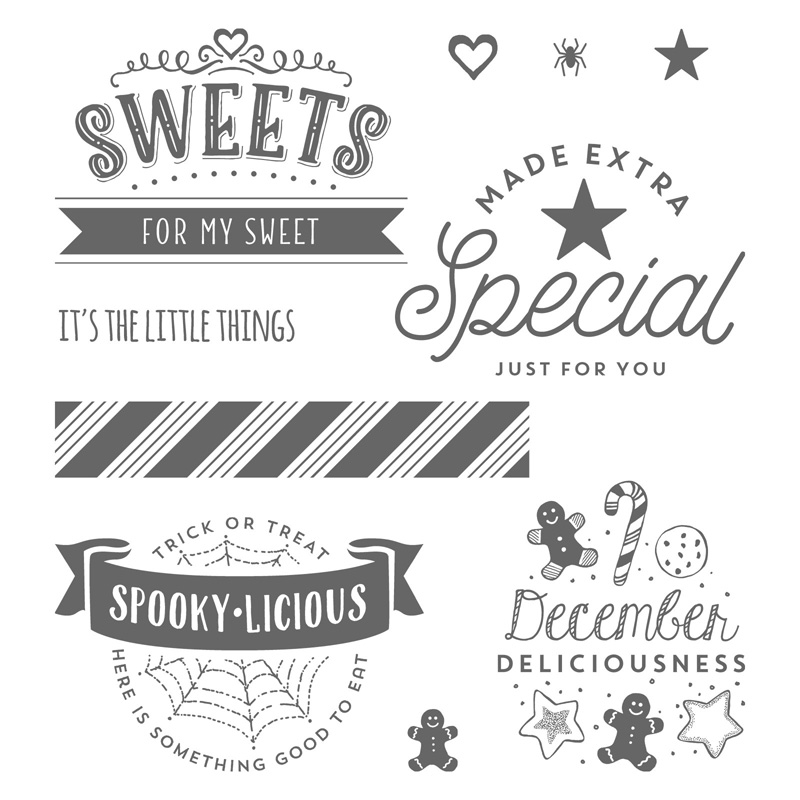
This week I have used the December Deliciousness stamp – what a great sentiment!

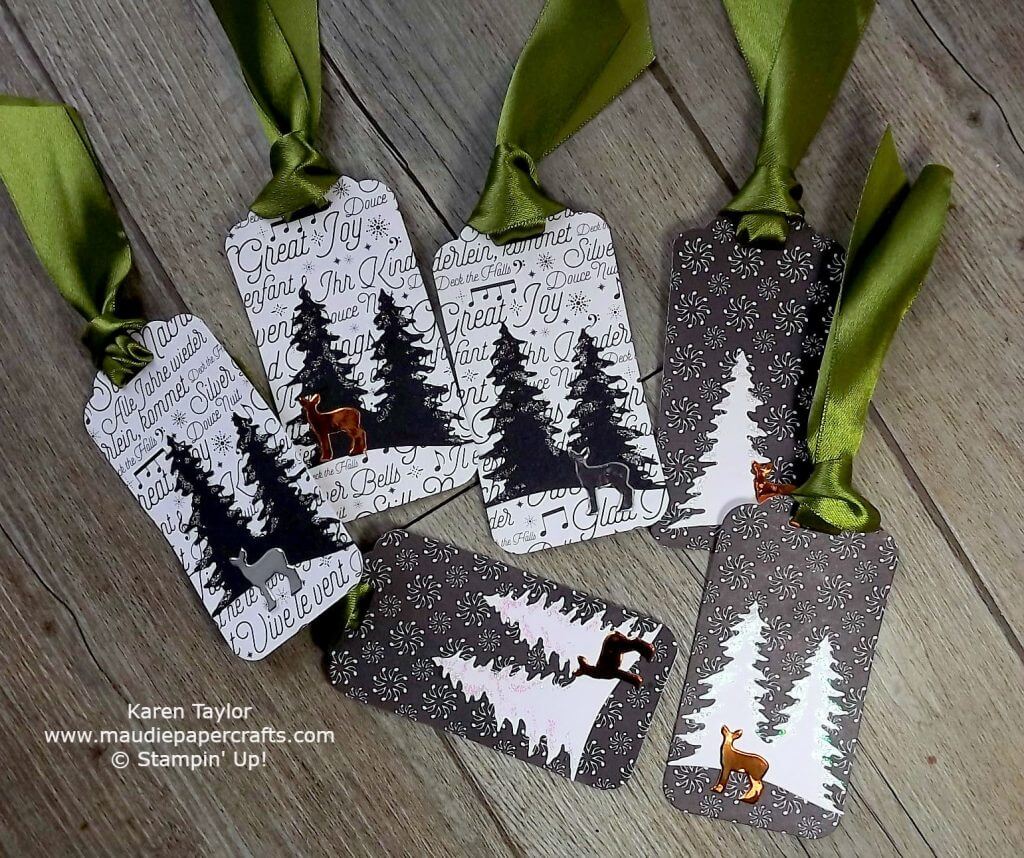
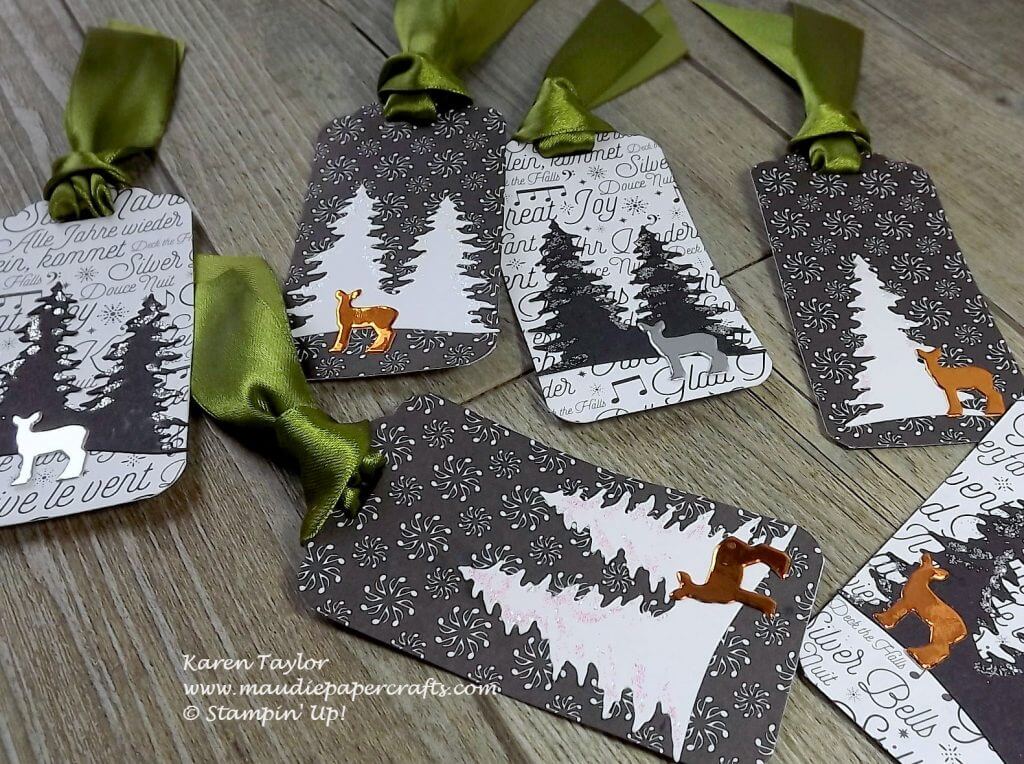
I wanted to make some little treat bags and thought I’d make some tags to hang around the top.

Stampin' Up! The Little Things


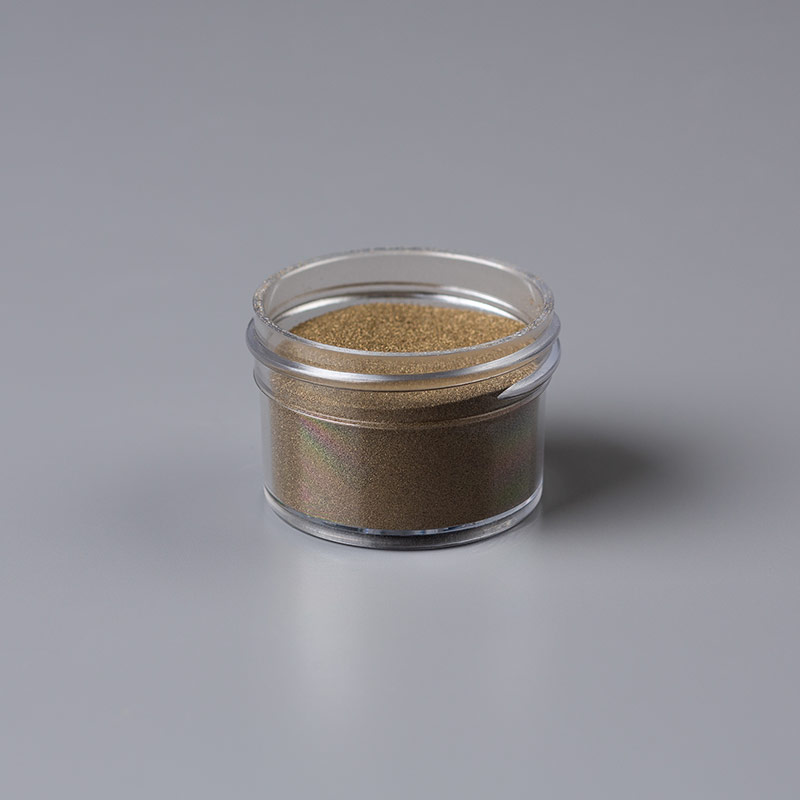
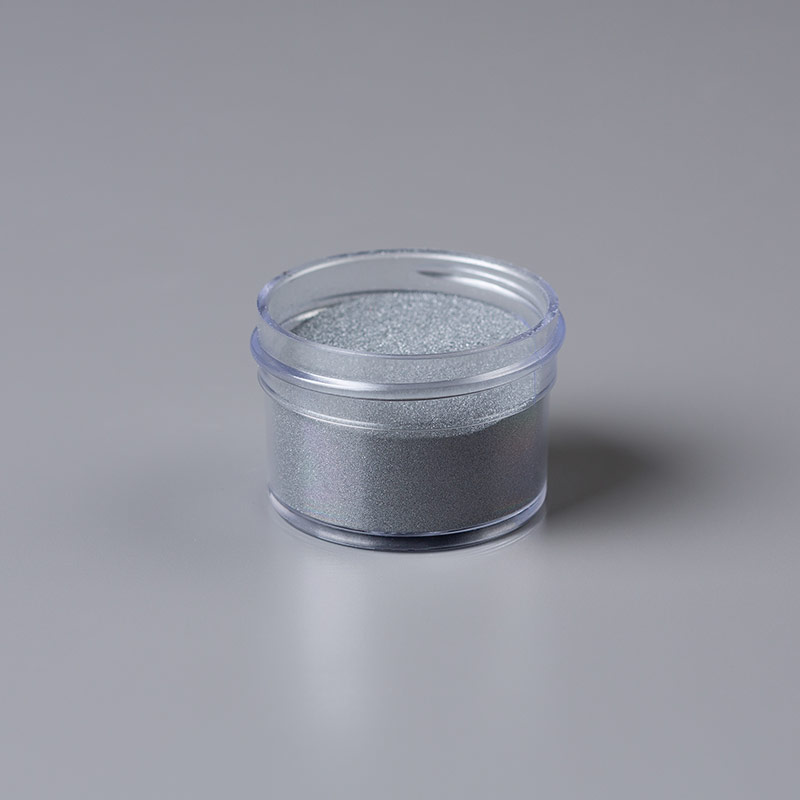
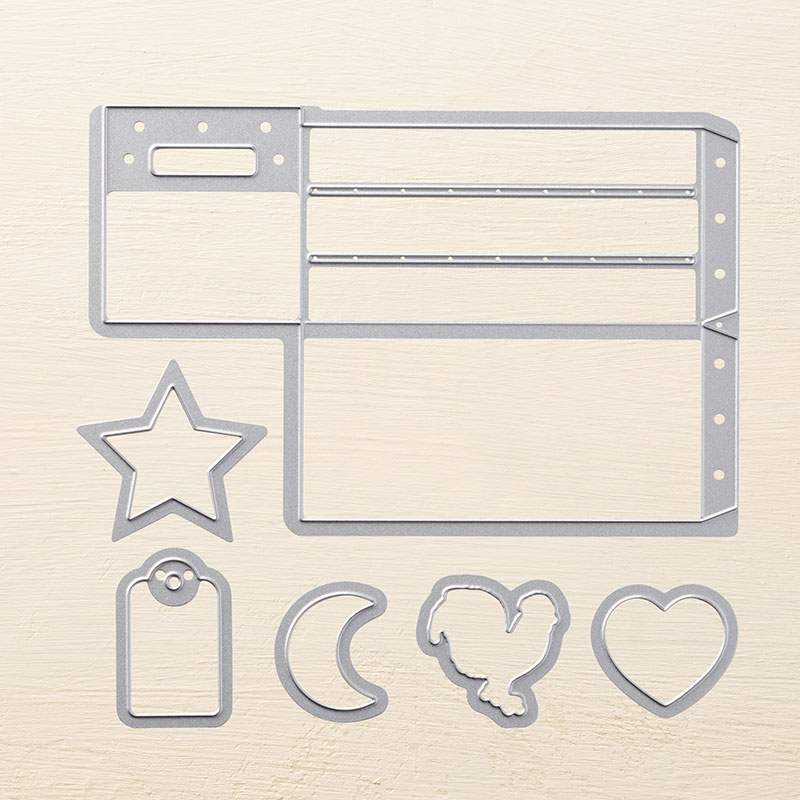
I love those little candy canes and ginger bread men. I heat embossed the sentiments in gold, copper and silver, and used the Stitched Framelits to die cut them. Then I added some sweets to clear bags and attached the tags using either gold metallic edge ribbon or black shimmer ribbon.

As you can see I also made some crates using the wood crates framelits. I wanted to see what different designs would look like so I made three crates, each different.

Stampin' Up! The Little Things

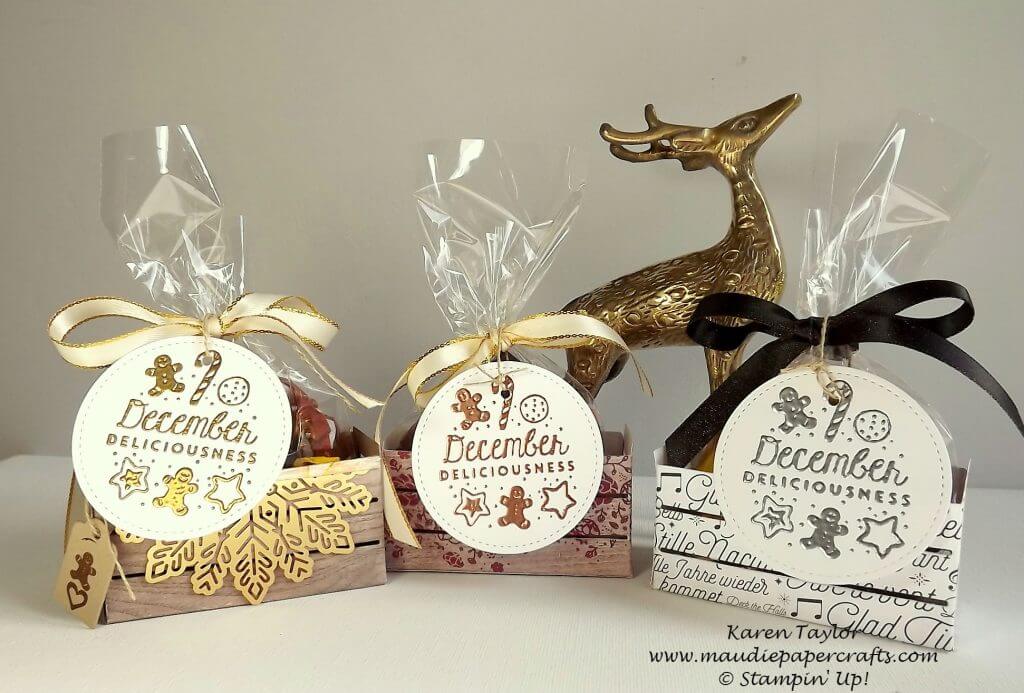
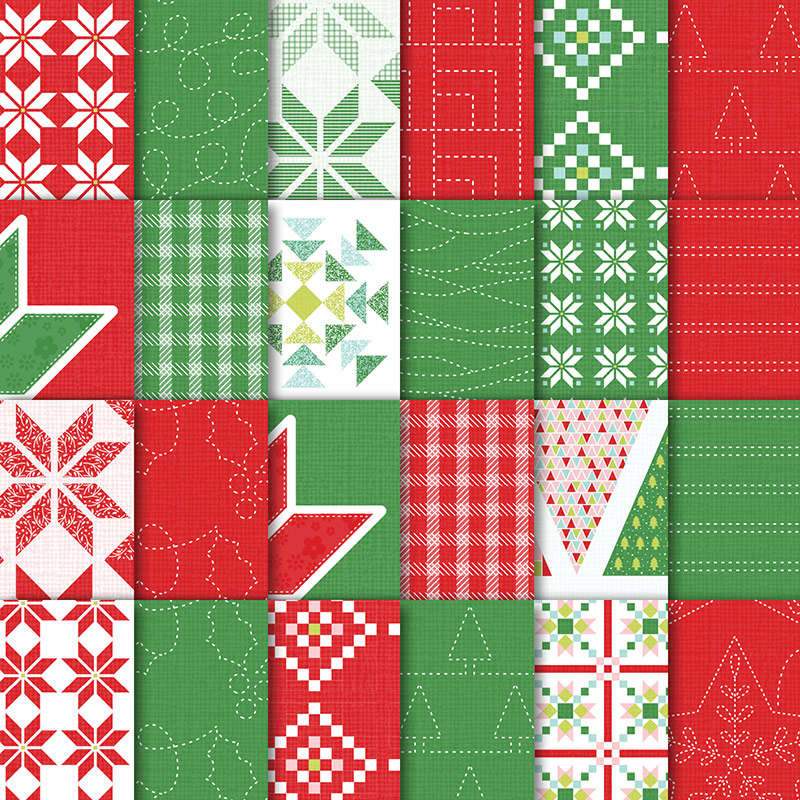
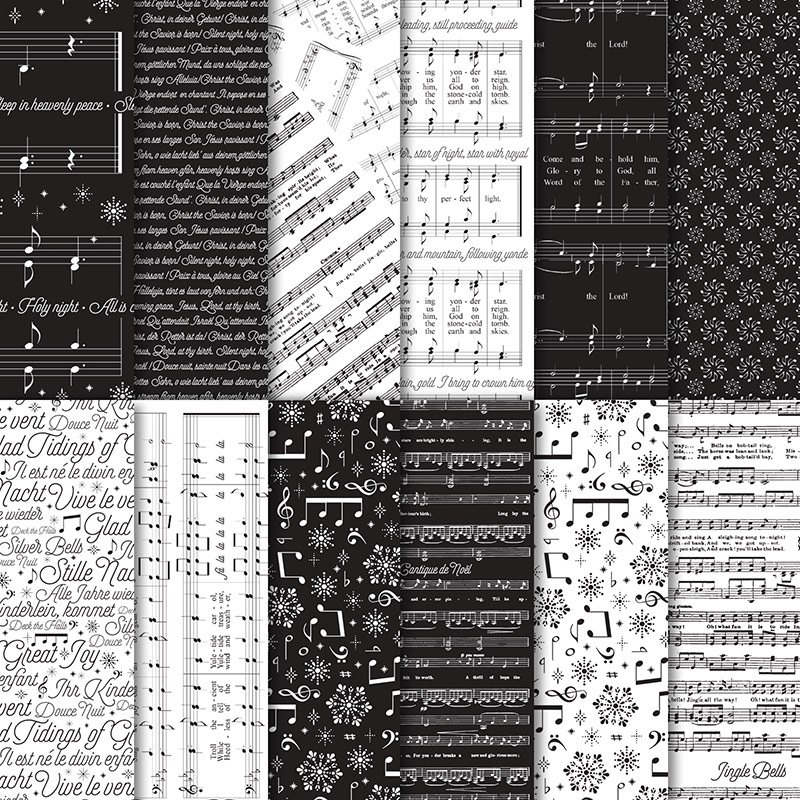
I used wood textures DSP on one (with a foil snowflake), Merry Music DSP on another, and more wood textures DSP that I stamped for the third.

I glued each piece of DSP to a piece of carstock before I die cut them to make a very sturdy crate – you will need to burnish well if you try this.

Stampin' Up! The Little Things

I think I might take these to a Christmas craft fair where I have booked a table at the beginning of December. I hope you like this week’s project – don’t forget to come back and see what I have made next week.

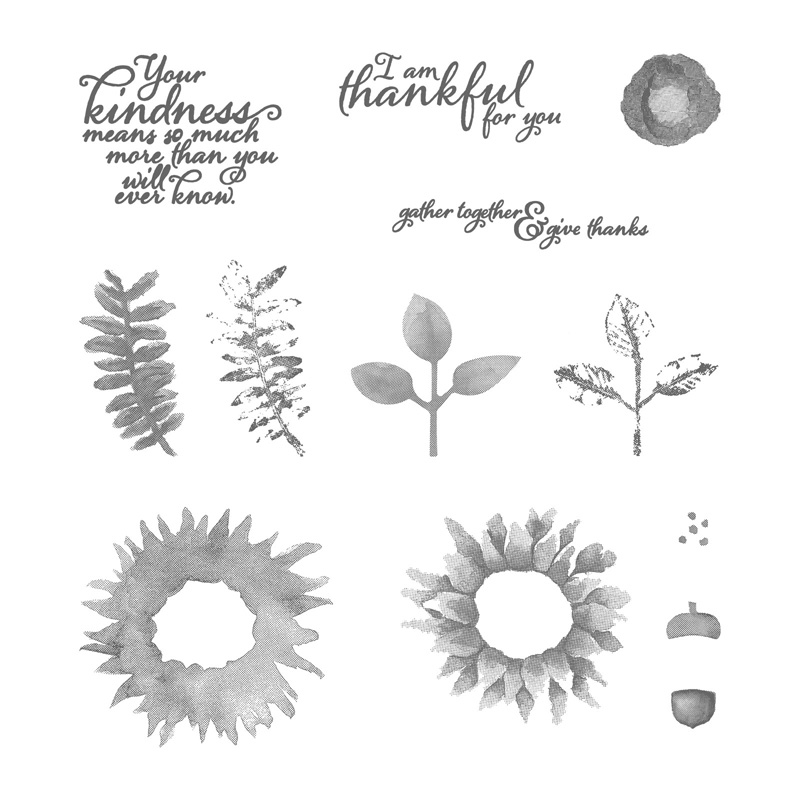
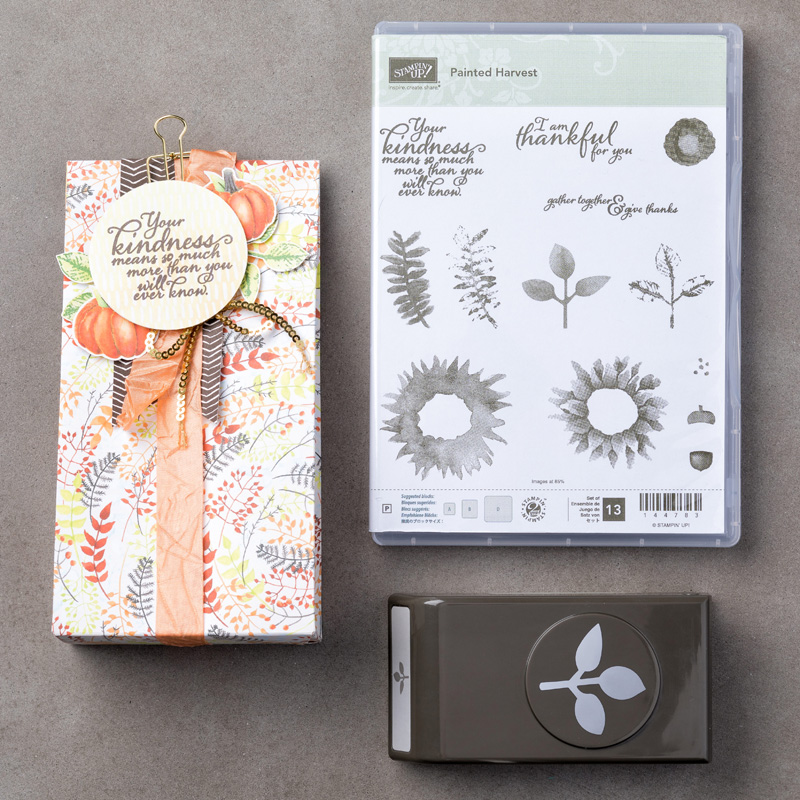
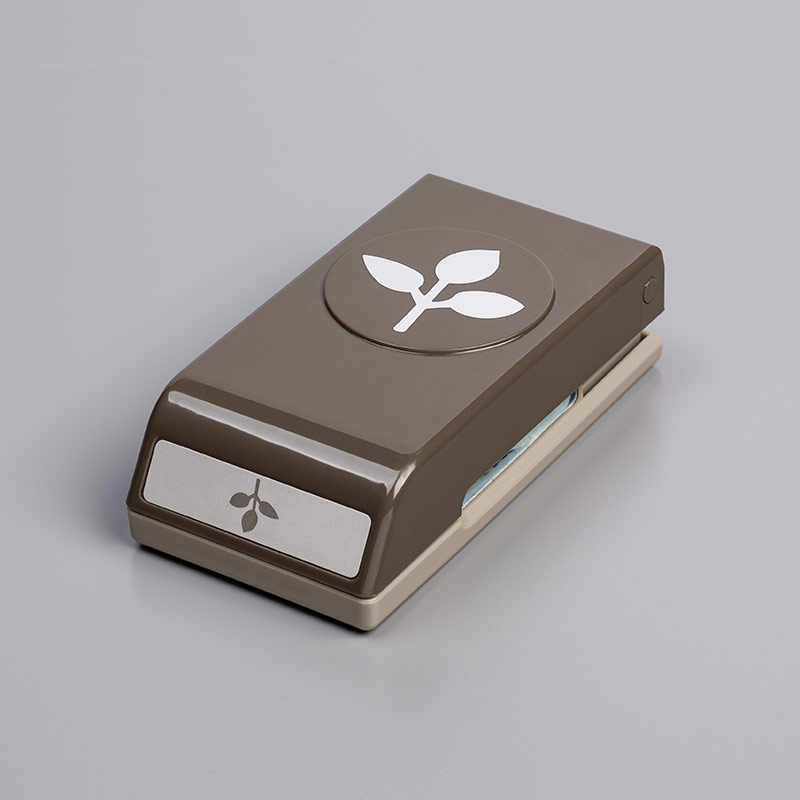
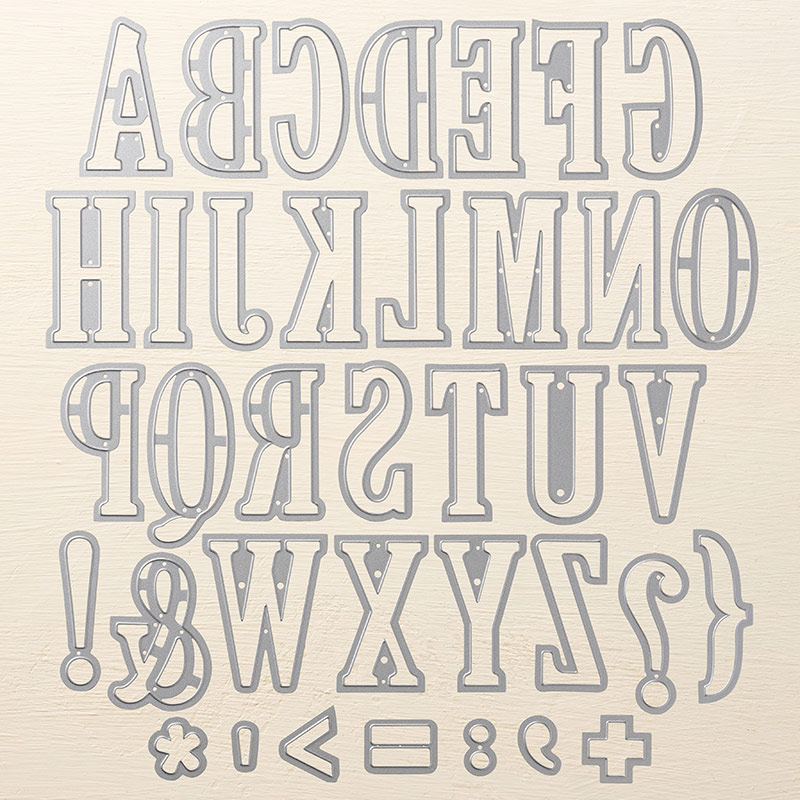
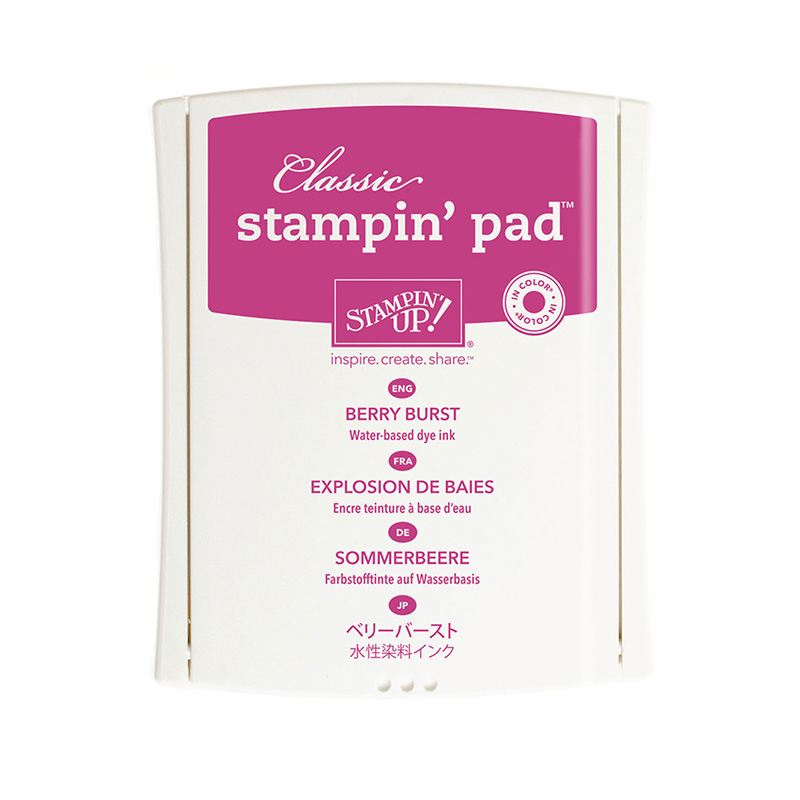
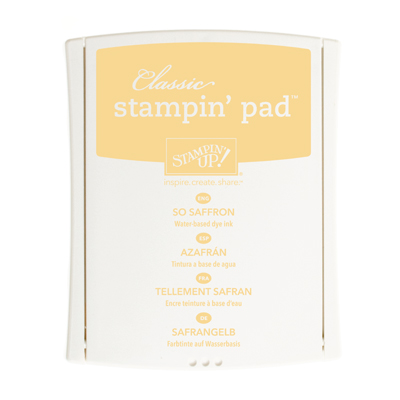
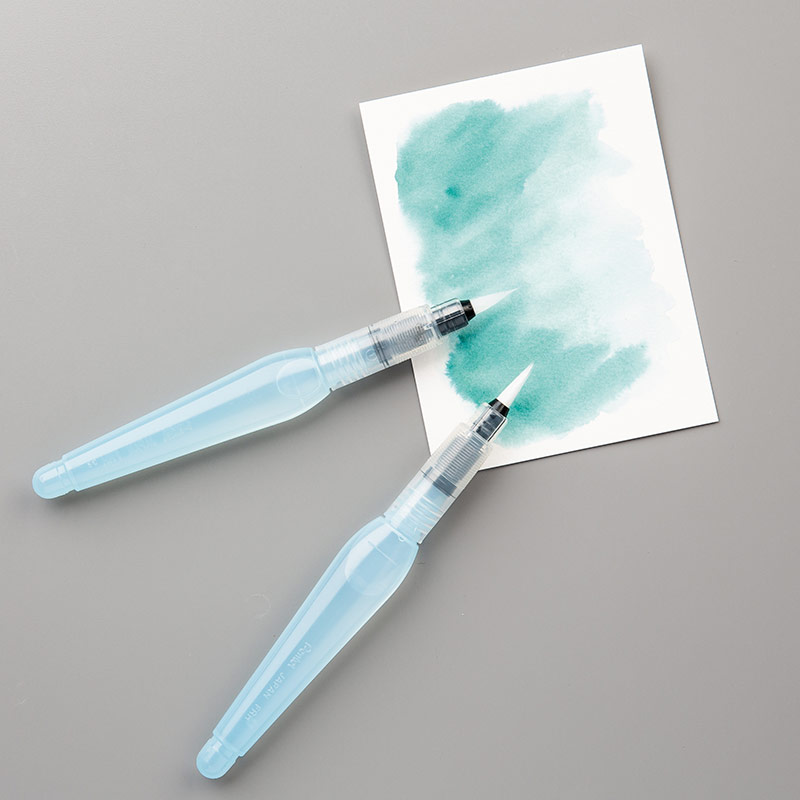
This is what I used for this week’s makes:


Table built using Product Table Builder by The Crafty Owl – Independent Stampin’ Up! Demonstrator.

Stampin’ Up! Painted Harvest eclipse Thank You card

Hello! Today’s post is part of a blog hop to say thanks to Sarah Reynold who has helped a group of use start, or like me, move our blogs. Sarah has the patience of a saint and has answered all our questions without grumbling (not that we heard anyway!) So, thanks Sarah.

My card combines the Painted Harvest and Large Letter Framelits, and uses the popular eclipse technique.

Stampin' Up! Painted Harvest eclipse Thank You card

As you can see the sunflowers don’t have to be sunflowers – here I’ve used Powder Pink and Berry Burst to make a beautiful colour combination.

The eclipse technique that is so popular at the moment is easy to do – simply create your design, or use some DSP, then die cut your image, word, number or whatever, then pop it up and fit it back into the image.

Stampin' Up! Painted Harvest eclipse Thank You card

It’s easier to see the effect from the side. I added some Wink Of Stella to make the letters really pop but it doesn’t show up well in the photos.

The Large Letter Framelits are fabulous, but are a real investment. You can fit 4, or at most 5 letters on a standard size card, but they do also look effective on a longer one. Expect to see more projects from me that use them – now I’ve got them they have to be used!

Stampin' Up! Painted Harvest eclipse Thank You card

We’d love it if you had time to visit all the blogs in today’s hop. Thanks again Sarah!


Table built using Product Table Builder by The Crafty Owl – Independent Stampin’ Up! Demonstrator.

Stampin’ Up! New Stampin’ Blends alcohol pens

You may have seen or heard that Stampin’ Up! were releasing some alcholol markers – well you can buy them now! They went live on November 1st.

For now there are 12 colours, each with a light and dark pen, as well as an ivory pen, and bronze pen, and a colour lifter.

These are the colours available, each with a light and a dark colour:

Bermuda Bay, Calypso Coral, Cherry Cobbler, Crumb Cake, Daffodil Delight, Night of Navy, Old Olive, Pink Pirouette, Pool Party, Pumpkin Pie, Rich Razzleberry, Smoky Slate.

Pens are available separately or as a duo. They are not reillable which is why they are being sold individually.

These pens are artist quality and blend beautifully. I have only had a small play with them, but from what little I’ve seen, I’m impressed.

The price point is €5.50 for each pen (€11 for a duo). For artist quality pens that’s a good price.

Stampin’ Up! have made several videos, here’s one to give you an idea of what you can do with them. If you have any questions, please contact me!


Stampin’ Up! Pootler’s Design Team Challenge – The Little Things

Pootler’s Desgin Team Challenge, The Little Things, week 1

It’s Thursday so it must be Pootle’s design team challenge. This month I am lucky enough to be on the design team, so for every Thursday in November you’ll be seeing a project from me using The Little Things stamp set.

I have to admit that this isn’t a stamp set that jumped out at me. However I have had great fun with it, and will be using it for more than 5 projects.

So, here’s the first one:

Stampin' Up! The Little Things cards

To make these cards I used the beautiful Year of Cheer speciality DSP. I heat embossed the greeting on both cards in copper and then finished them both differently.

On one I used the striped ribbon going down the card rather than across. I also used some of the Champagne foil sheet and a Foil snowflake behind the greeting.

Stampin' Up! The Little Things

I made the second card into a shaker card, with the greeting behind the window sheet, and added some glitter.

I hope you liked these cards. Don’t forget to check out the other blogs on the design team.

If you’d like to see what I make next week, don’t forget to subscribe so you don’t miss it.

Strampin' Up! The Little Things

Here’s what I used to make these cards.


Table built using Product Table Builder by The Crafty Owl – Independent Stampin’ Up! Demonstrator.

Stampin’ Up! Half Full Christmas card

Stampin' Up! Half Full Christmas Card

Following on from my last post, here’s the Christmas card I made at the same time. This card also uses the Half Full stamp set, but with a Christmas twist – love it!

I used watercolour paper and ink pads as palettes as before. This time I added some of the Quilted Christmas 6″ x 6″ DSP to give the card a festive feel.

Here’s the inside:

Stampin' Up! Half Full Christmas Card

I’m going to a Christmas craft fair at the beginning of December – the AIKB one in Gouarec for anybody who is in the vicinity. I’m going to make some of these cards for the fair because I think they may be popular.

Stampin' Up! Half Full Christmas Card

I’m part of the Pootles design team for November so I’ll be back soon with the first of 5 projects – posted on each Thursday during November.


Table built using Product Table Builder by The Crafty Owl – Independent Stampin’ Up! Demonstrator.

Stampin’ Up! Half Full card

Stampin' Up! Half Full

It’s not often that I know that I’ll use every stamp in a stamp set, but this is one of those occasions – I love every stamp in this set!

Did you miss it in the Seasonal catalogue? It’s on page 42, and easy to miss amongst all the Christmas and Halloween sets. One of the things I like about this set is it isn’t just for Chrismtas, you can use it all year round.

I got out some watercolour paper for these cards, and used the ink pads as palettes to colour in the bottle and glass. The Archival Basic Black ink pad is good for watercolouring, just give it a little time to dry first.

Stampin' Up! Half Full

That tag fits exactly into the Scallop Tag Topper punch which is good news. I stamped the background with the row of glasses in the set and used Fresh Fig for the base of the cards.

Stampin' Up! Half Full

I’m pleased with these cards and already have lot of birthdays coming up that they’d be suitable for.

Next time I’ll have a card using the same set, but with a Christmas theme.

Don’t forget that you only have a few more days for the buy 3 get 1 free DSP offer – it ends on 31st October.


Table built using Product Table Builder by The Crafty Owl – Independent Stampin’ Up! Demonstrator.

Stampin’ Up! Carols of Christmas shaker card

Stampin' Up! Carols of Christmas shaker card

So, I CASE’d the catalogue to make this card – I changed a couple of things, but it’s basically the same. I made this card mainly because I was having a Christmas session at my house, and my Christmas and glitter mad friend Dawn was coming. I’ve mentioned Dawn before – she loves all things Christmas and glitter, and is already watching seasonal films on TV! You can find her blog here – http://allthingsprettycraftee.blogspot.fr/

To make this card I used the Carols of Christmas bundle, and added some heat embossing on the sentiment.

Stampin' Up! Carols of Christmas shaker card

I also used a strip of Washi tape from the Year of Cheer speciality Washi stack to add just a little extra dimension to one side of the card.

I didn’t use a window sheet for the shaker part – instead I used a small bag, because I wanted the glitter to stay put!

I also added some glitter card behind the stars and moon on the top. And I popped the whole panel up on some foam pads.


Stampin' Up! Carols of Christmas shaker card


Hope you like it!


Table built using Product Table Builder by The Crafty Owl – Independent Stampin’ Up! Demonstrator.

Stampin’ Up! Carols of Christmas tags

Stampin' Up! Carols of Christmas tags

I haven’t seen many tags made with the Carols of Christmas bundle so I thought I’d make some. I’ve used the Merry Music speciality DSP for the background.

To make these tags I used Whisper White card stock cut to 2″ x 4″ then adhered some of the DSP (cut to the same size) to it.

Then I used the Scalloped Tag Topper punch to make tags and rounded the corners using the envelope punch board.

Stampin' Up! Carols of Christmas tags

As you can see I just used black and white card for the trees and copper and  silver for the deer. The ribbon is not Stampin’ Up! but goes well with the black and white I think.

I have another Carols of Christmas card to show you in the next post, with lots of glitter!

Don’t forget that the but 3 packs of DSP get one free offer is only open until the end of October, so if you want some don’t leave it too long and miss out.


Table built using Product Table Builder by The Crafty Owl – Independent Stampin’ Up! Demonstrator.

Stampin’ Up! Guy Greetings retiform style

I’ve seen the retiform style of card around a lot recently so I thought I’d have a go at making one myself.  Here it is –

Stampin' Up! Guy Greetings retiform

I made this card for a swap that had to have masculine things in it, so this was a good excuse to use the wonderful Guy Greetings and almost all the stamps in it! I also used the motorbike from One Wid Ride.

To get this effect you need to mask off bits of the card, sponge the edges, then stamp the image.

Stampin' Up! Guy Greetings retiform

I have seen this style of card made with different colour partitions, but I used Soft Suede and Chocolate Chip here.

I hope you like it  – I’m not sure I’ll be making lots of this style, but it was an interesting experiment.

Stampin' Up! Guy Greetings retiform

By the way, the Guy Greetings stamp set is one of very few that is available in Photopolymer, wood mount rubber, or clear-mount rubber.


Table built using Product Table Builder by The Crafty Owl – Independent Stampin’ Up! Demonstrator.

Stampin’ Up! Gated card using Fresh Florals designer series paper

Stampin' Up! Gated card using Floral Phrases DSP

I have been trying out different folds for my cards, and here’s one of them. We made this recently at a workshop and it proved popular – several of the participants have told me that they went home and made more cards like this.

I used the Fresh Florals DSP because it has a nice contrast of patterns. Here I’ve used Tranquil Tide and Berry Burst, but at the workshop we used all the colours in the stack, and they all looked great.

Stampin' Up! Gated card using Floral Phrases DSP


Inside the card we used the co-ordinating Floral Phrases stamp set. Around the outside is a belly band – if you don’t make this too tight the card will stand up with it on.

Stampin' Up! Gated card using Floral Phrases DSP

You can see that on this wedding card I also put a punched flower from the Flower Shop stamp set.

By the way I used the measurements for this card from a card that Jan Brown made.

Stampin’ Up! news. Stampin’ Up! are releasing a new range of alcohol markers. There is no release date yet, although it should be before Christmas. Demonstrators have a short time frame to order some and get used to them before they go on general sale. If you think you might like to use these markers before they go on general sale there is a way – become a demonstrator before October 15 and you can add these markers to your starter kit!

For €129/£99 you get to choose €175/£130 worth of products, which could include the alcohol markers, and shipping is free too. After that the rest is up to you, you can choose to make a business of Stampin’ Up! or drop from being a demonstrator and keep all your stuff. If you live in France, the UK, the Netherlands, Austria or Germany and would like to take up this offer I’d be so pleased to have you on my team! Contact me if you have any questions.


Table built using Product Table Builder by The Crafty Owl – Independent Stampin’ Up! Demonstrator.