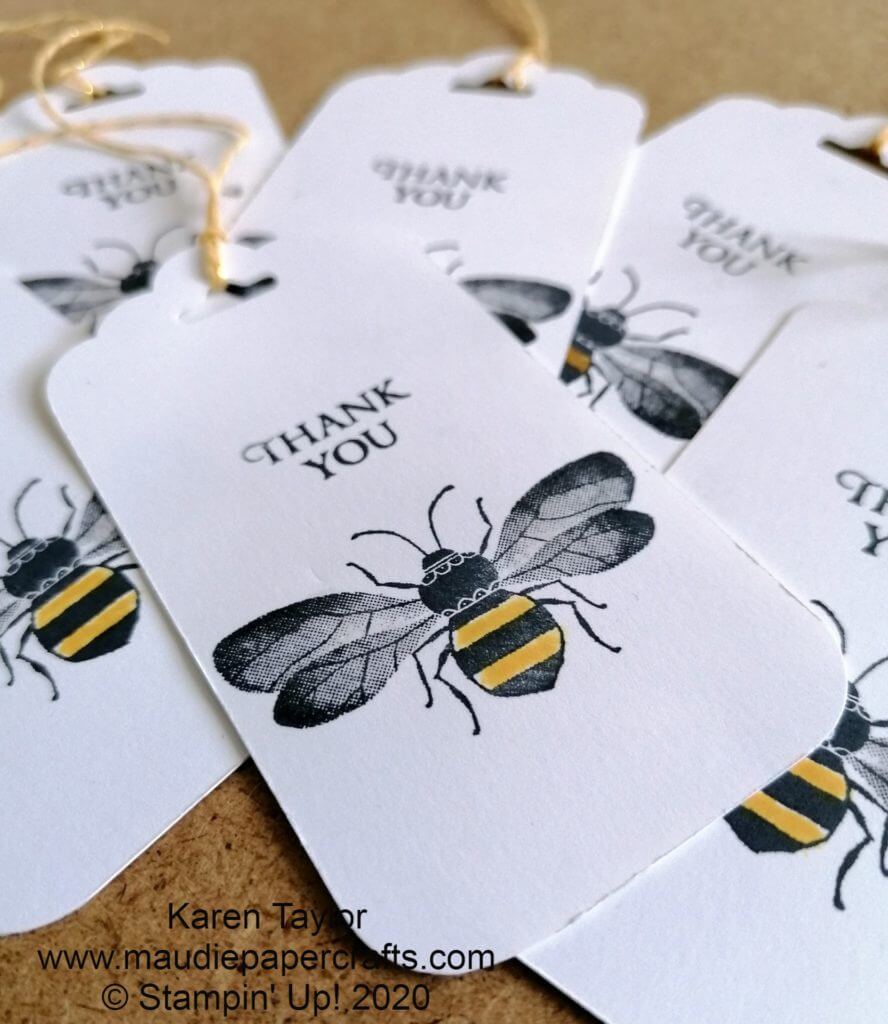
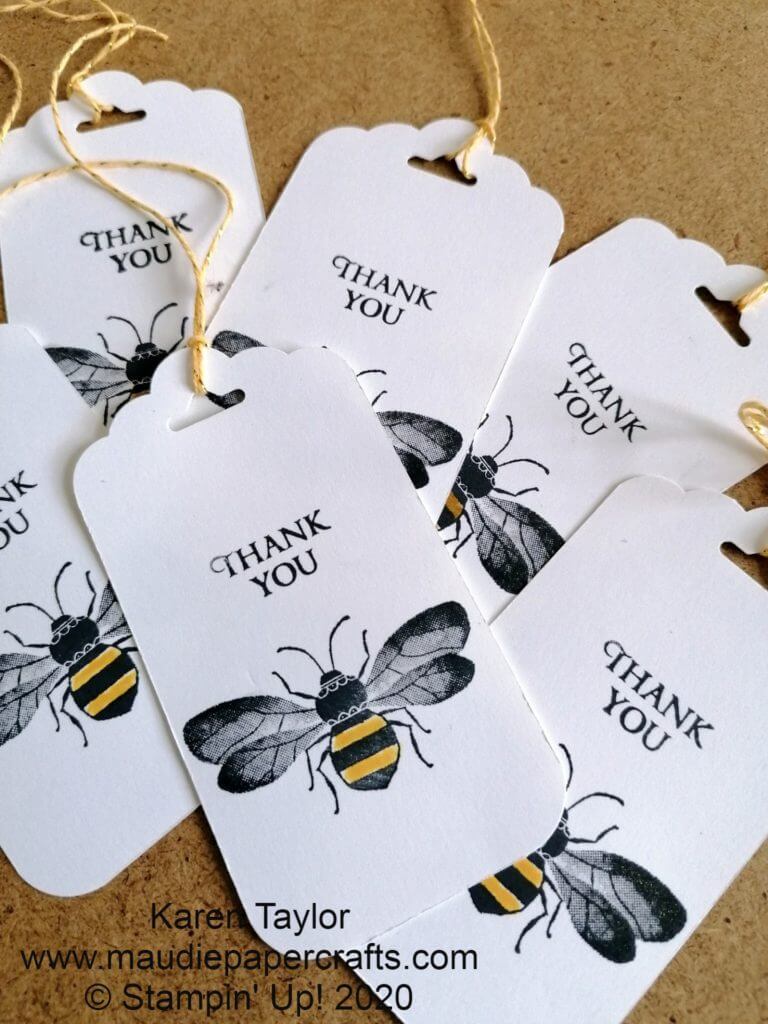
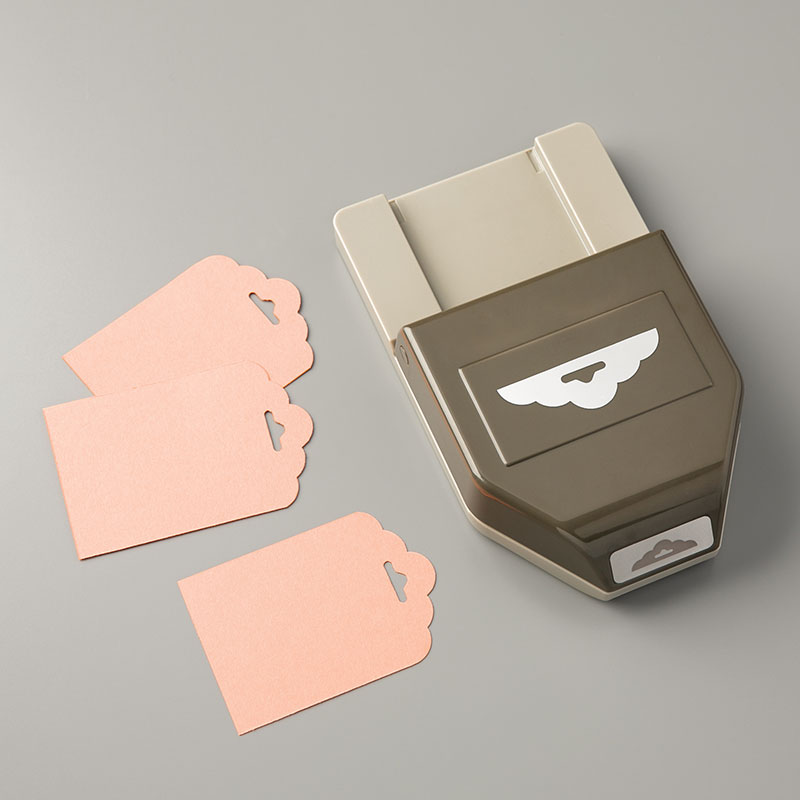
Hello! A quick post from me today, I don’t seem to have time to blog much anymore. I made these thank you tags recently when I sold some retired stamp sets – much as I’d like to I can’t keep them all.
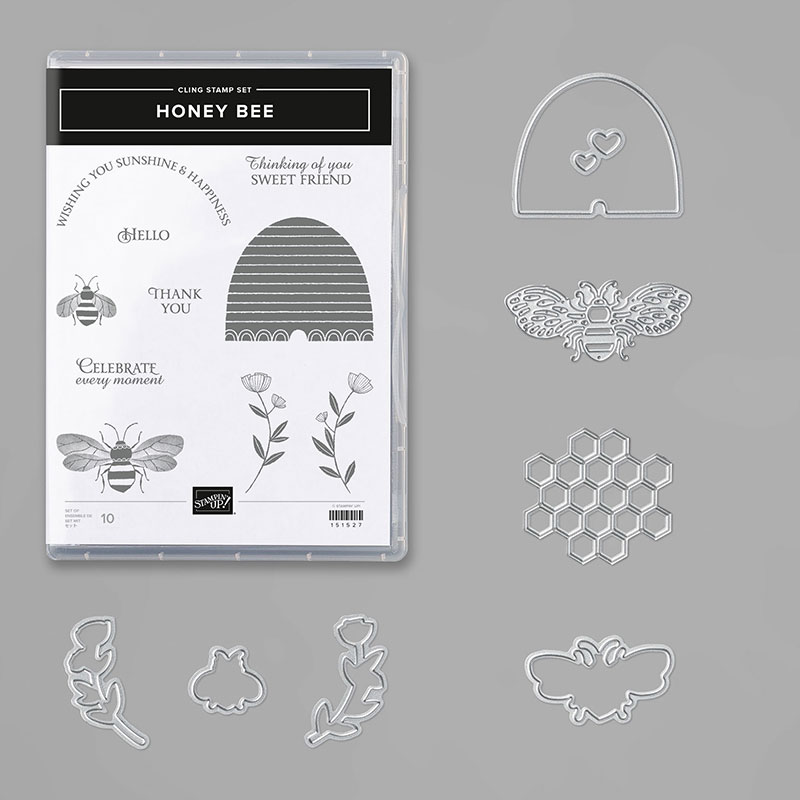
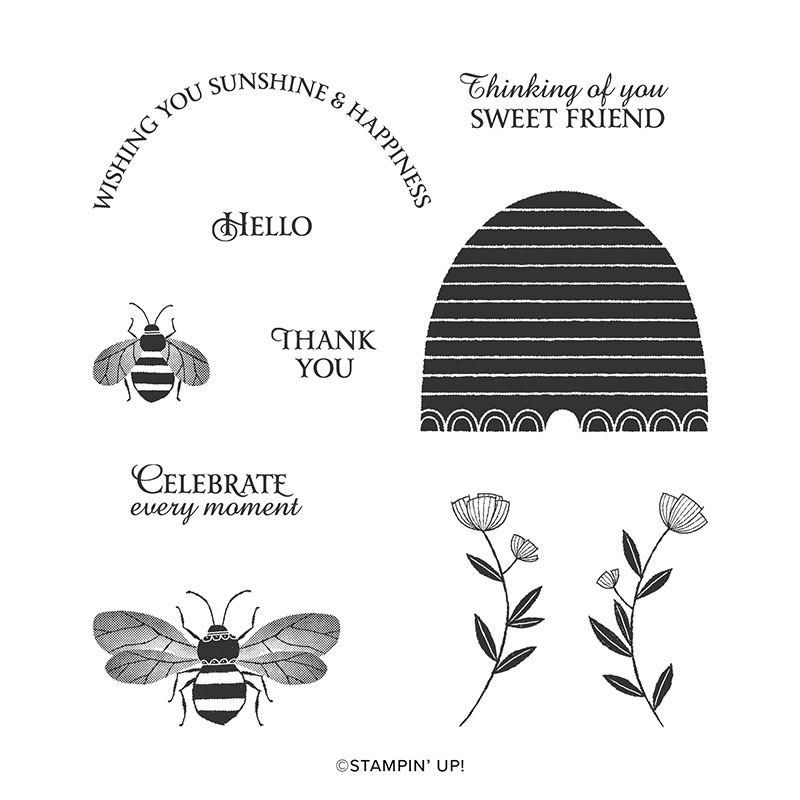
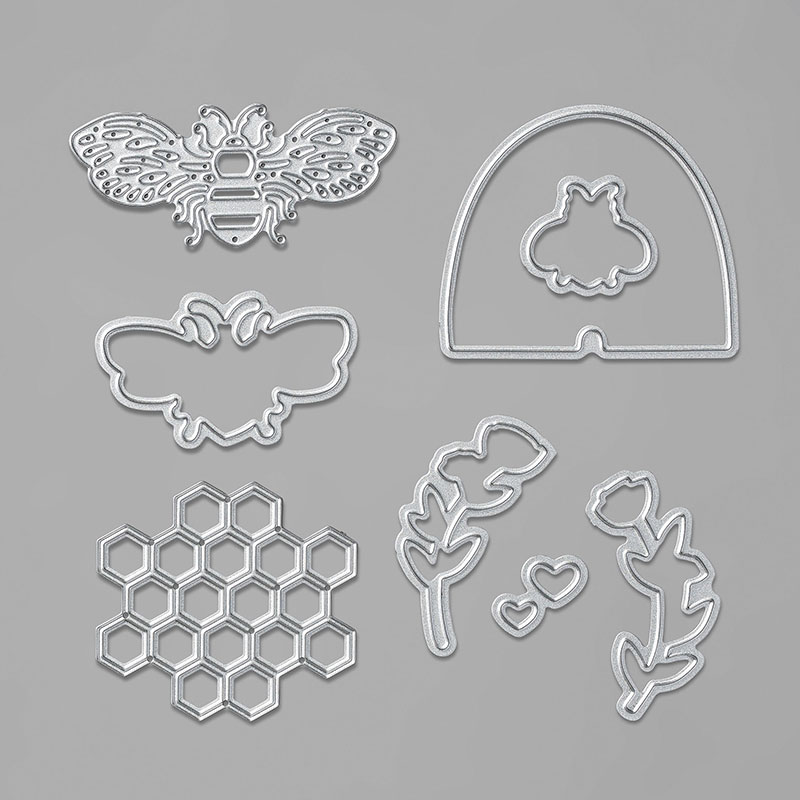
I used the Honey Bee stamp set. I actually bought the bundle but just used the stamps here.
I don’t know why I waited so long to buy – I love it! There is loads of detail in the bee wings isn’t there. I have plans for the dies too now, hopefully it won’t be too long before I use them.
It’s the last month of Sale-a-bration and there is some free DSP that goes with this bundle, all black and gold and lovely.
If you’d like to know more about Sale-a-bration and how to get free stuff, or just want to know more about Stampin’ Up! please contact me.
Table built using Product Table Builder by The Crafty Owl – Independent Stampin’ Up! Demonstrator.
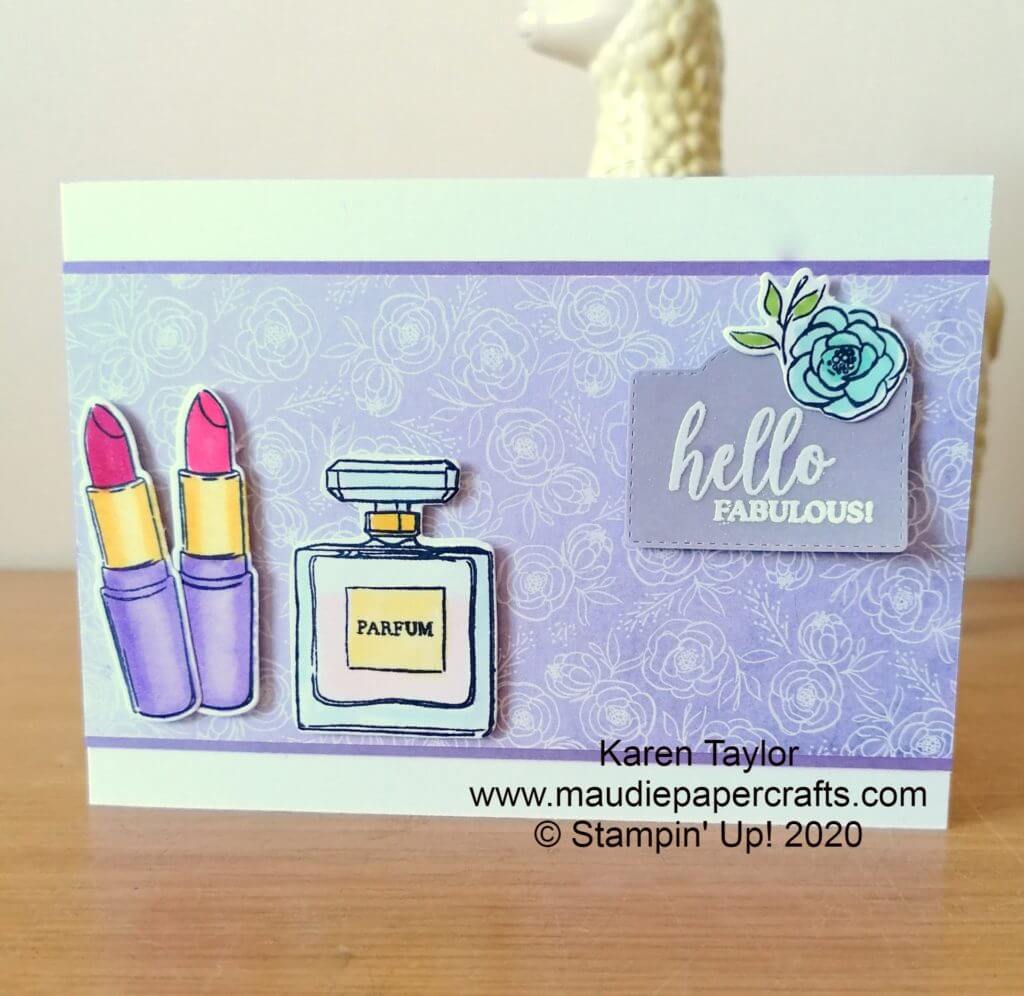
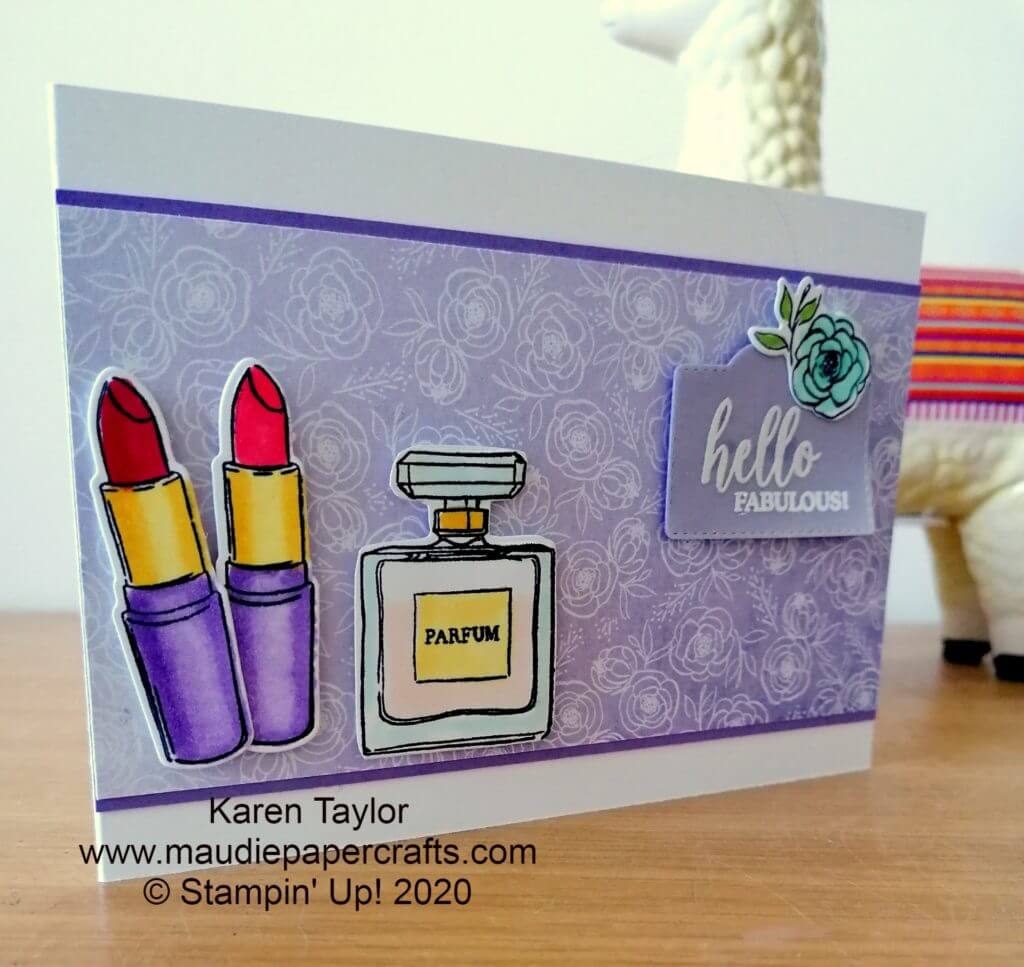
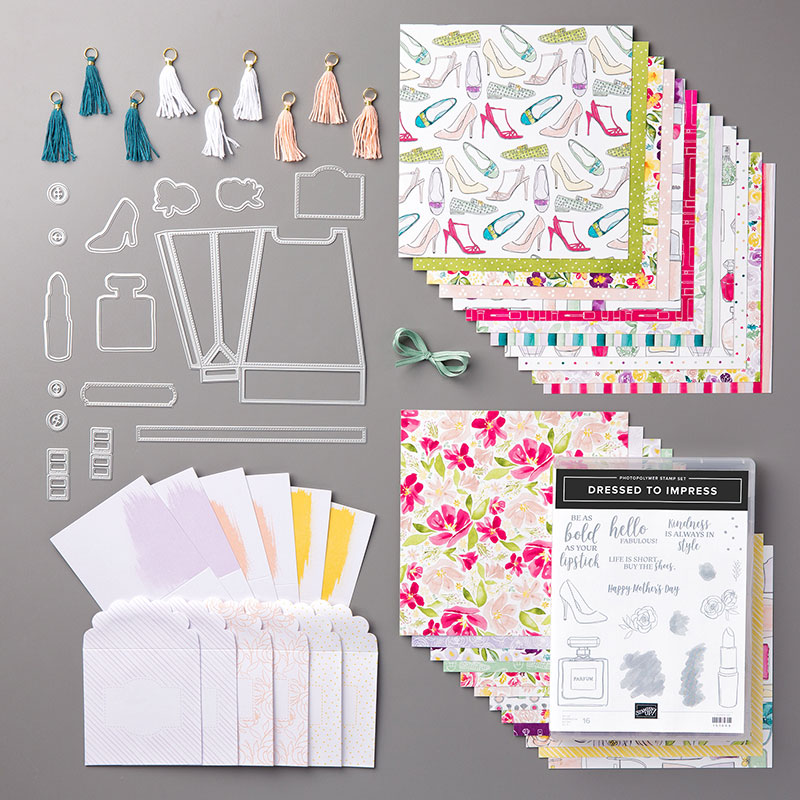
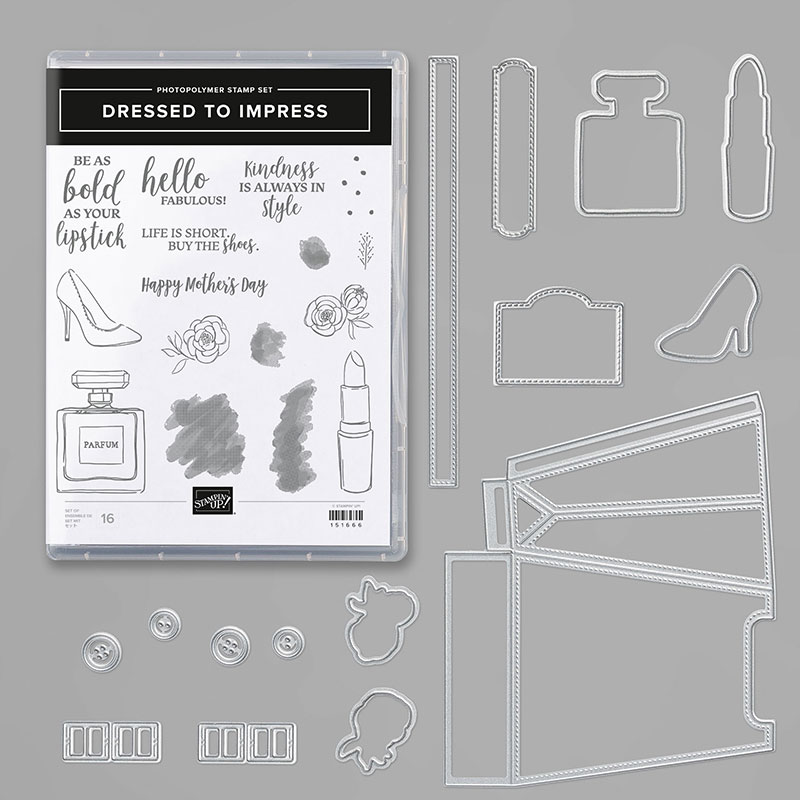
This is one of those suites that Stampin’ Up! are so good at – you look at it and can see a few possibilities, but then the more you look at it, the more you can do with it. I didn’t buy the DSP to start with, but then saw lots of ideas using it, so had to cave in and buy it, don’t you find that you do that too?
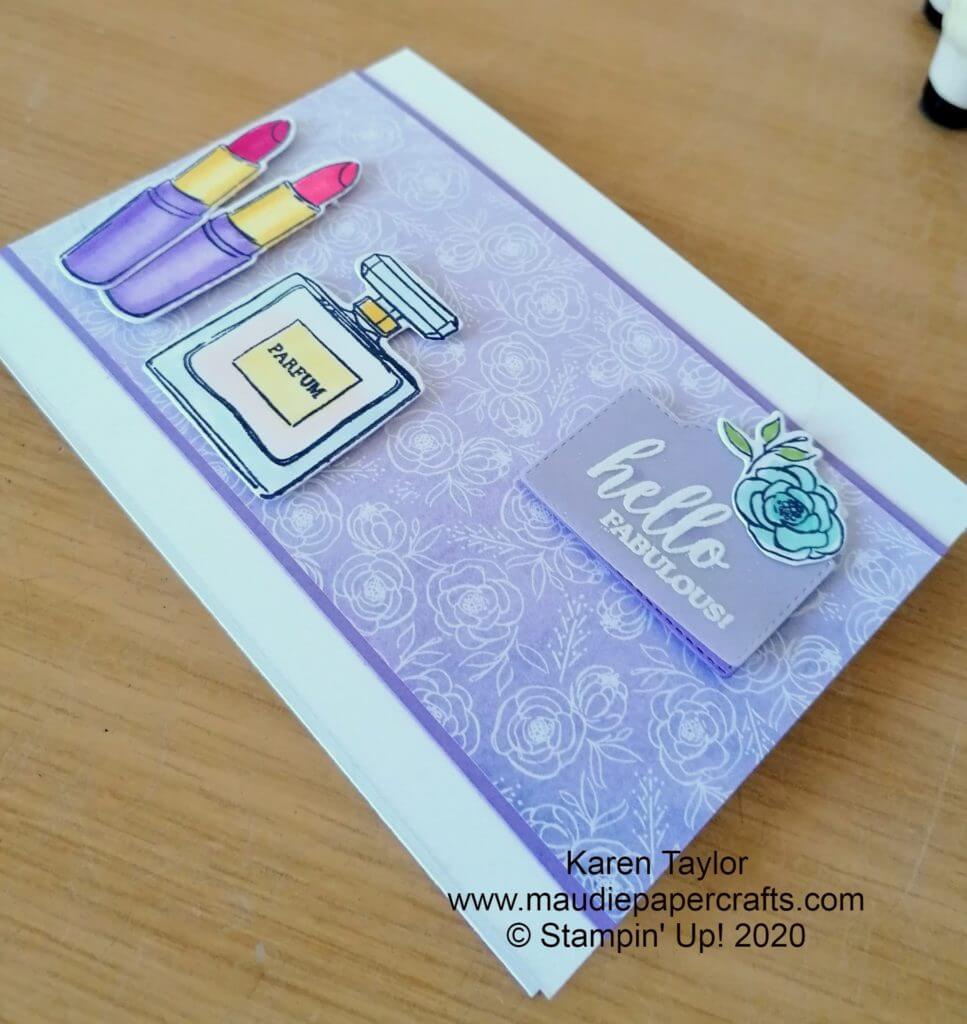
I coloured the perfume bottle and lipsticks using Blends pens, then die cut them and stuck them on using Dimensionals. For the Hello fabulous sentiment I used vellum and heat embossed in white on it so that it would stand out a bit more. Add a flower as a finishing touch and voilà, my card is done!
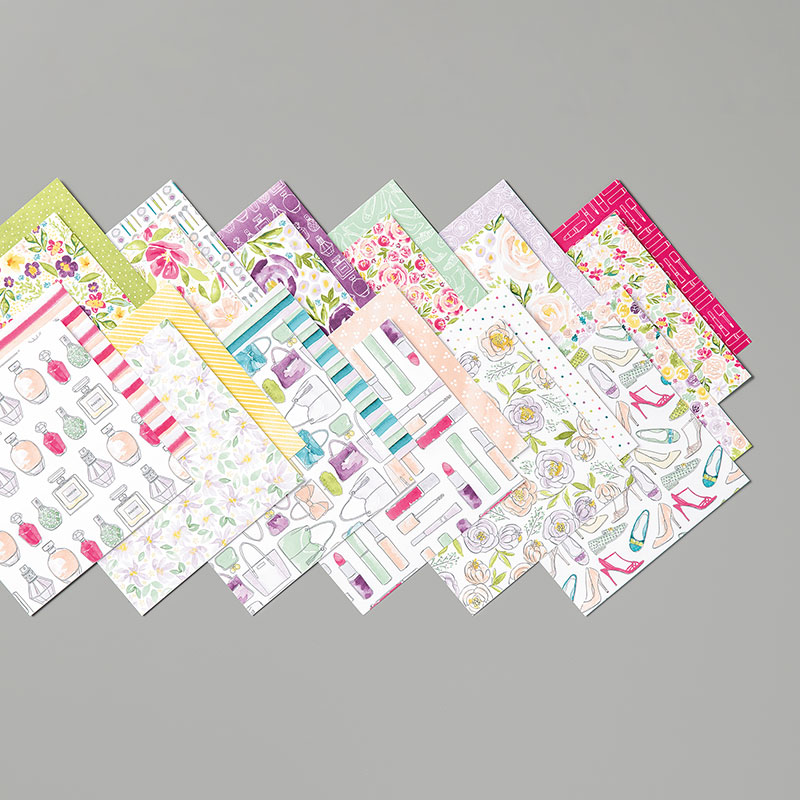
Also in this suite there are some lovely tassels, some Mint Macaron ribbon and some 3 x 3″ notecards and envelopes which fit into the bag that you can make with the dies. More on that in a future post. You can also order the whole suite using one code which is a good idea from Stampin’ Up! Look out for those bags, they’ll be here soon!
Table built using Product Table Builder by The Crafty Owl – Independent Stampin’ Up! Demonstrator.
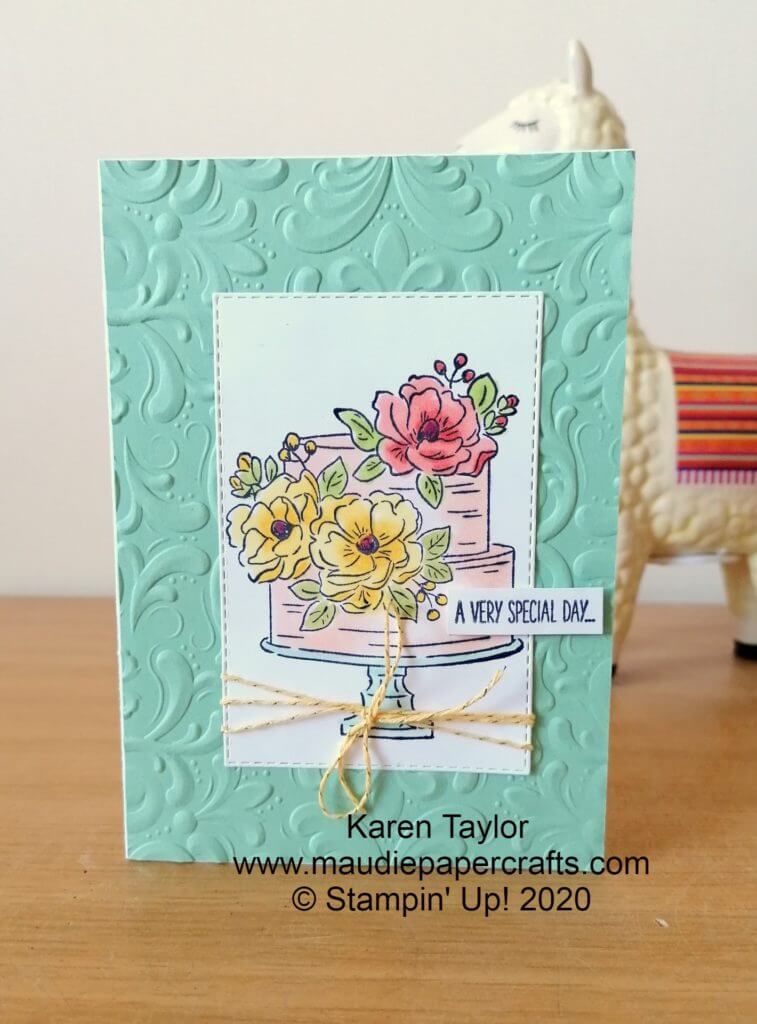
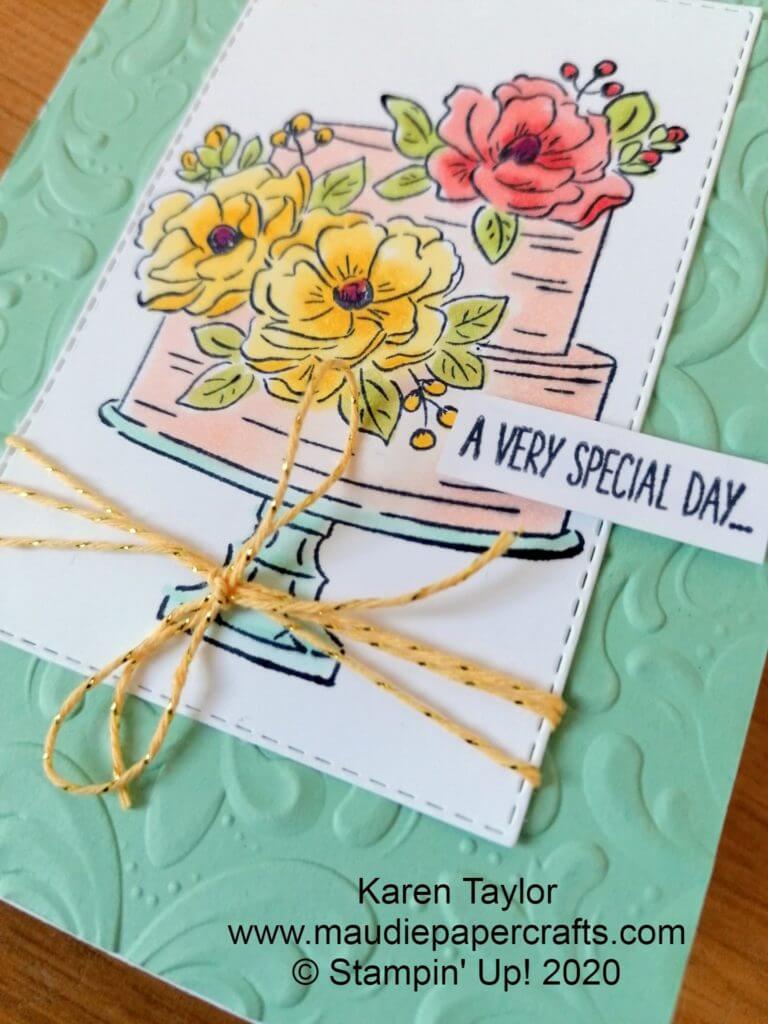
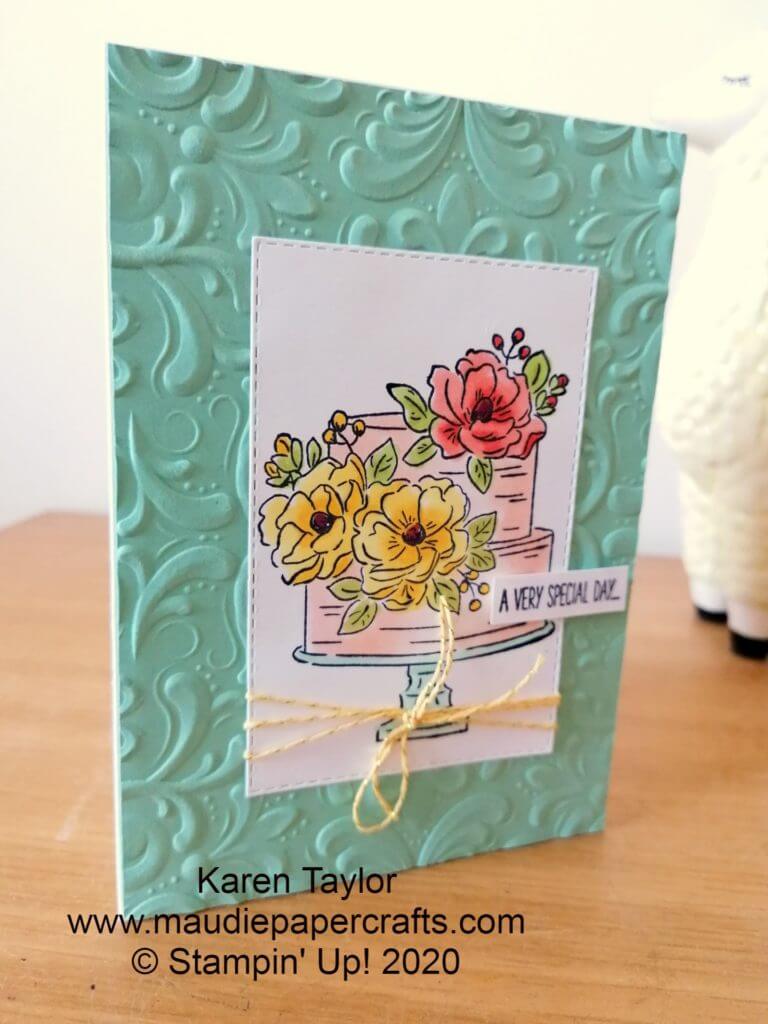
I don’t know what packs the biggest punch on this card, the cake or the embossing! It certainly makes for a great combination. The embossing folder is from the fabulous Parisian Blossoms suite in the new mini Spring/Summer catalogue. It’s a 3D folder and it’s beautiful as you can see.
I stamped the cake onto Whisper White card and coloured it using Blends pens. They are so easy to use and they make you look like a bit of an artist, even if like me you’re not. And what’s also great about this stamp set is it’s free – you can get it by spending £45/€60. So, order some blends, some cardstock, and the embossing folder and you could get the stamp set for nothing. Even better, there are some dies coming in February that will cut out the cake! More on that to come.
If you’d like any more information about Sale-a-bration and how to get free stuff, or think you’d like to join my Stampin’ Up! team, and I’d really love you too, please contact me. There’s a great joining offer on at the moment and you’ll get extra stuff in your joining order.
Table built using Product Table Builder by The Crafty Owl – Independent Stampin’ Up! Demonstrator.
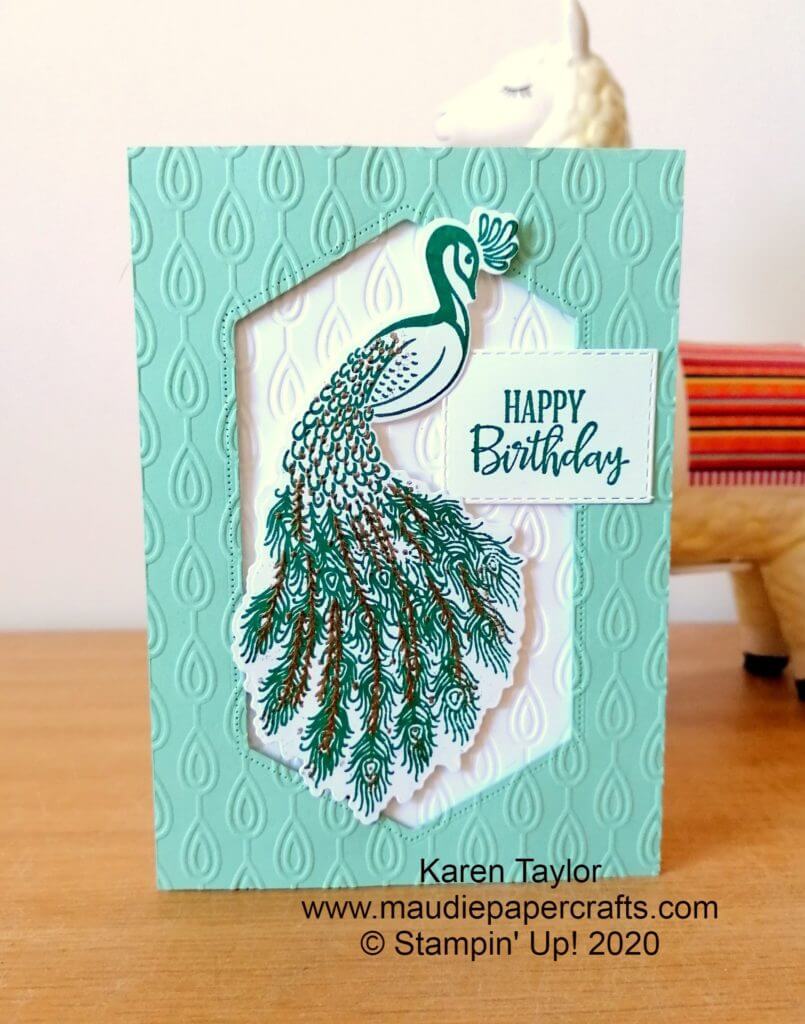
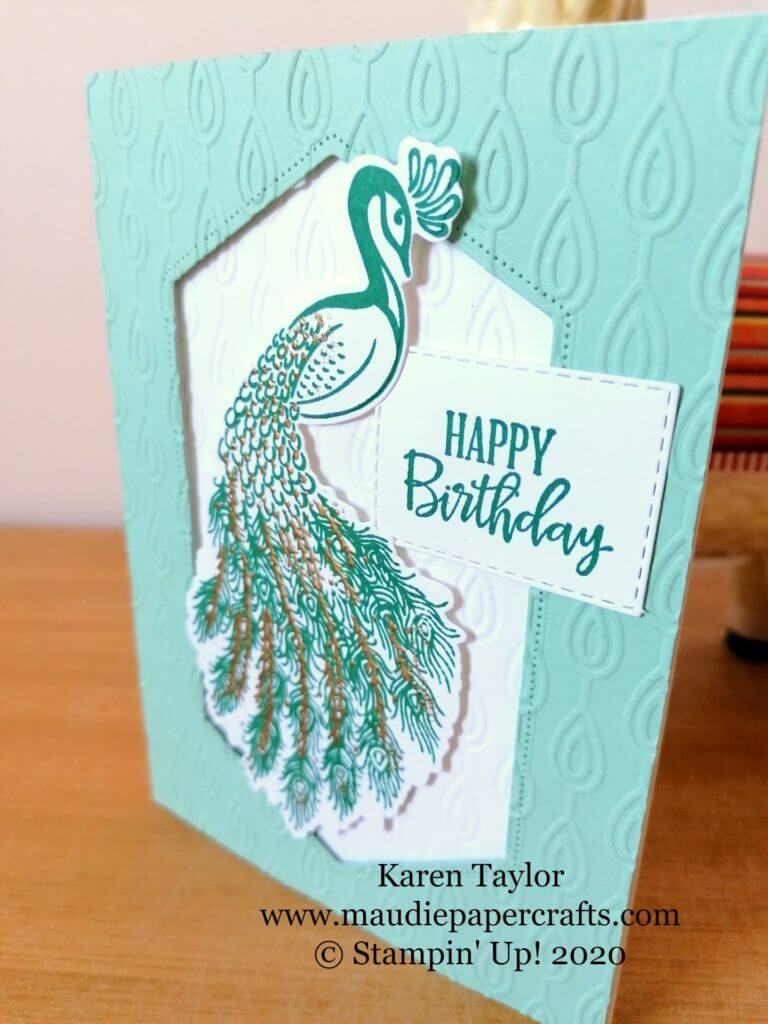
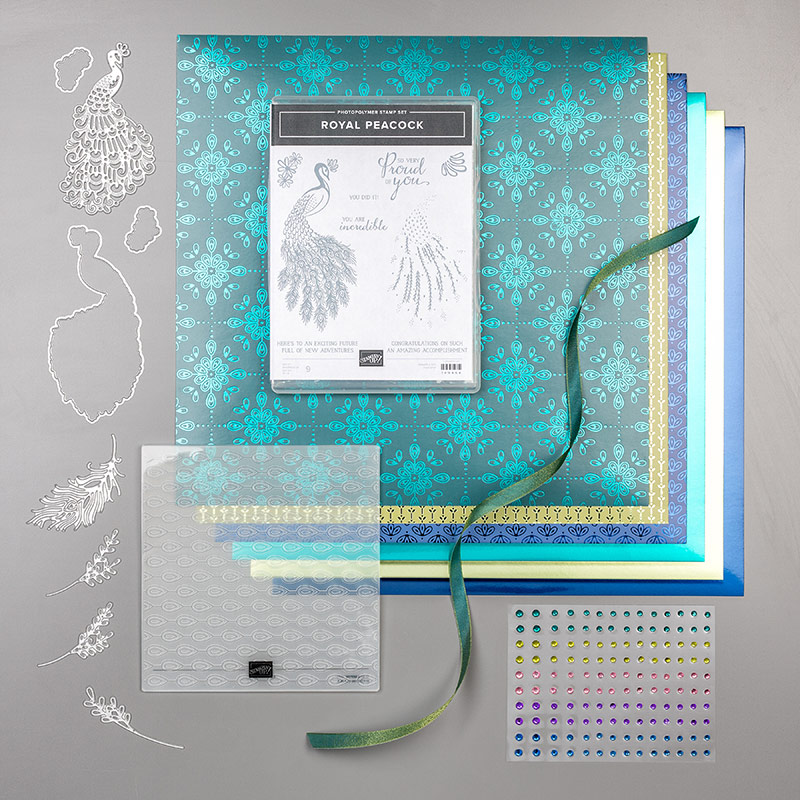
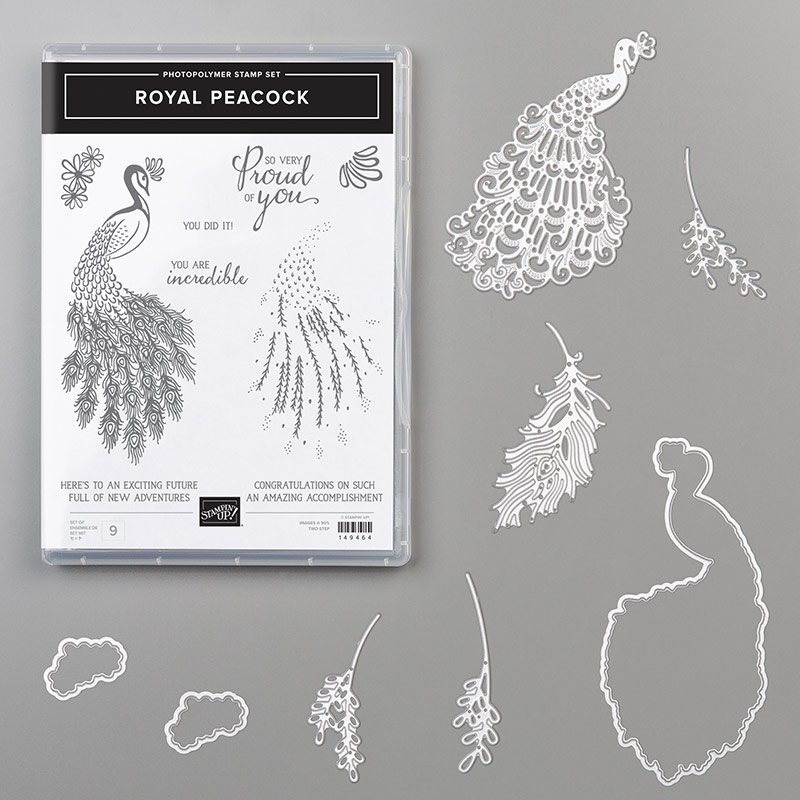
Sometimes a stamp set or bundle grows on you over time, and sometimes you see something and love it straight away, and it was love at first sight for me with the gorgeous Noble Peacock suite. The only question is, why has it take so long for me to get it out and use it!
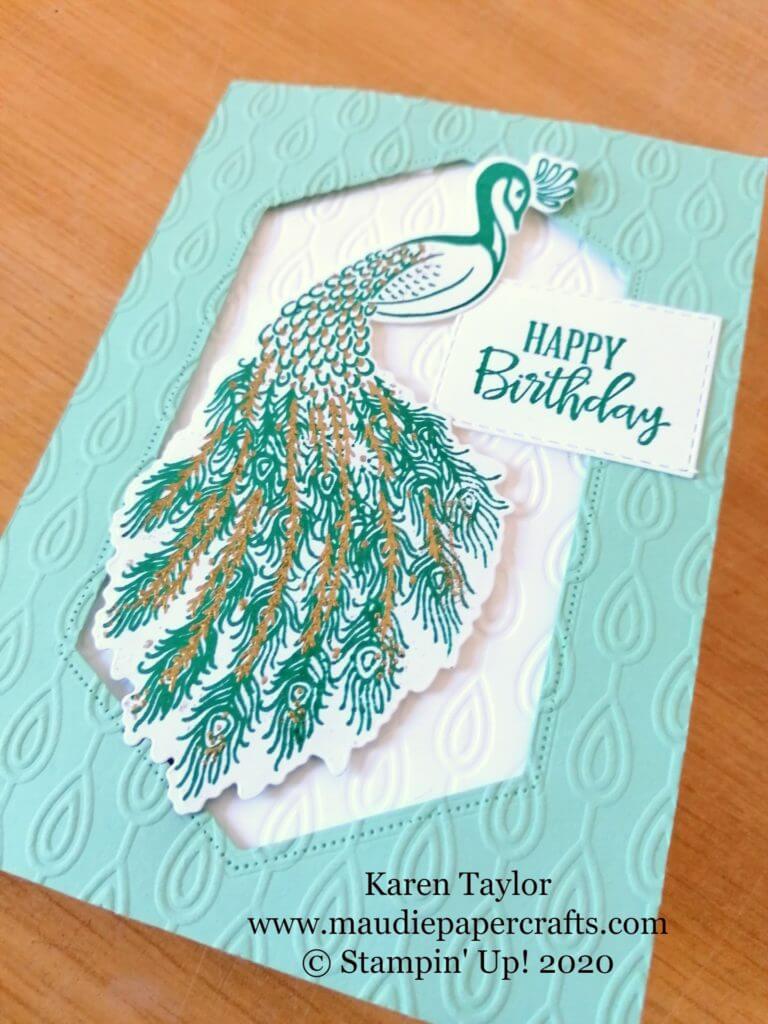
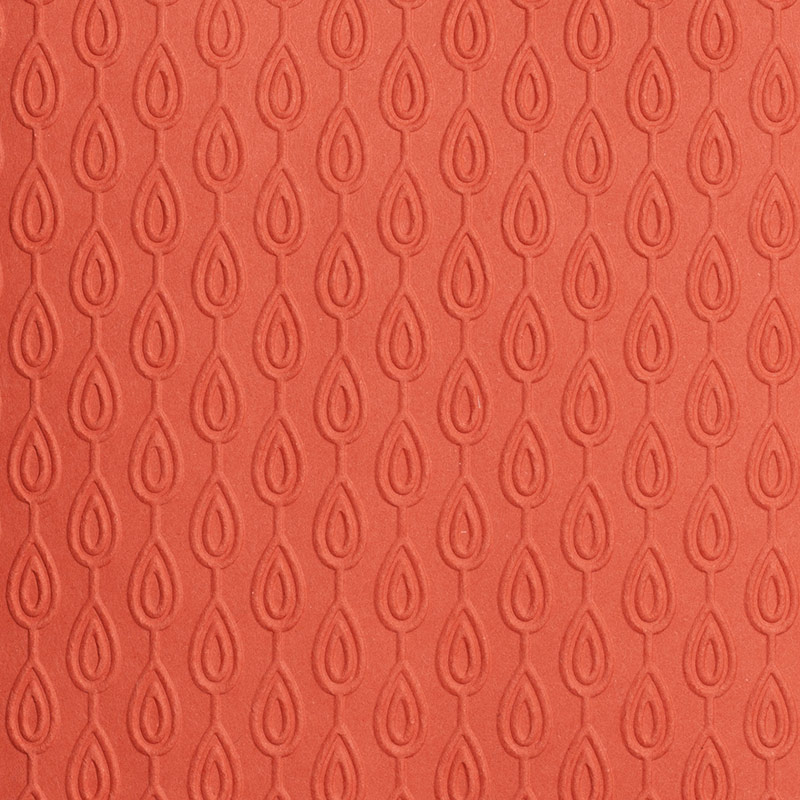
For this card I CASE’d the catalogue and used gold embossing for the detailed bits of the peacock’s feathers. I used Shaded Spruce for the main stamp. I decided to emboss the background layer and the frame around the peacock, but used the debosssed side for the background which looks great.
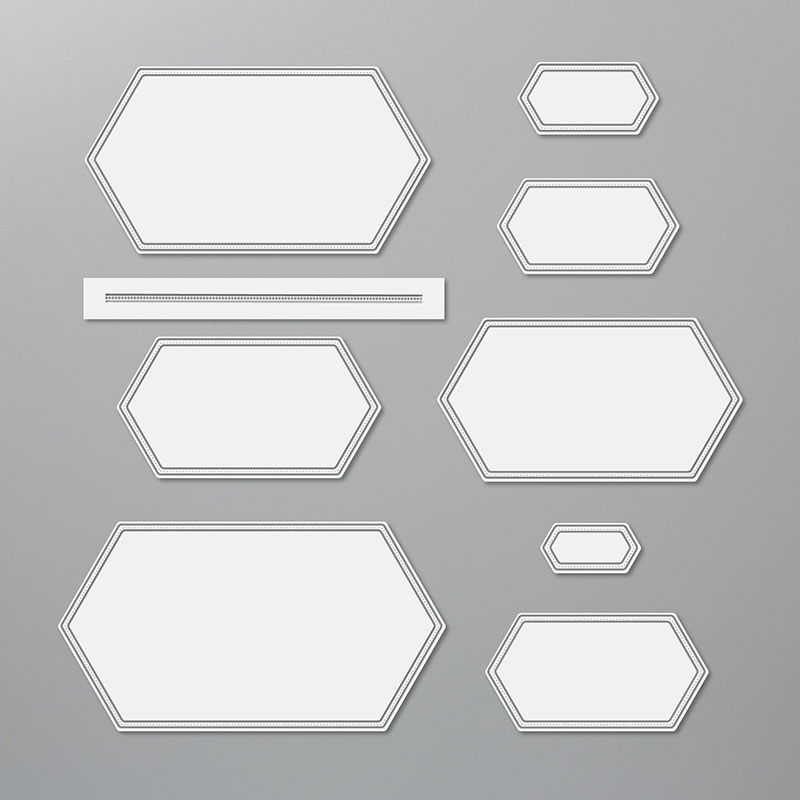
I like that the peacock just peeps over the frame – I used dimensionals to pop him up. I did try using just a rectangle frame but it didn’t look right because the frame was too narrow so I did what Stampin’ Up! did and used the Stitched Nested Labels dies.
I didn’t use any of the beautiful shiny cardstock either because I wanted the peacock to be the main focus. Hope you like him!
Table built using Product Table Builder by The Crafty Owl – Independent Stampin’ Up! Demonstrator.
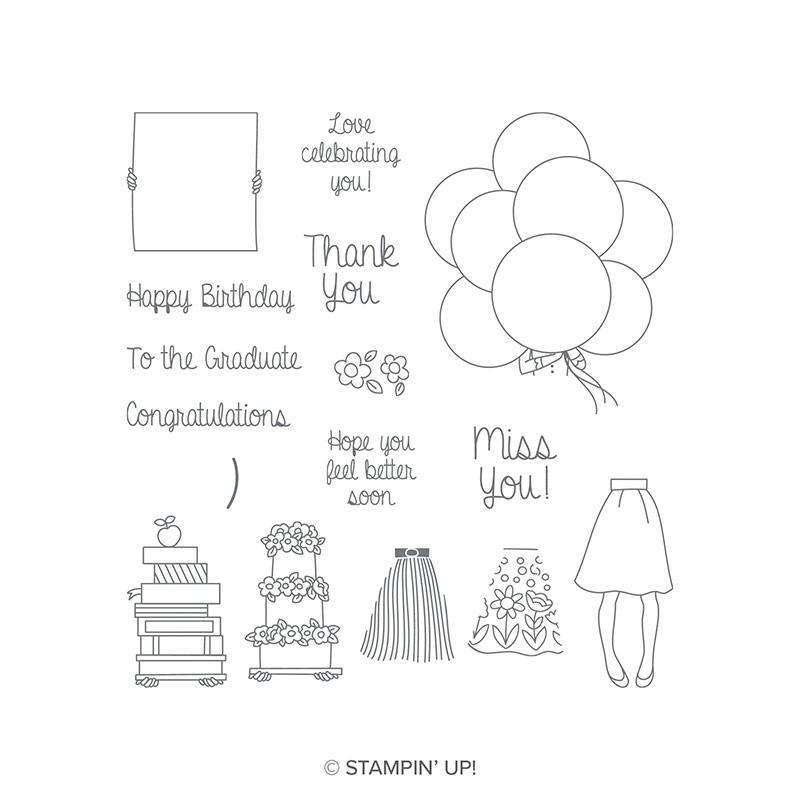
I don’t usually feature many hostess stamp sets because you have to spend a certain amount (£150/€200) or host a party for that amount to be able to get one, but when I saw this I loved it and had to have it. It’s the Hand Delivered stamp set.
It’s a very clever stamp set, there is one pair of legs (!) with different skirt patterns. Then there are four options for the top half – books, cake, a poster, or as I have used here balloons.
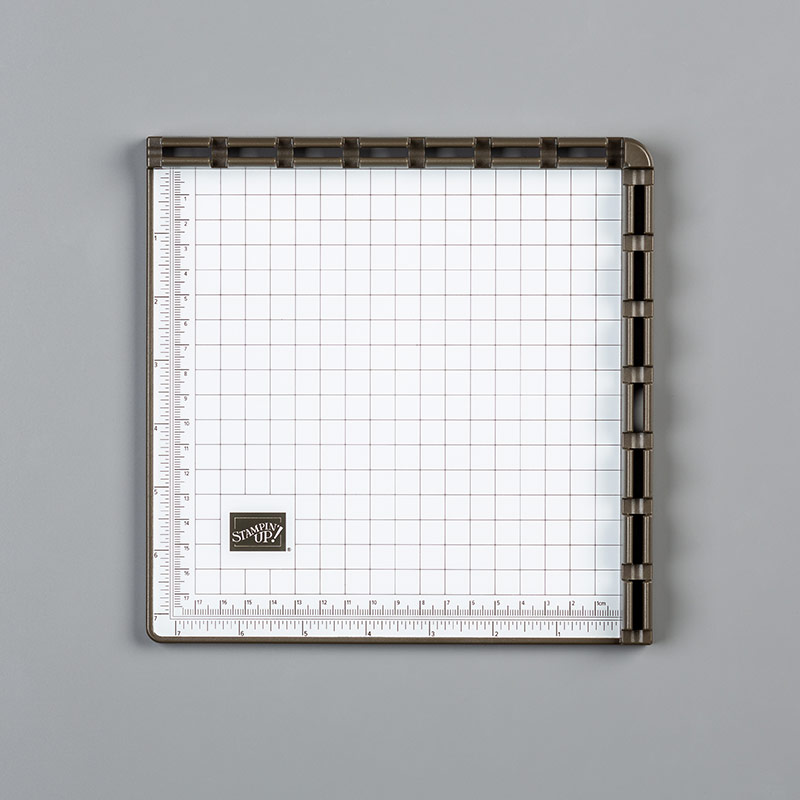
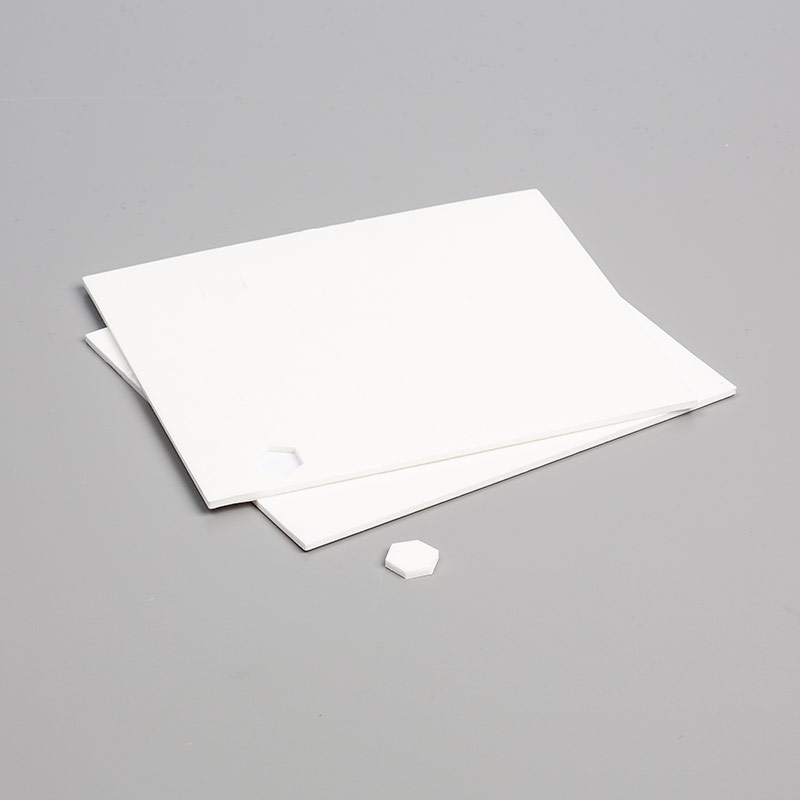
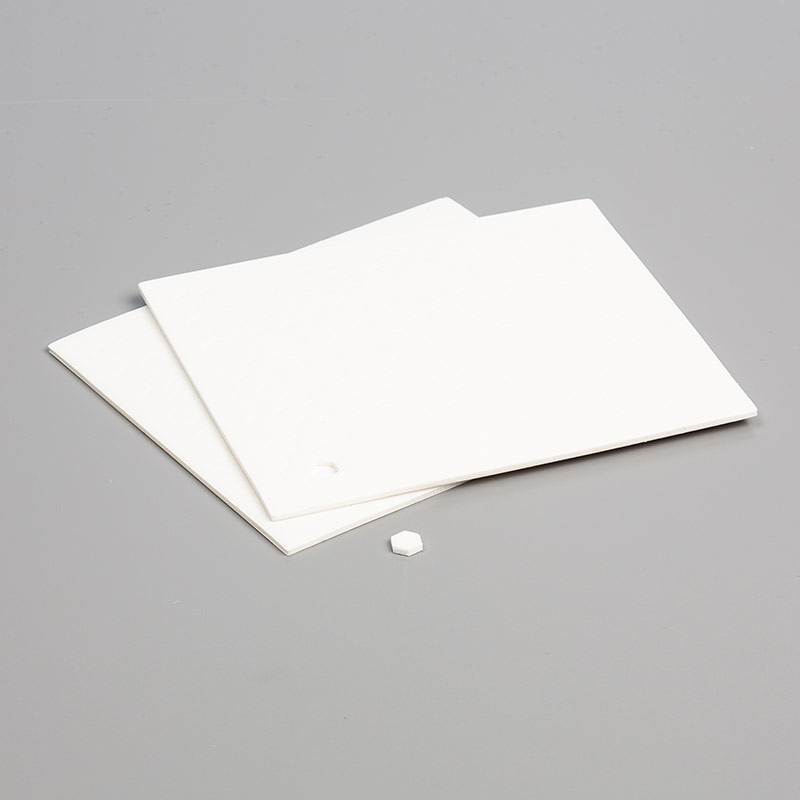
The easiest way I found to get the top and bottom lined up was to use the Stamparatus: more about that below.
I used the Stampin’ Blends to colour the balloons, and found that adding a thin darker layer around the outside of each balloon really made them stand out. I was going to write pop there but that wouldn’t have worked would it!
You can’t see it here, but I added some Wink of Stella to just a couple of balloons, not all.
I added those squiggles in the background because I felt it needed something just to finish it off. They’re from the Happy Gorgeous stamp set.
I sent this card to a little girl for her birthday and she loved it. Hope you do too.
If you live in the UK, France, the Netherlands, Germany or Austria and would like more details about how to get this stamp set (and you don’t already have a demonstrator), please contact me.
The Stamparatus is fabulous! If you haven’t heard about it, it’s a stamp positioning tool but better, you can do so much with it. Here’s a video Stampin’ Up! have made to explain it, and why you need one.
Here’s what I used to make the card. Please note that the Stampin’ Blends are not available to order at present because they are out of stock so I haven’t added them to the supply list.
Table built using Product Table Builder by The Crafty Owl – Independent Stampin’ Up! Demonstrator.
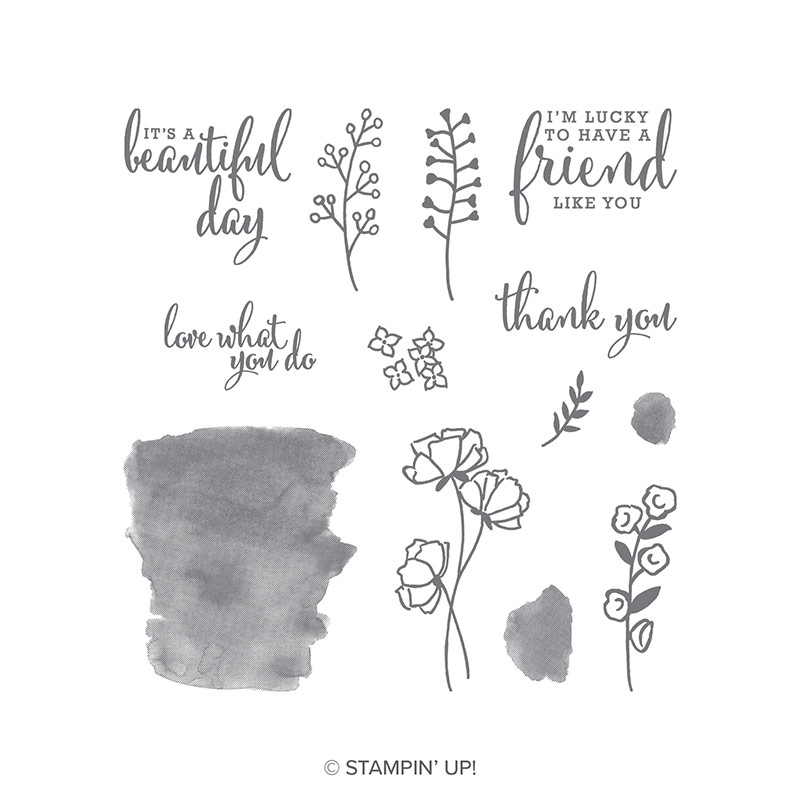
Today’s card is a rare one for me for several reasons. First it’s a square card and I don’t make many of them. Second I CASE’d it from the new annual catalogue, and I don’t do that often, although I should. And third, I’ve used virtually the whole suite to make it – stamps, DSP, and embossing folder and I don’t do that often either! Wow, that’s quite a list.
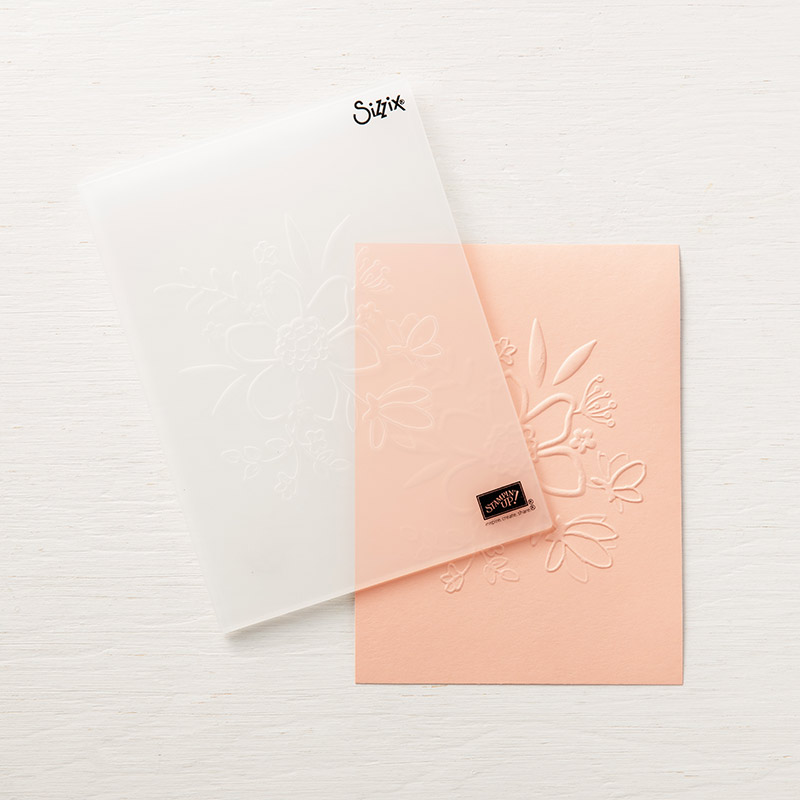
So, do you like it? That Lovely Floral dynamic embossing folder is beautiful isn’t it, it really adds dimension to the card. I spritzed the Mint Macaron card with some water as Stampin’ Up! recommends and it embossed like a dream.
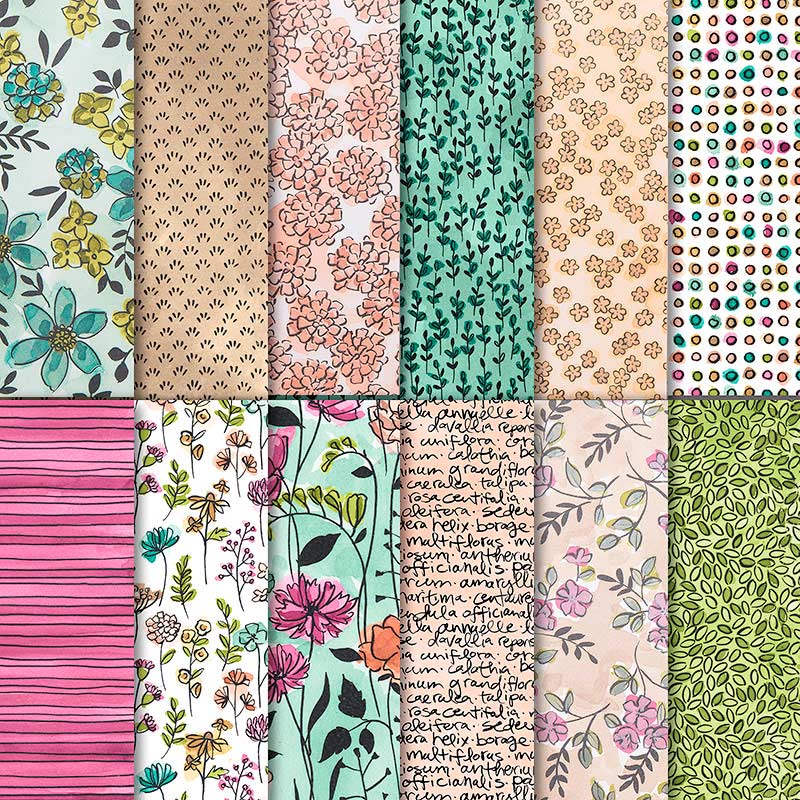
I fussy cut a few flowers from the DSP. It is so thick! It’s more expensive than usual but don’t forget that there is twice as much of it (24 sheets), and it is speciality paper because some of the sheets have pearlised elements. I hesitate to call it paper because it is so thick.
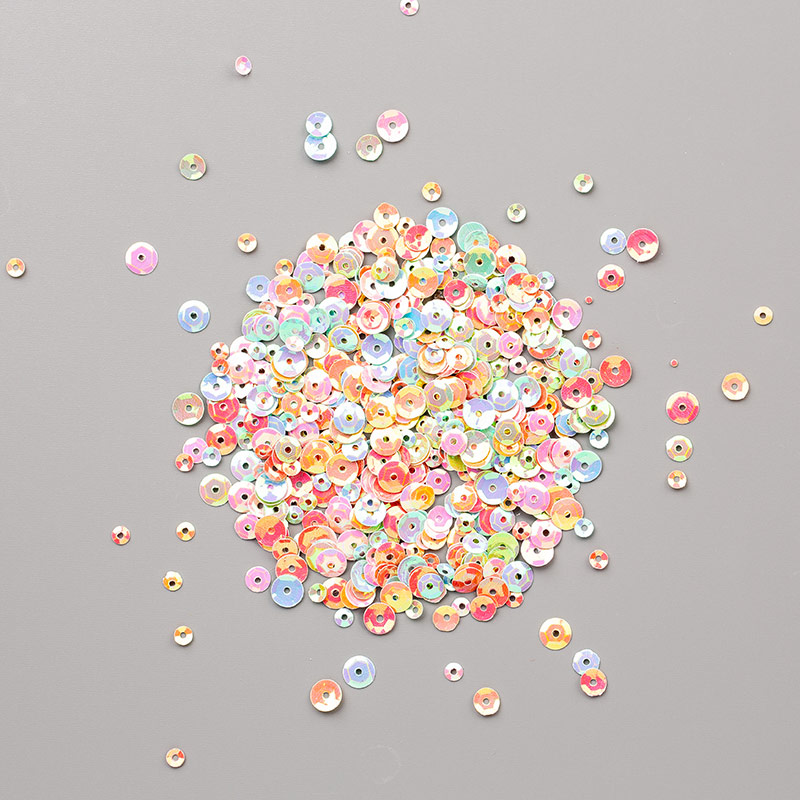
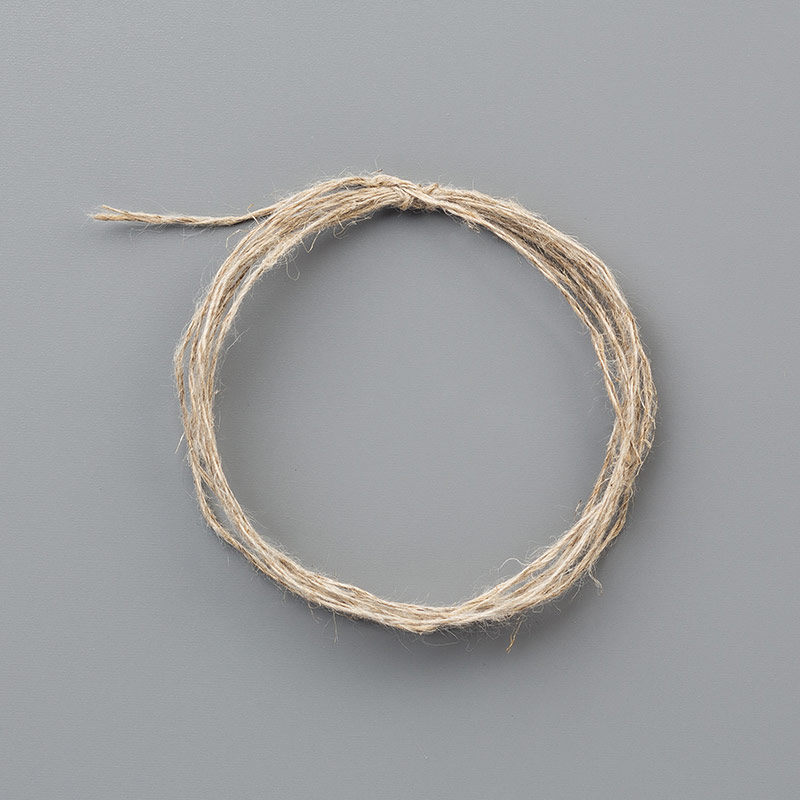
I finished the card with some Linen Thread and some sequins. Which is something else I don’t do often. I must be turning over a new leaf or something!
Any one of these elements – stamp set, embossing folder, DSP is beautiful, but put them together and they really pop. Oh, and I have more plans for that embossing folder too.
Here’s what I used to make the card:
Table built using Product Table Builder by The Crafty Owl – Independent Stampin’ Up! Demonstrator.
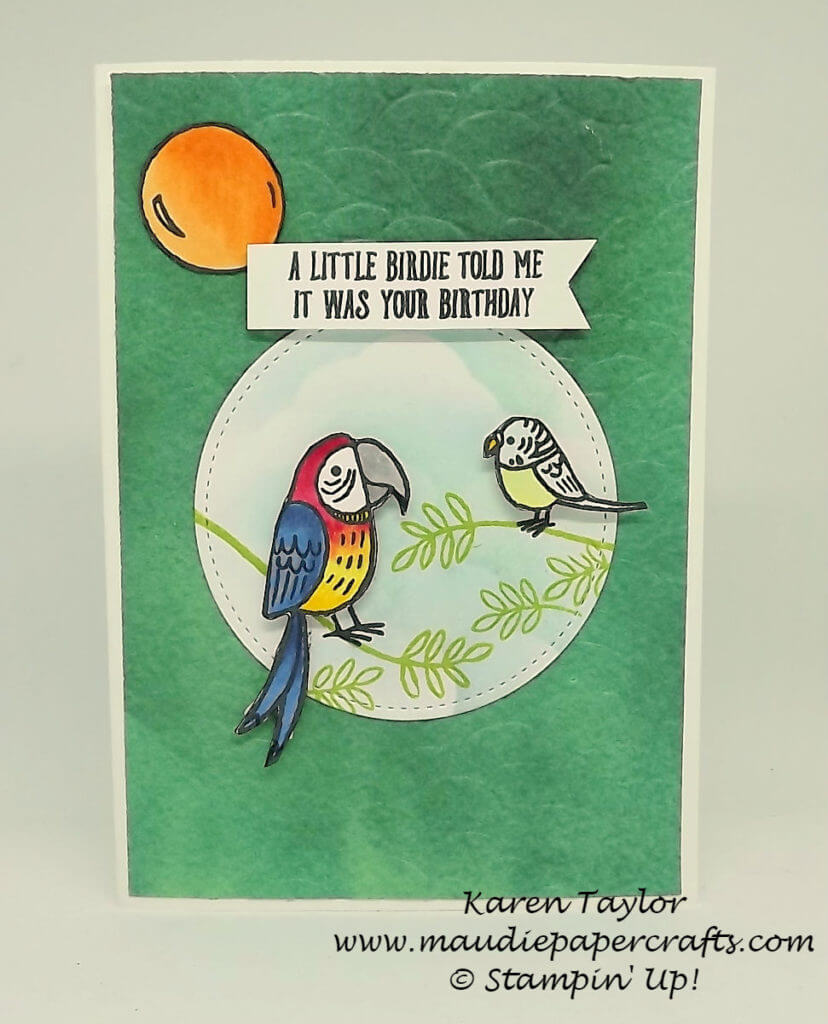
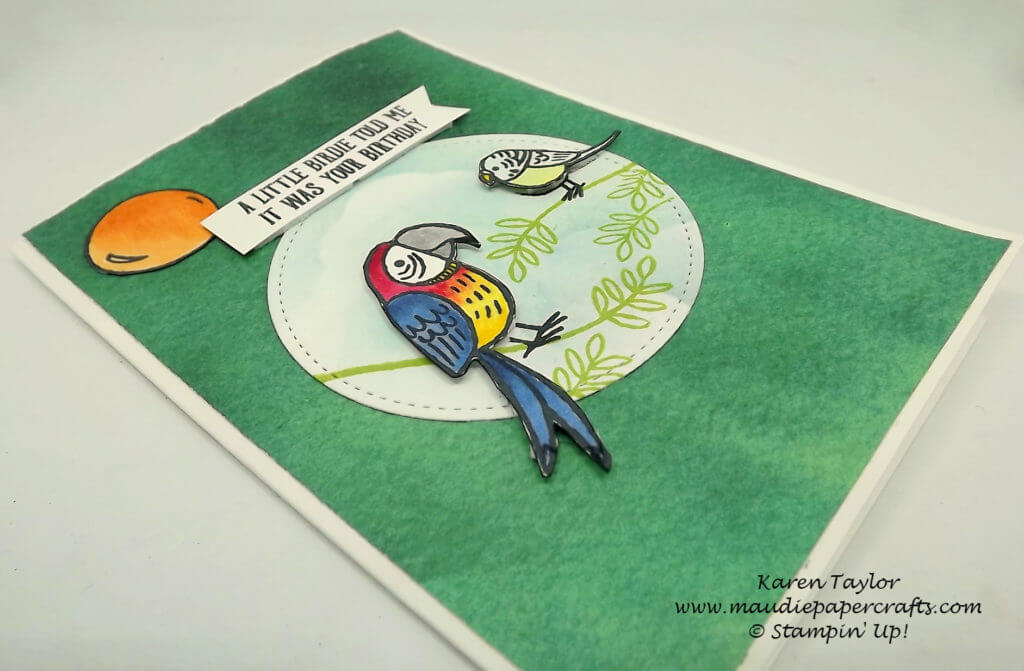
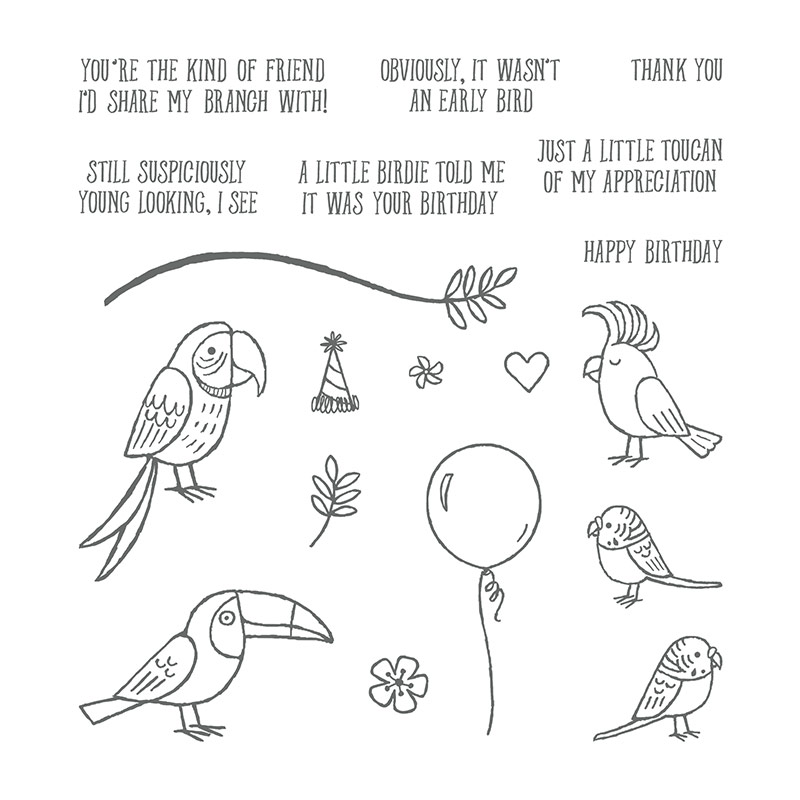
There are so many things to do with this stamp set that I found it difficult to know where to start!
However, I did manage to make a card, whilst thinking of all the others I wanted to make later.
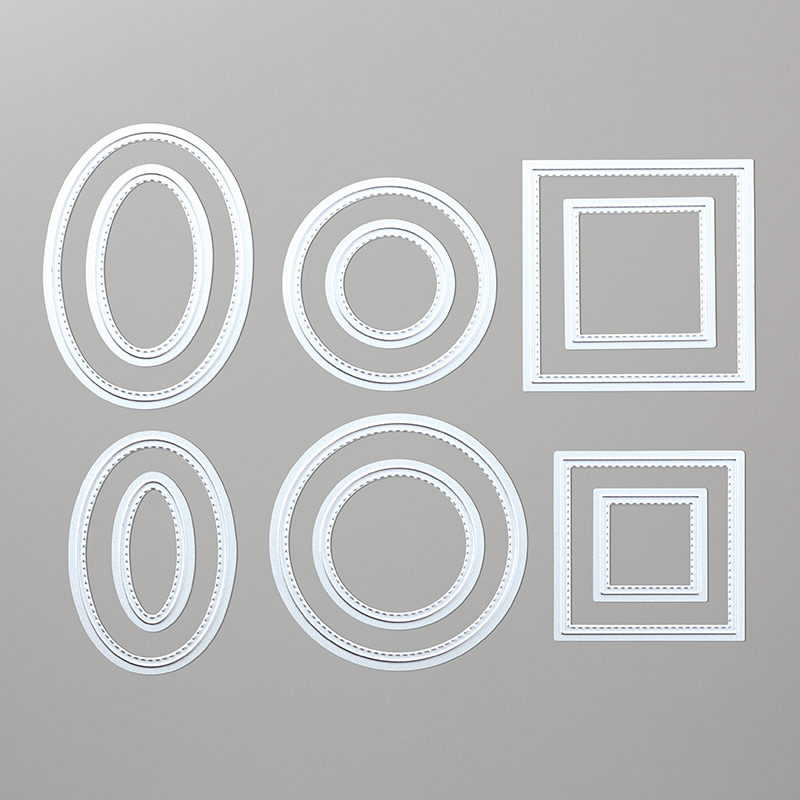
For this card I sponged a cloudy background onto some card and then used the Stitched framelits to die cut a circle for the birds to sit on.
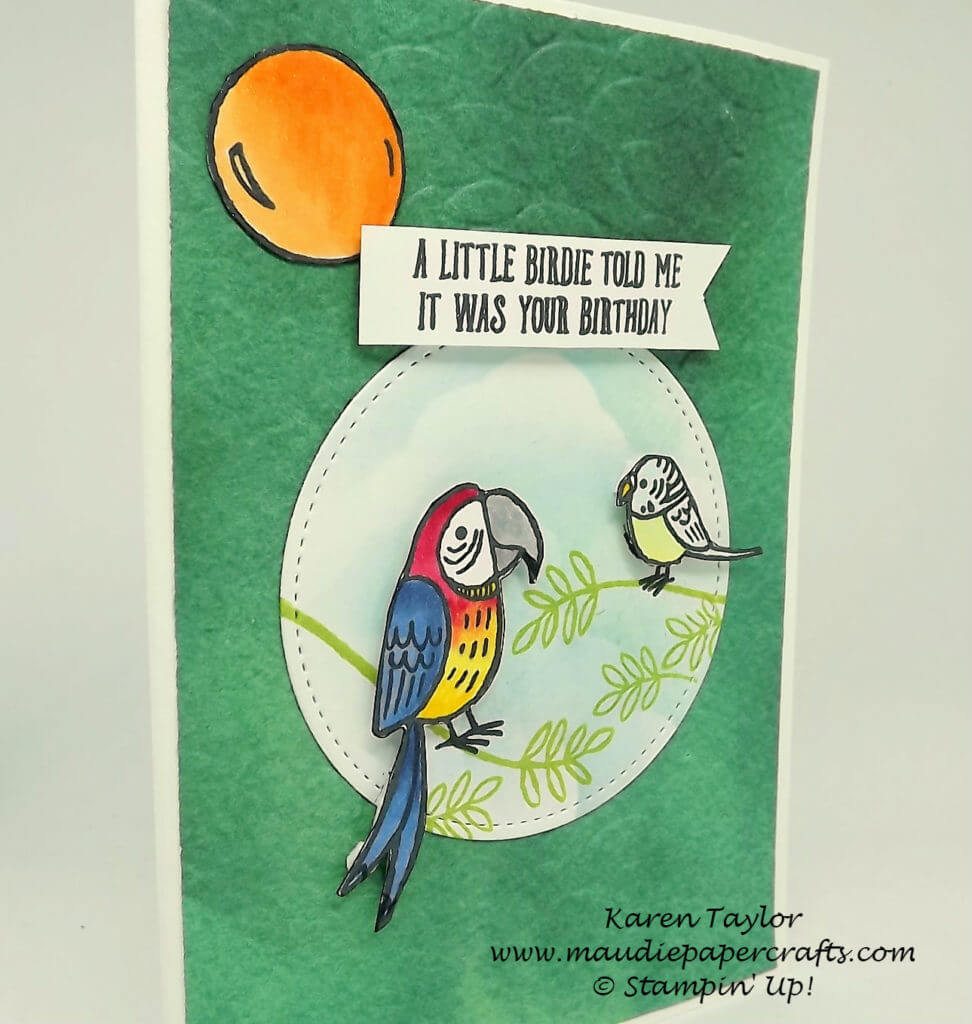
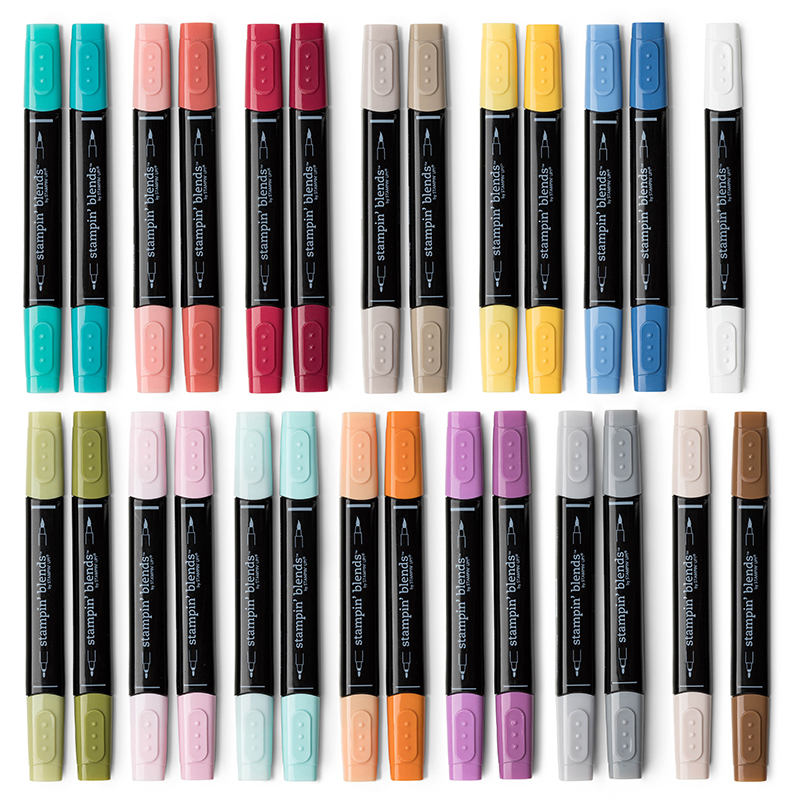
I used my Blends to colour the birds, they have become my ‘go to’ pens for colouring now, I love them. I managed to kind of fade the Cherry Cobbler into the Daffodil Delight on the parrot’s chest.
I decided to fussy cut the birds because I knew their tails where going to be outside the circle they were sitting on. They are quite simple shapes so it wasn’t hard to do.
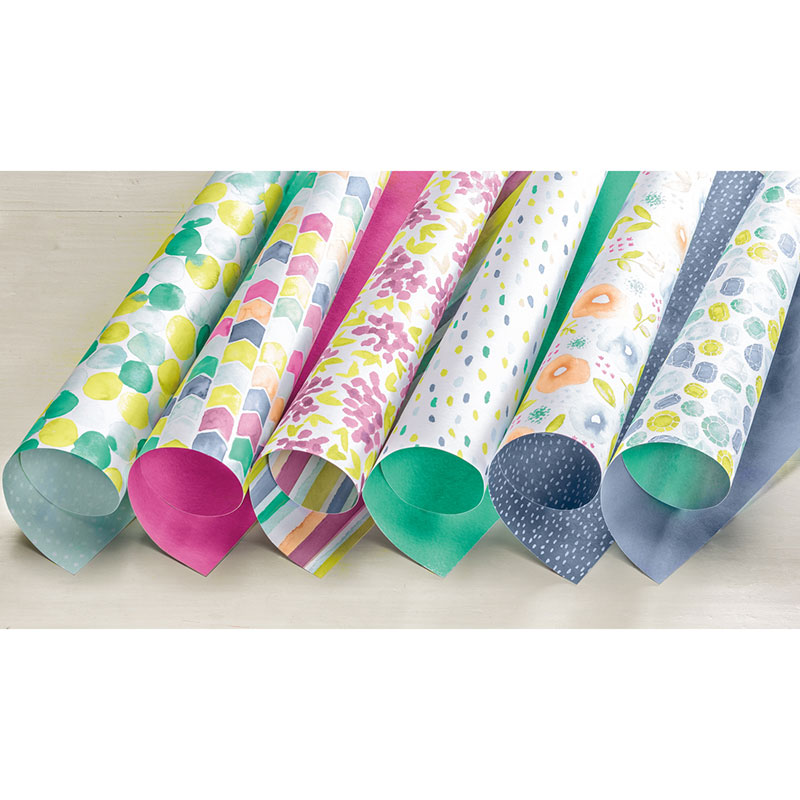
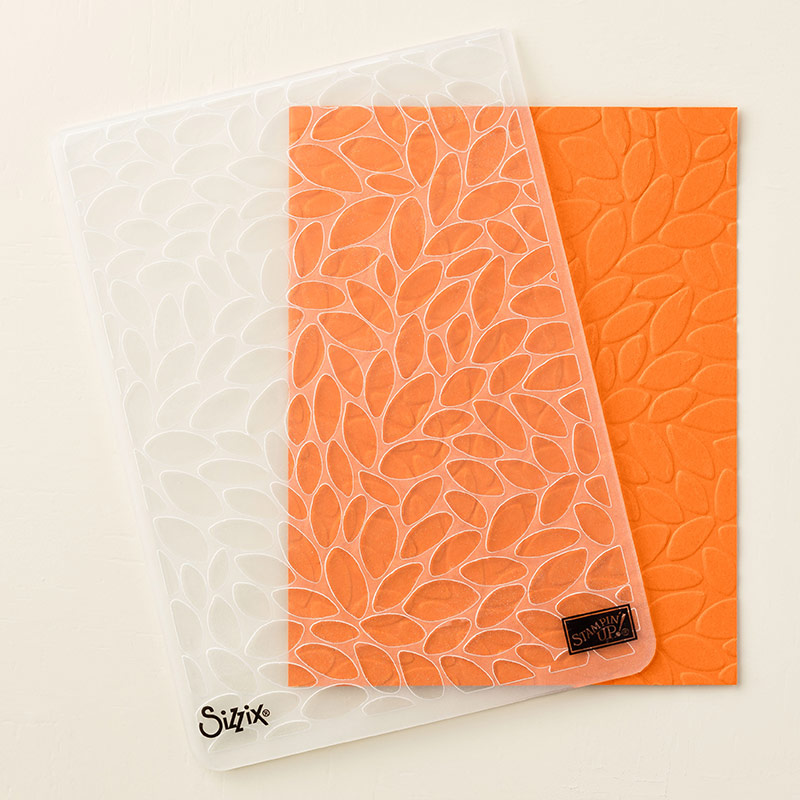
You can just about see that I used the Petal Burst embossing folder on the background DSP, which was Naturally Eclectic.
I also cut out the balloon but didn’t want to draw the string on in case I messed up the card so I simply pushed it behind the sentiment! I added some Wink of Stella to it but you can’t see it in the photo.
Look out for lots more cards from me using this stamp set!
Here’s what I used to make this card:
Table built using Product Table Builder by The Crafty Owl – Independent Stampin’ Up! Demonstrator.
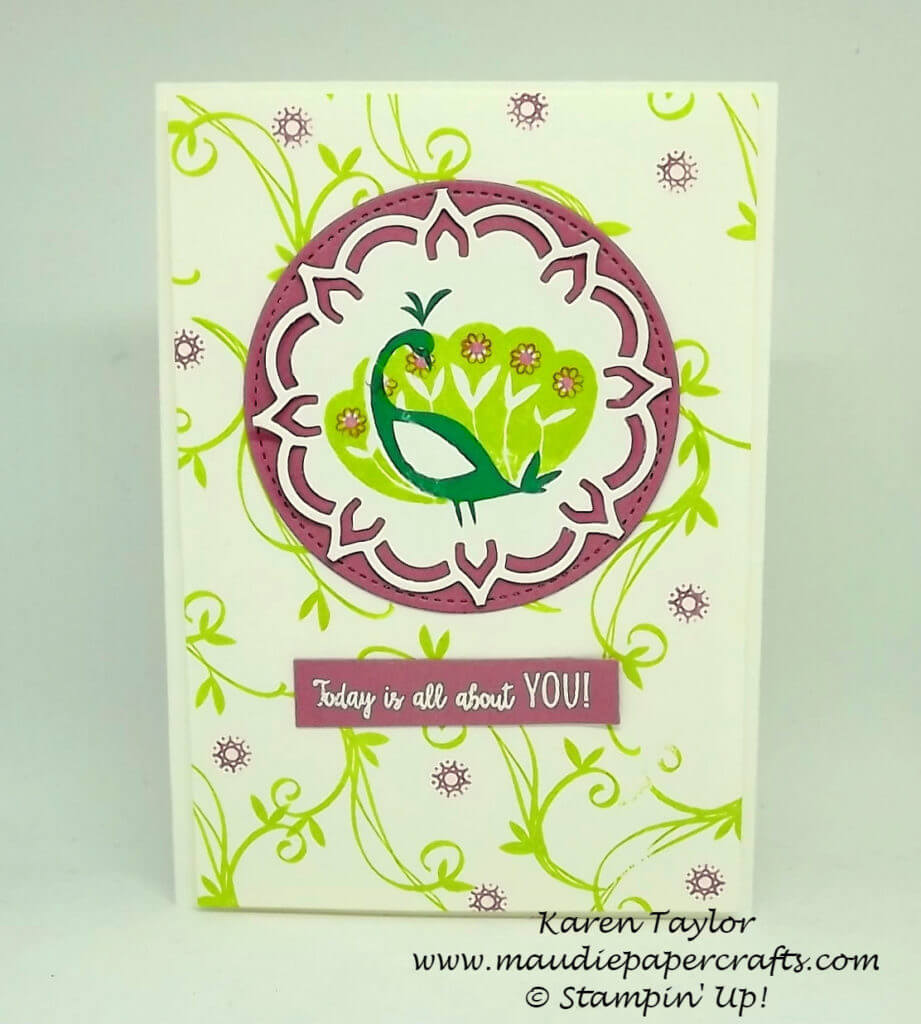
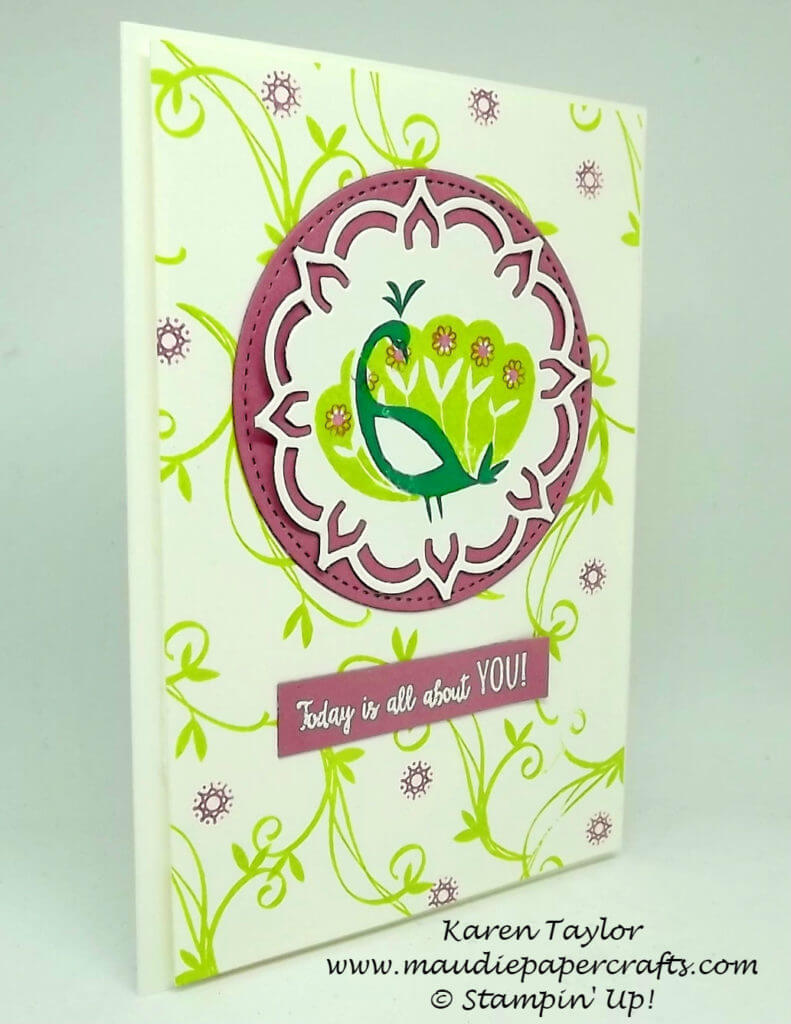
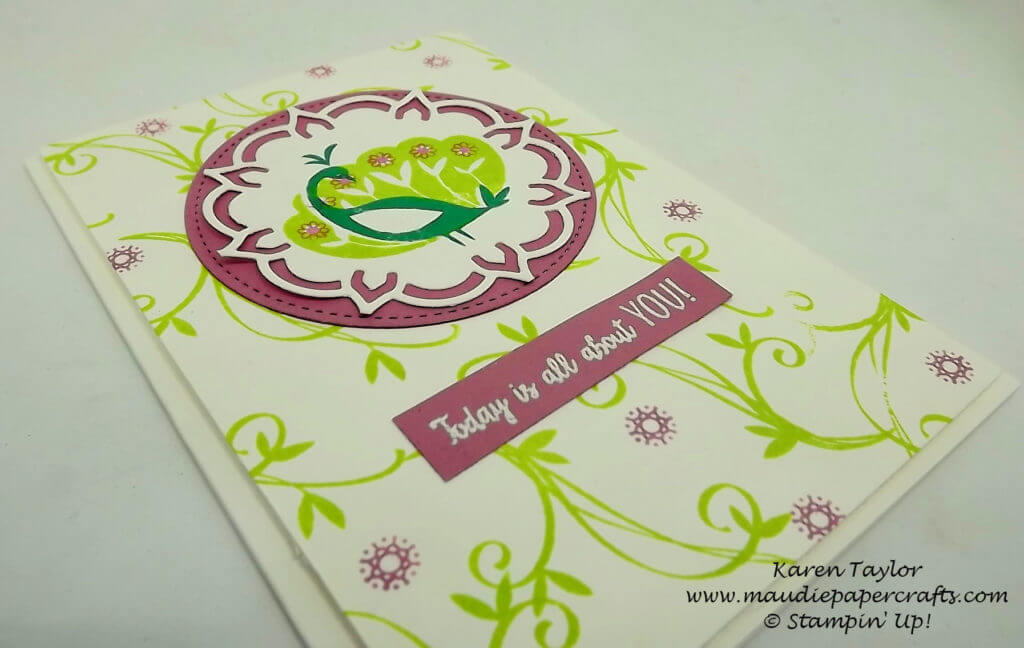
I’ve been enjoying using stamps to make my own background DSP recently, and this card is the latest.
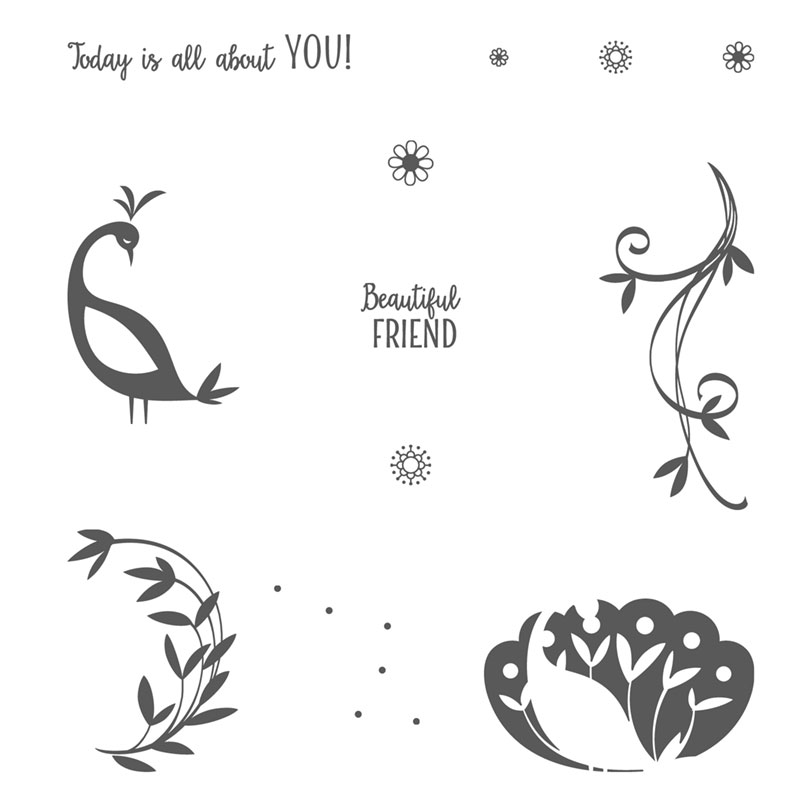
I’ve used the Beautiful Peacock stamp set from the Sale-a-bration catalogue. There’s plenty of scope for using the stamps for more than one thing, and Stampin’ Up! have cleverly made the little flowers to fit into the peackock’s tail.
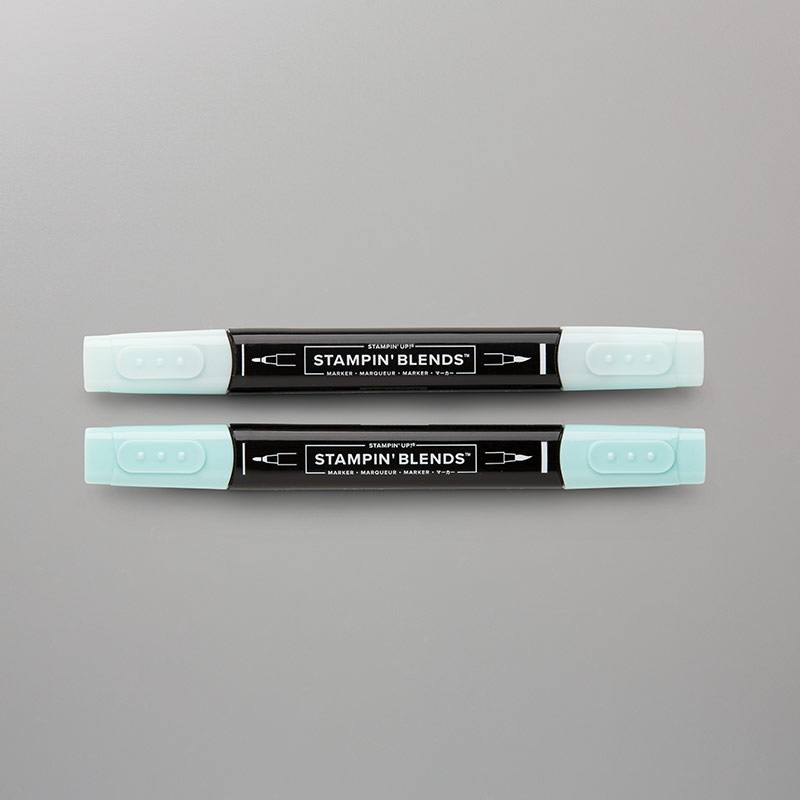
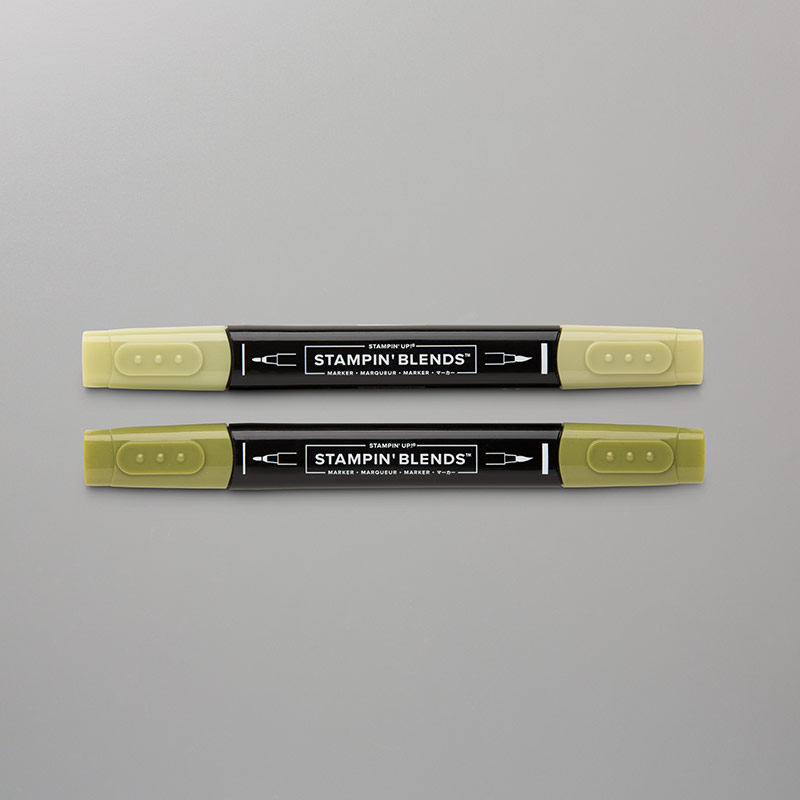
For this card I used Lemon Lime Twist and Sweet Sugraplum for the backtround stamp and added Emerald Envy for the body of the peacock.
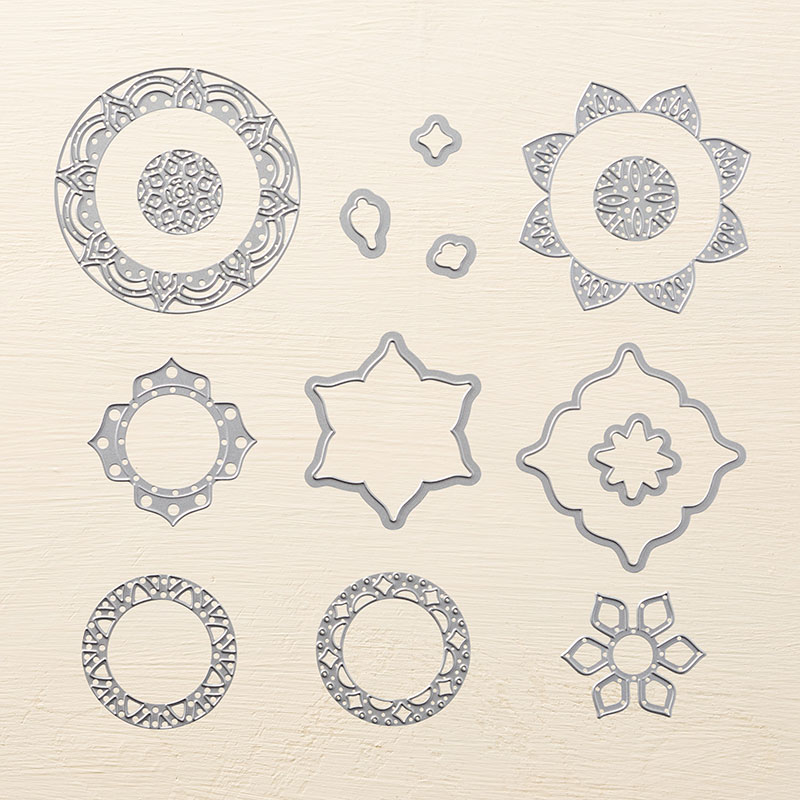
The peacock is sitting on the medallion die from the Eastern Medallions Thinlits. I heat emboosed the sentiment to make it stand out.
I think this combination of colours gives the card a fresh and light feel.
You can’t buy this stamp set – but you can get it free! Spend €60/£45 on items from the annual or spring/summer catalogue and you can choose an item from the Sale-a-bration brochure. There’s no limit, for each €60/£45 you can earn something free.
Please contact me if you need any more information, if you live in France, the UK, the Netherlands, Germany or Austria.
Table built using Product Table Builder by The Crafty Owl – Independent Stampin’ Up! Demonstrator.
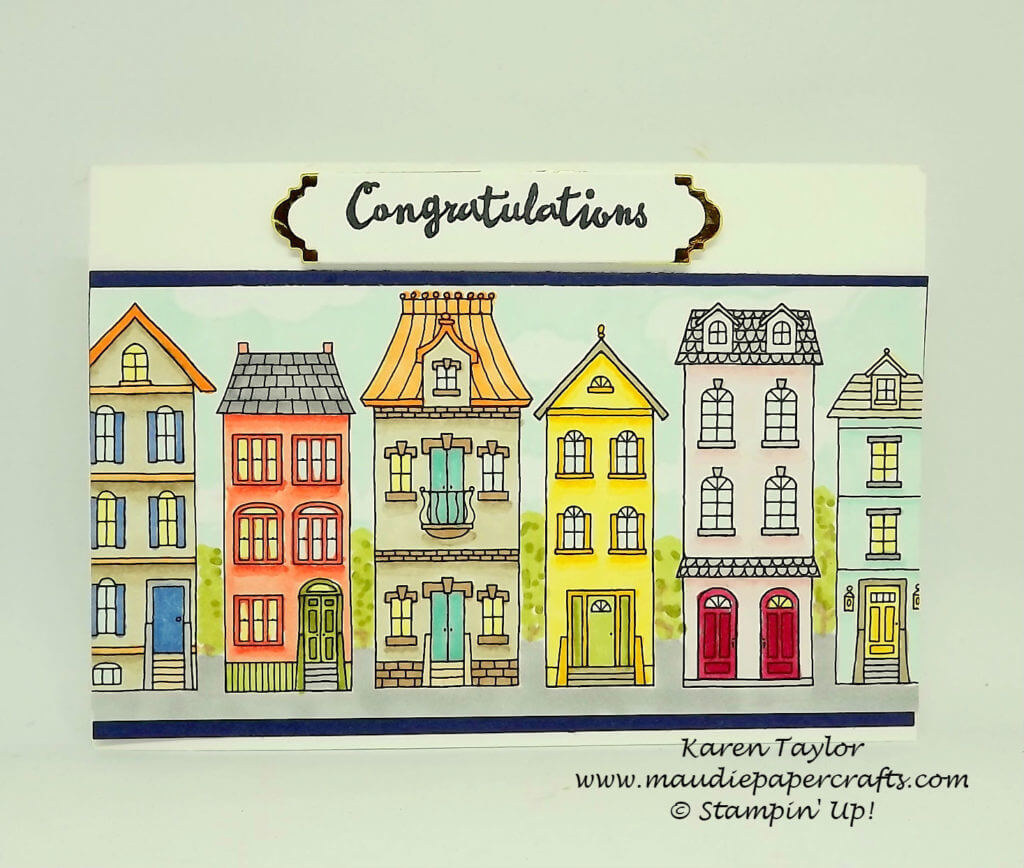
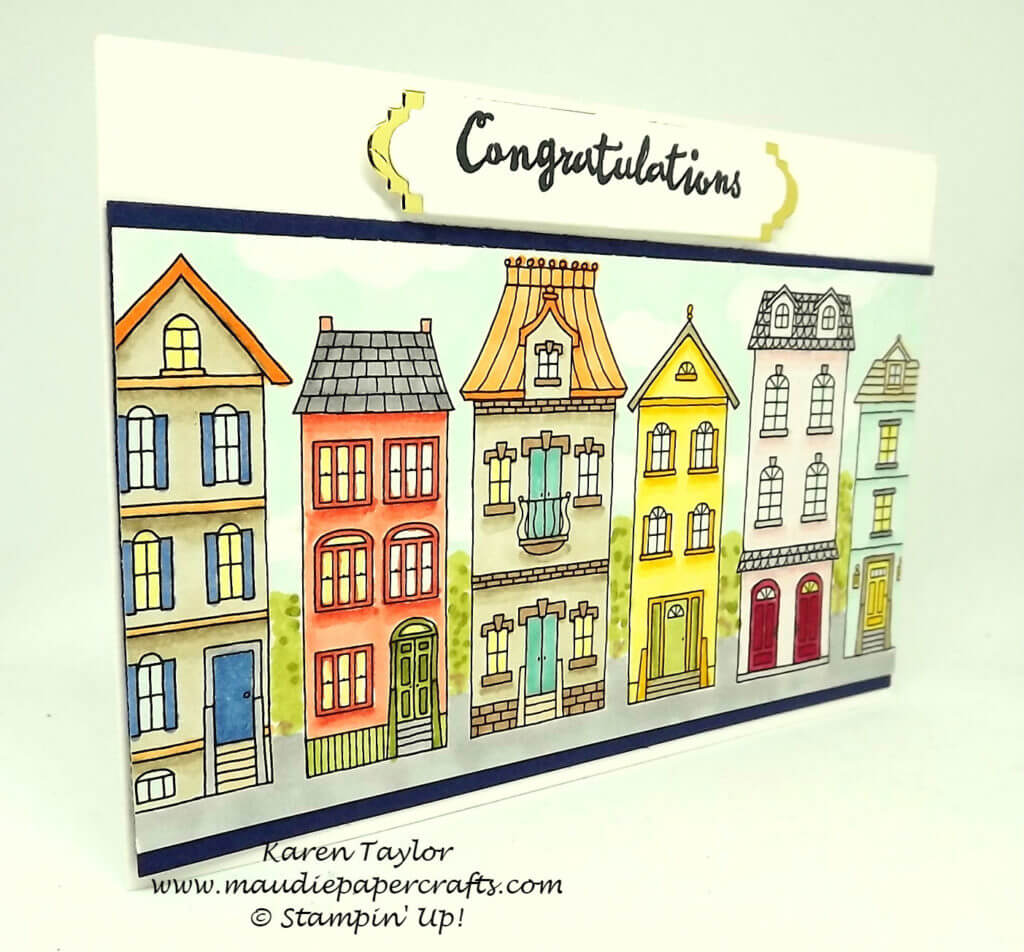
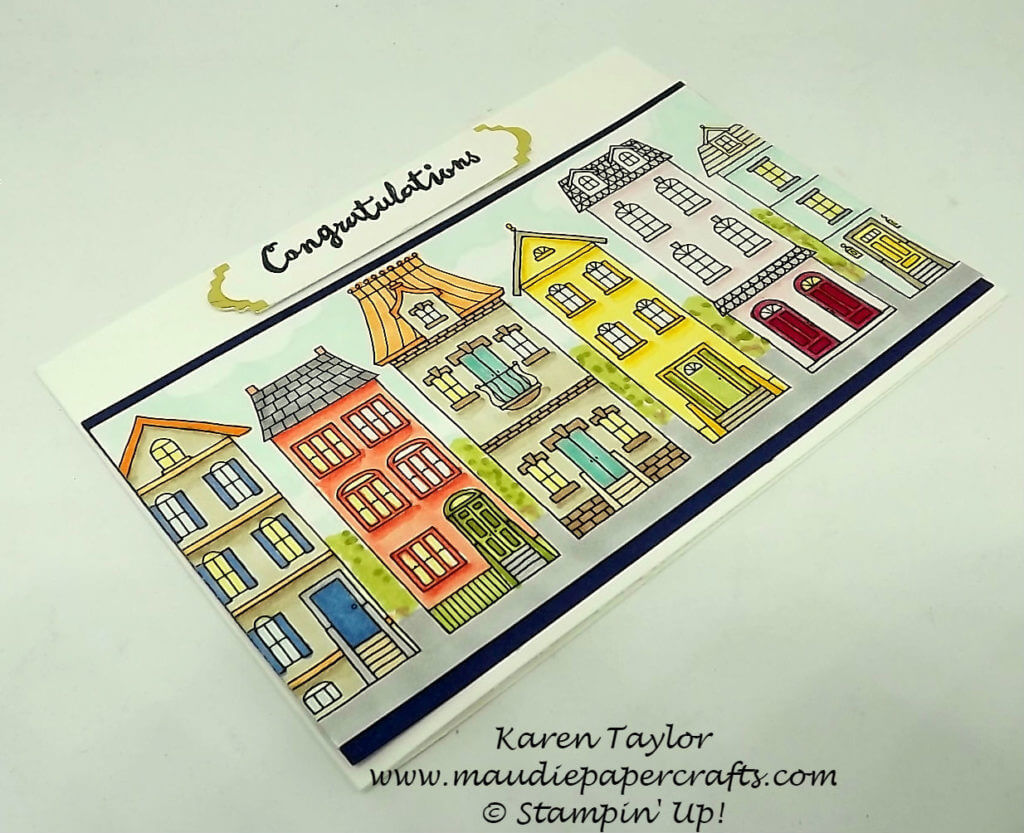
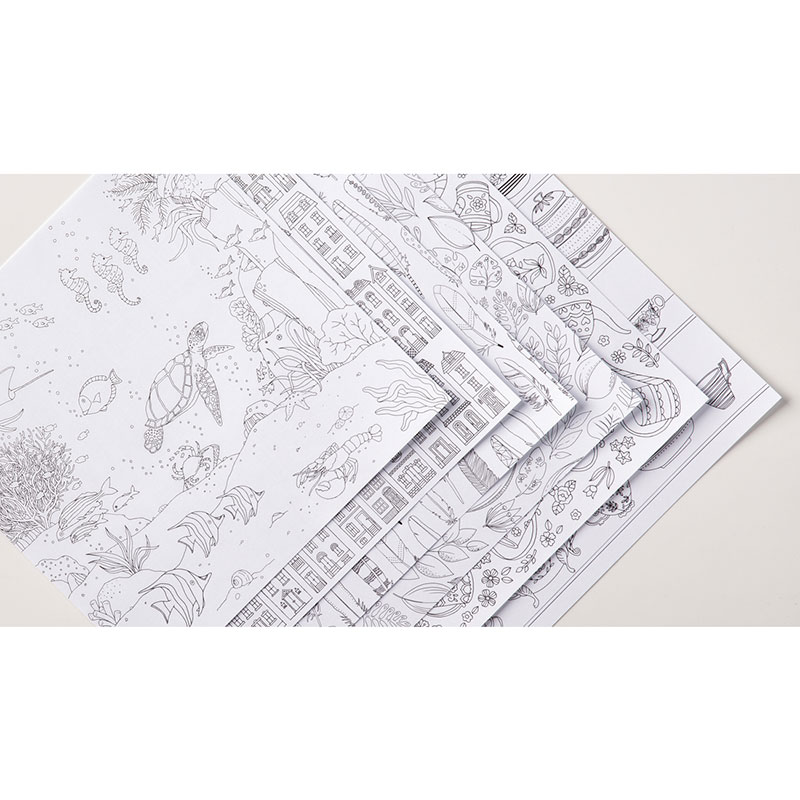
So the theme on the Daring Cardmakers challenge blog this week is buildings – we have to feature a building on a project. As soon as I saw the challenge I knew what I was going to use: the Just Add Color speciality DSP.
There are two sheets of 6 designs in the pack and you can colour in each sheet as you want.
I chose to use Blends for my card. I used both dark and light shades of each colour so that I could add some depth to the houses, and added in some sky and greenery freehand afterwards when I thought it looked a bit odd just having a white background.
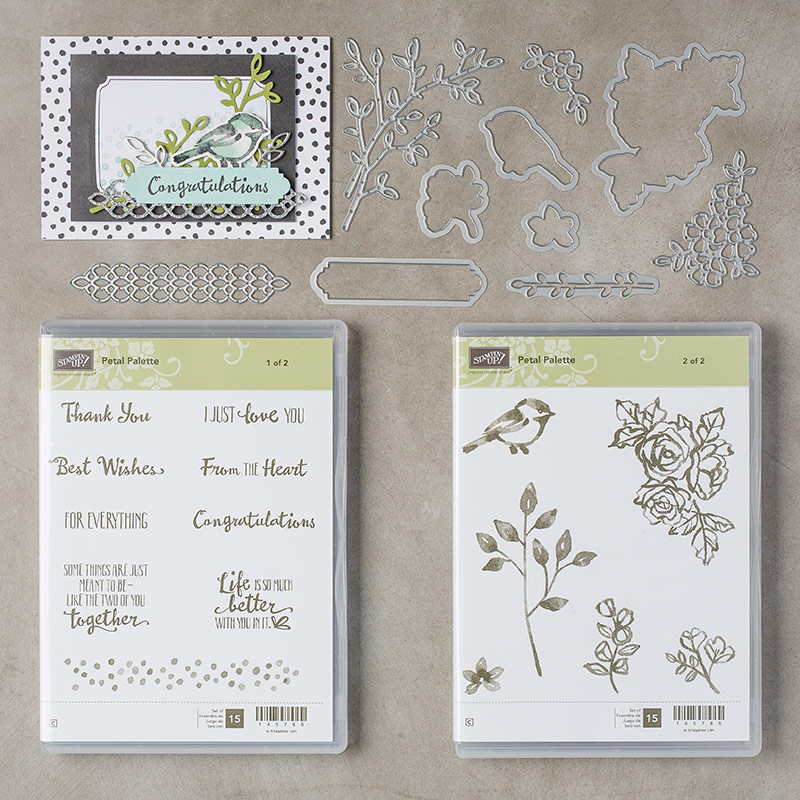
The Congratulations sentiment and die cut come from the Petal Palette suite, and I thought suited the card well.
There are lots of other choices in the DSP collection – teapots, feathers, a sea scene, feathers, leaves. If you like colouring this would make a great buy, or you could gift it to somone who liked colouring.
Back soon with another project!
Here’s what I used to make this card:
Table built using Product Table Builder by The Crafty Owl – Independent Stampin’ Up! Demonstrator.
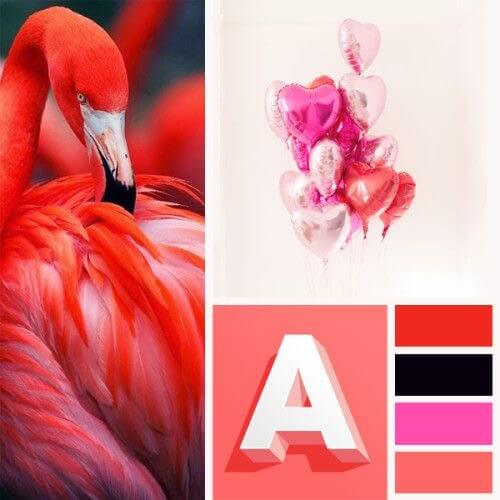
If it’s Friday it must be a Daring Cardmakers card! And because it’s a new month there’s an elemental theme for this week. Here’s what we had to play with:
And here’s the card I made based on the theme:
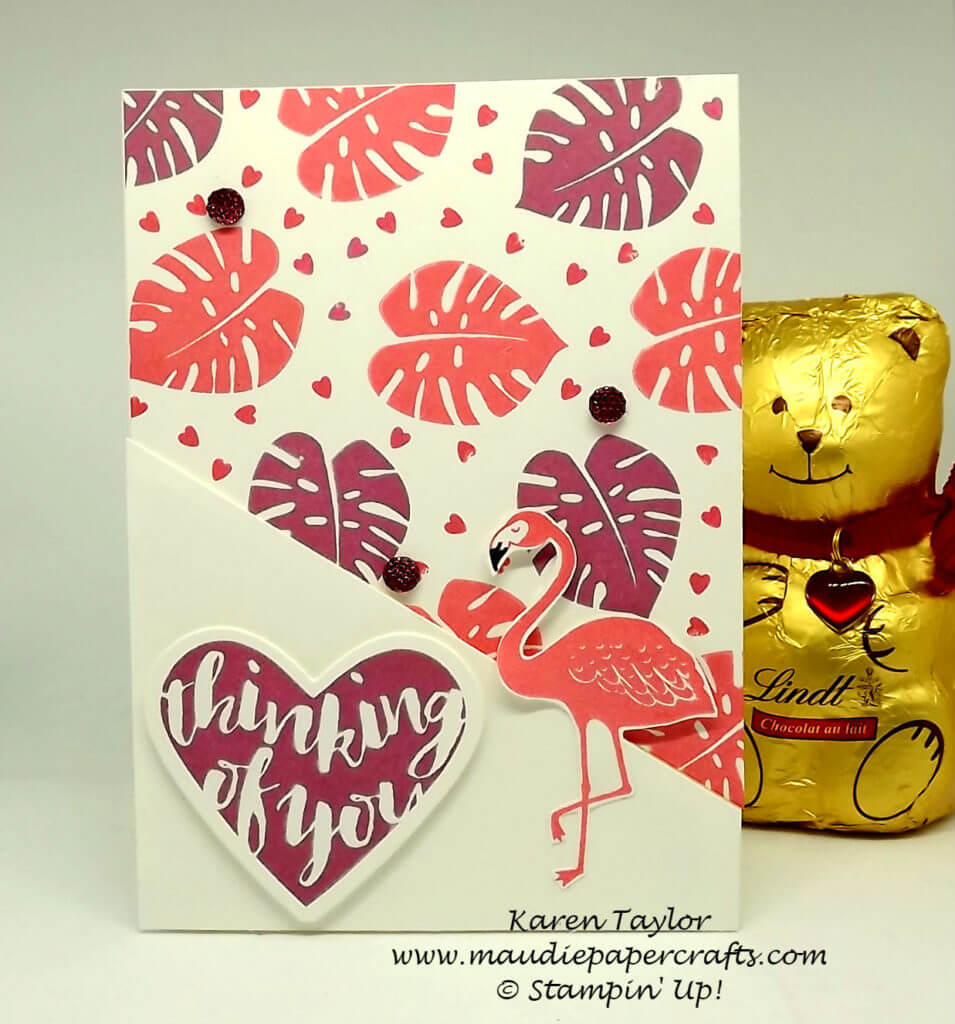
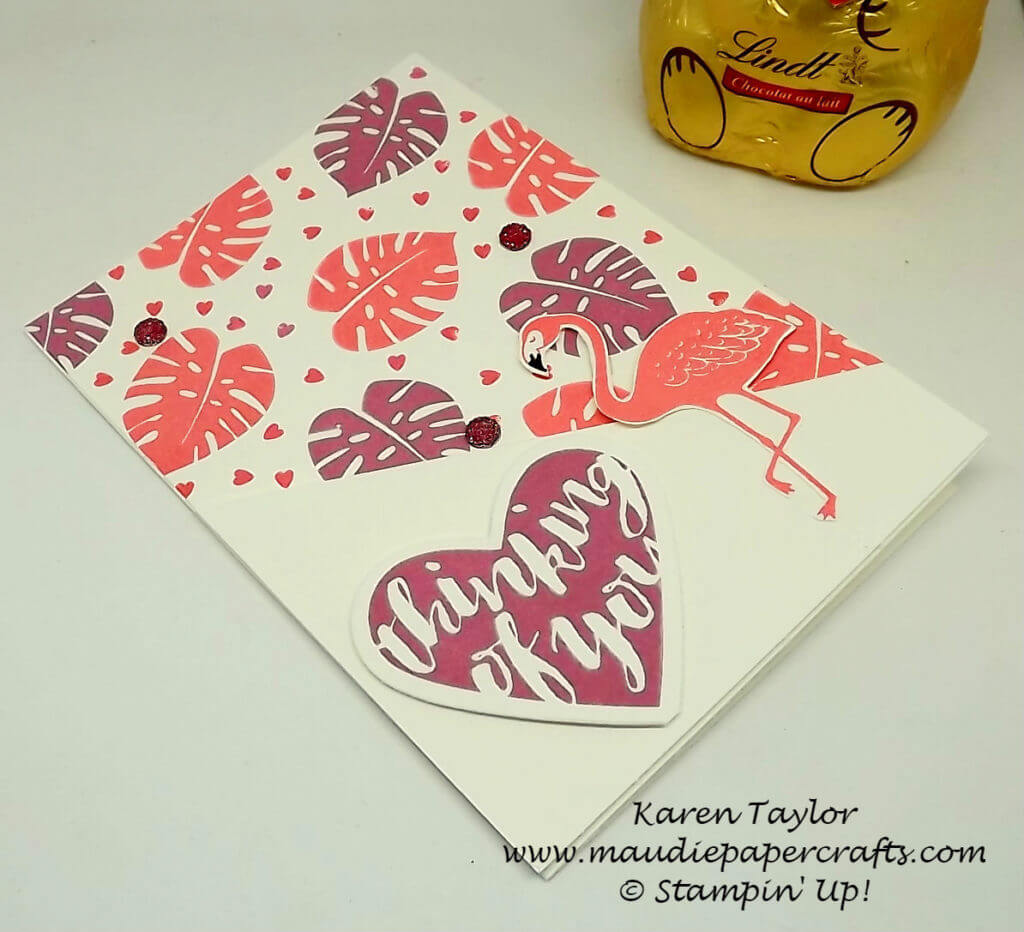
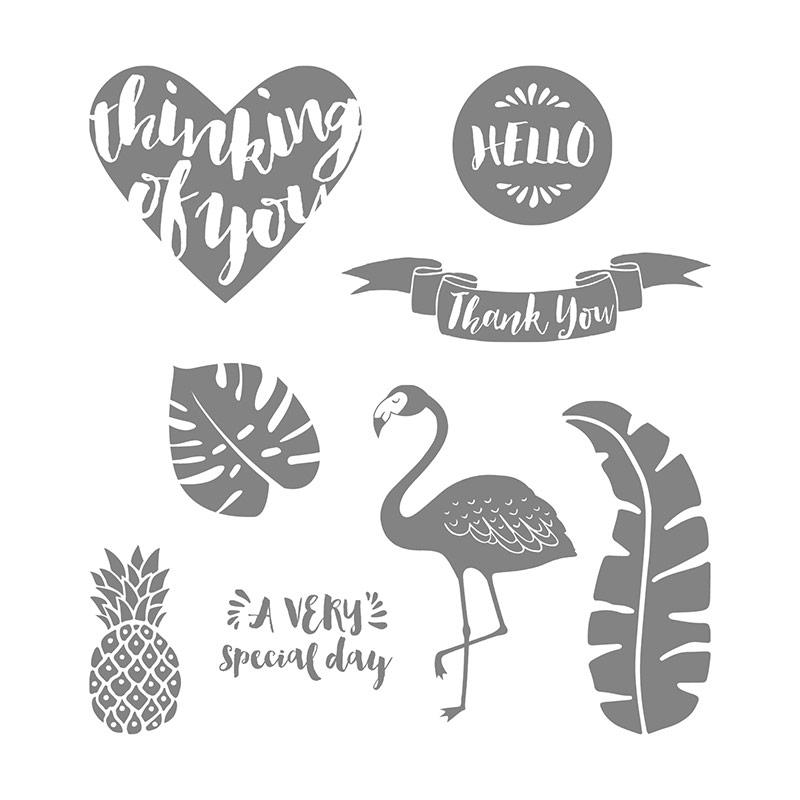
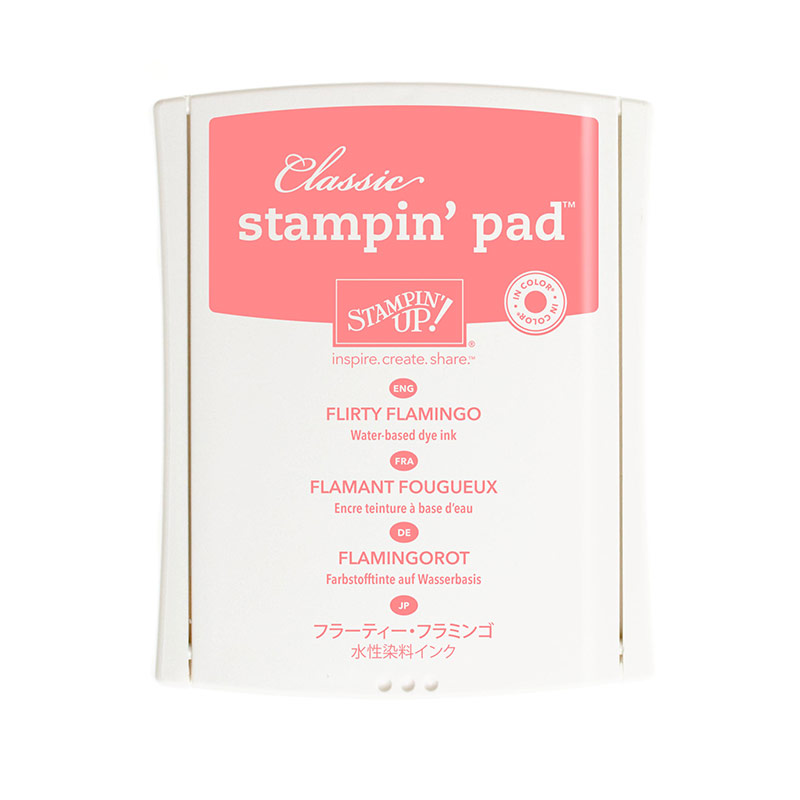
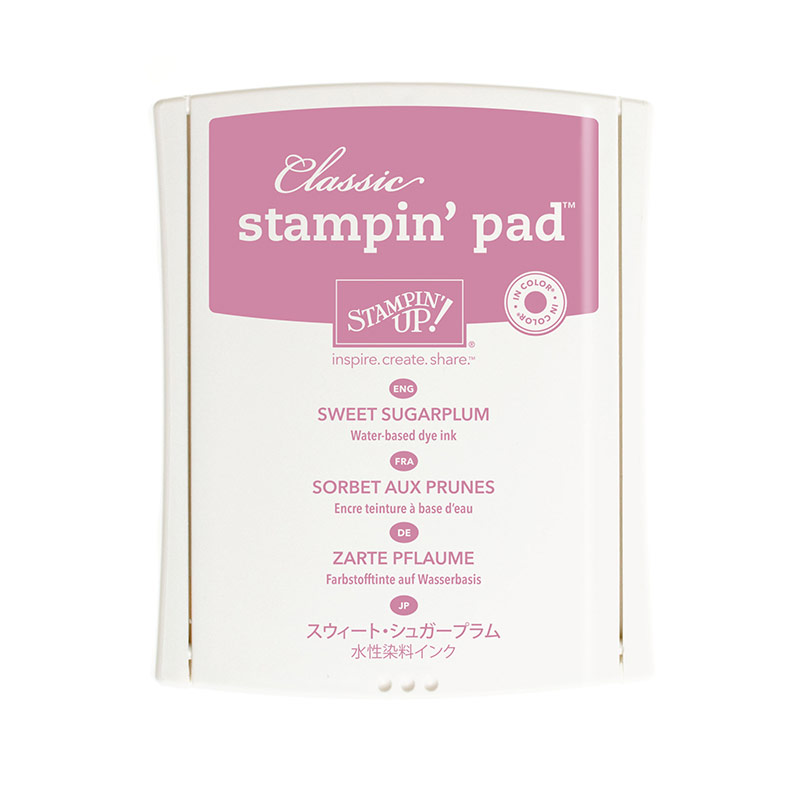
I made this card using a stamp set that I rarely use – Pop of Paradise. I decided to make my own DSP background using one of the leaf stamps in Flirty Flamingo and Sweet Sugarplum.
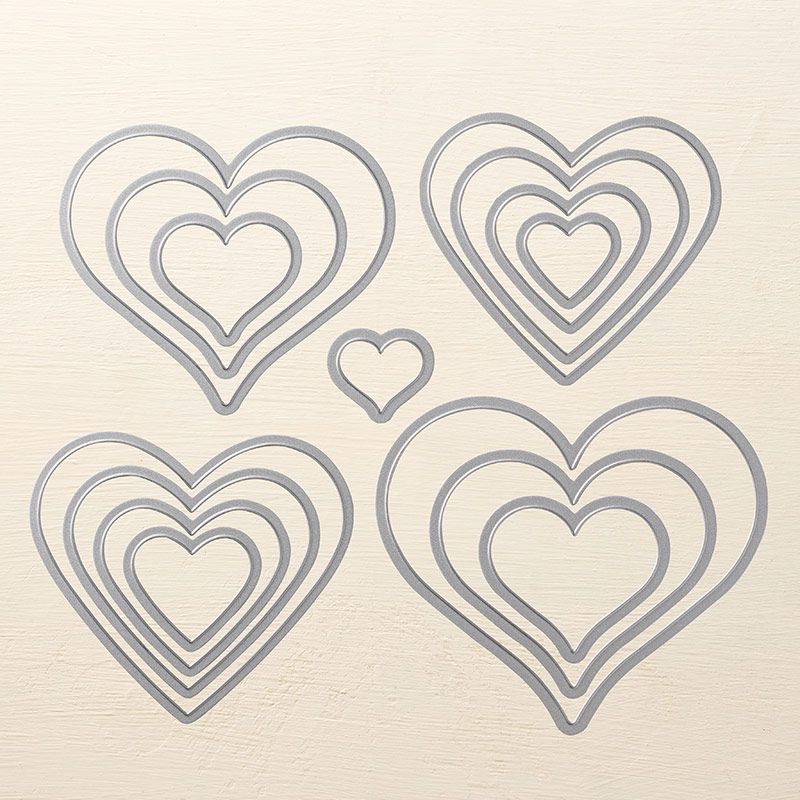
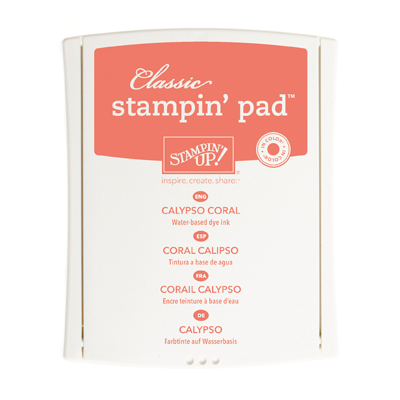
Those little tiny hearts between the leaves come from Layering Love and I used Calypso Coral to carry on the pinky theme. I fussy cut out the flamingo because I wanted him half on and half off the white piece of card.
There’s no magic formula for the diagonal cut – I just put it in my trimmer and cut where I thought I’d like it to be. I wanted enough room for the sentiment and flamingo.
The leaf background piece is stuck directly to the card base, and the white piece I popped up using some fun foam. For the heart I used the Sweet and Sassy Framelits to cut it out.
So there you have it. A kind of Valentine card I guess. Those gems that you can see are clear Faceted Gems that I coloured with a Cherry Cobbler blends pen.
Back soon!
Table built using Product Table Builder by The Crafty Owl – Independent Stampin’ Up! Demonstrator.