Stampin’ Up! Cake Soirée cards

This blog post is part of the InspirInk blog hop – please hop around the other blogs if you have time! Just click the Next button at the bottom of this post.


Stampin' Up! Cake Soiree

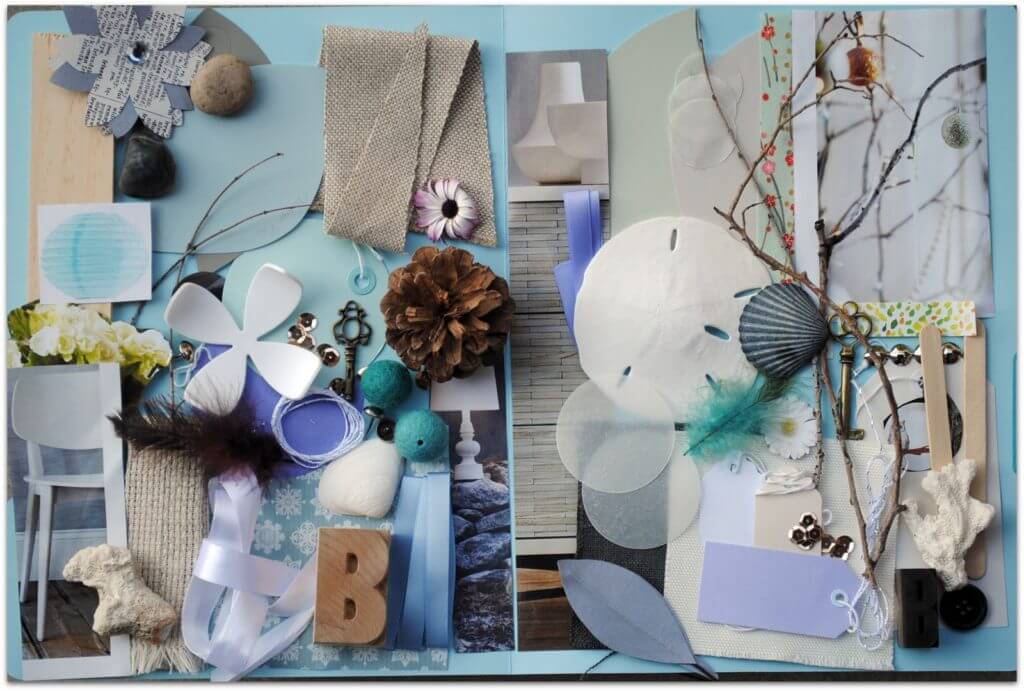
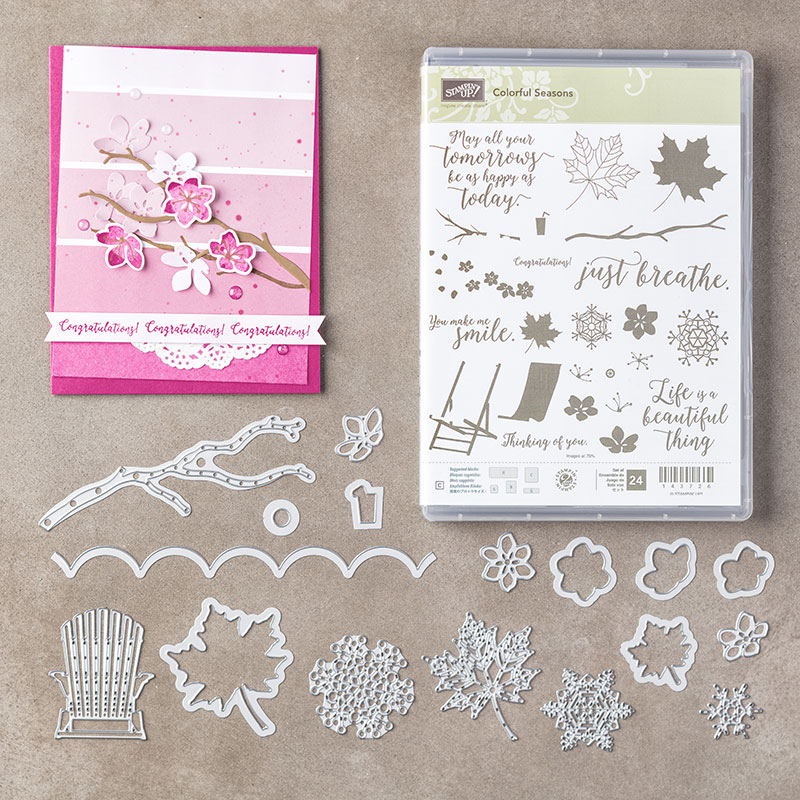
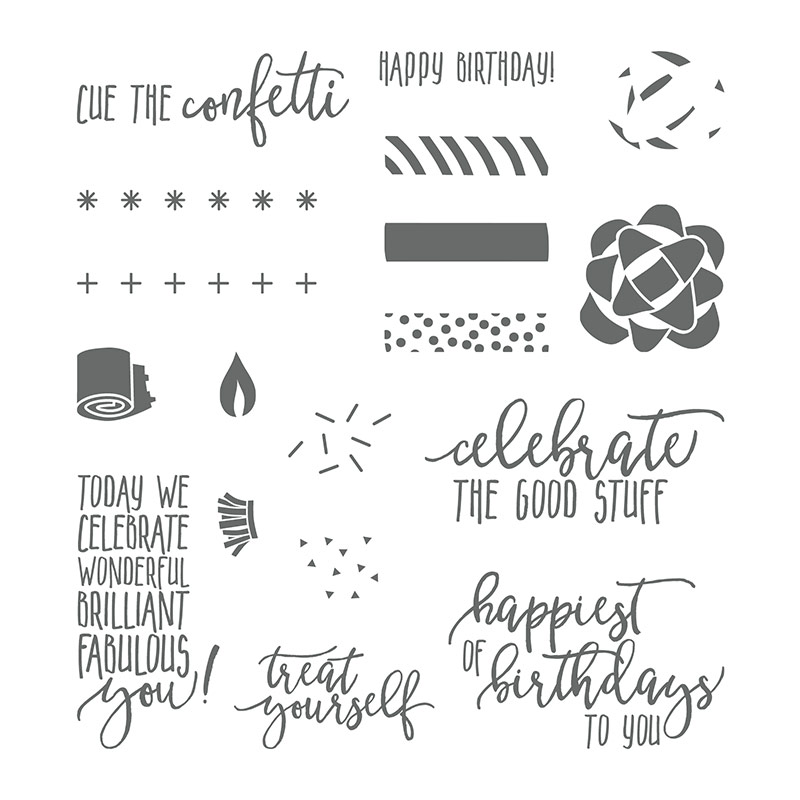
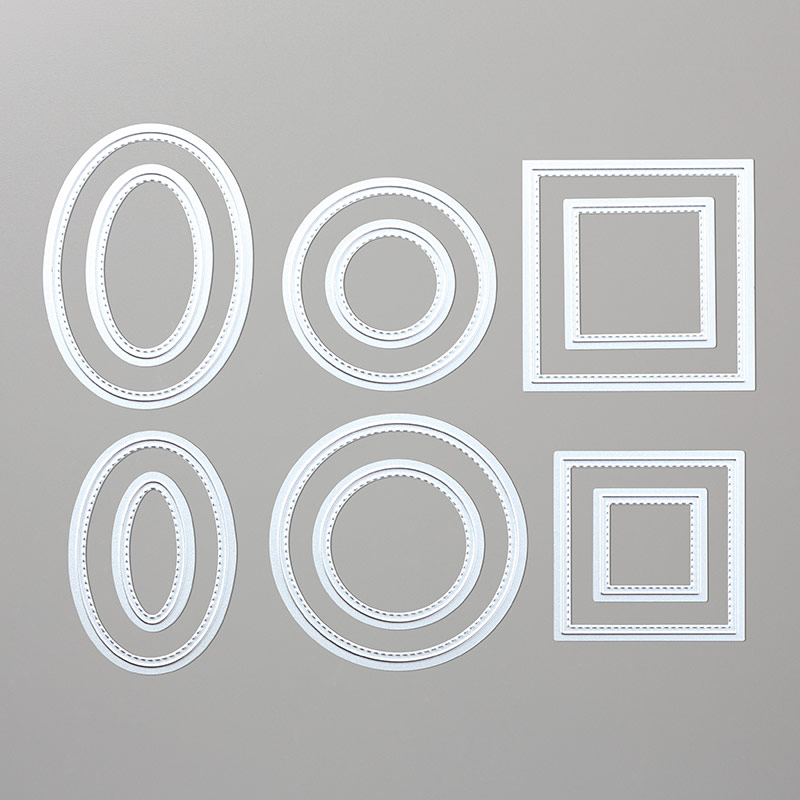
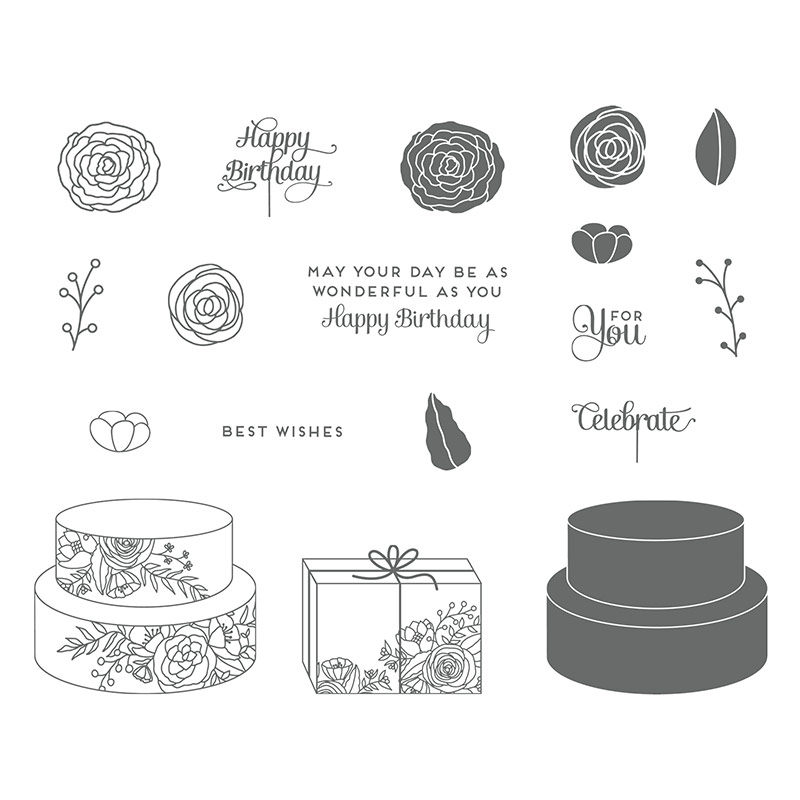
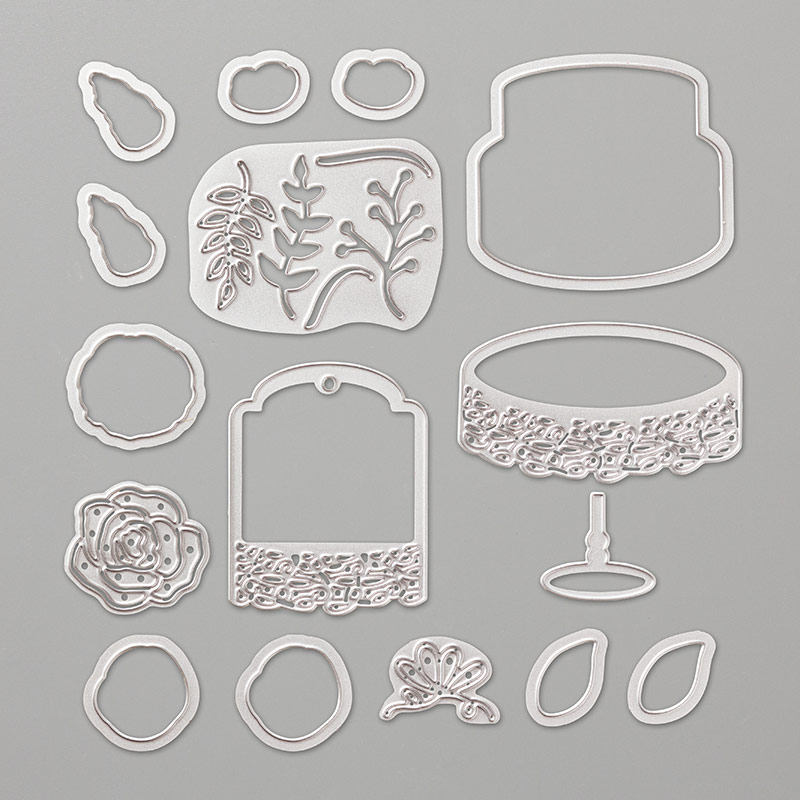
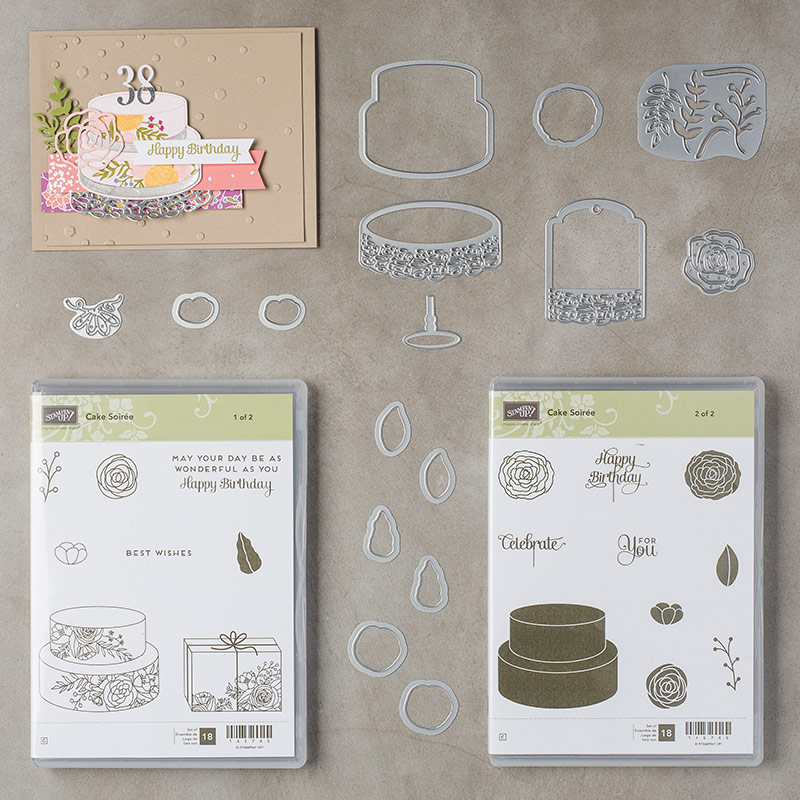
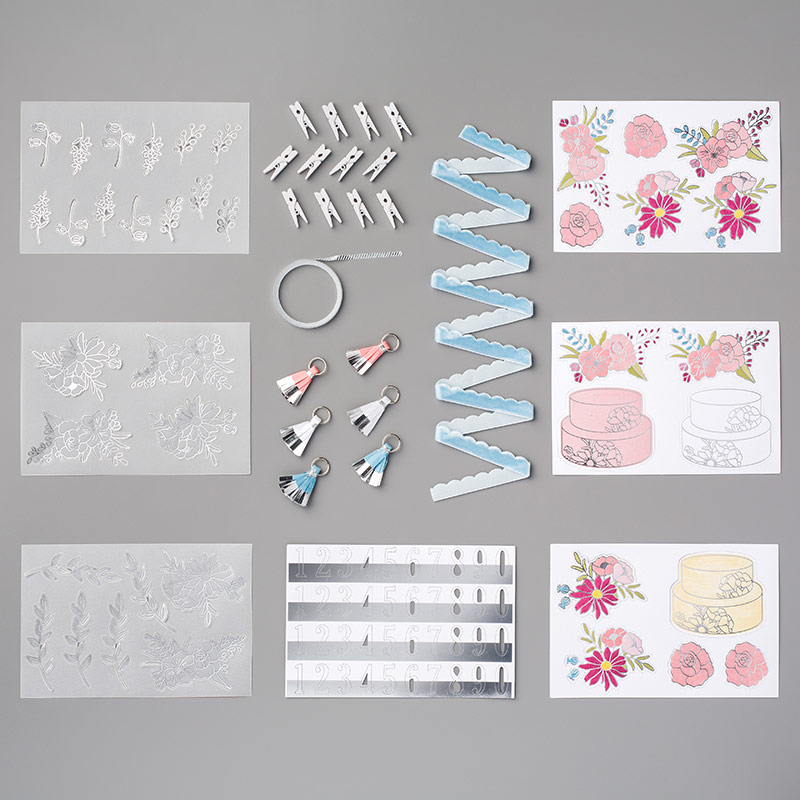
As soon as I saw this suite in the Spring/Summer catalogue I loved it. So many beautiful things! As well as the stamp set and dies – which are available as a bundle with 10% off – there are lots of other goodies in this suite.

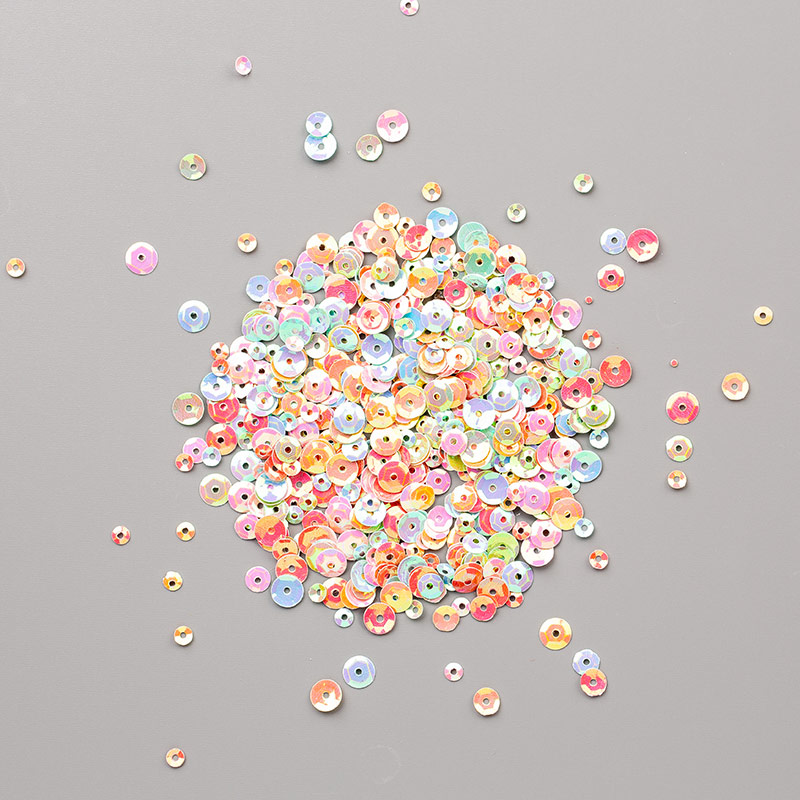
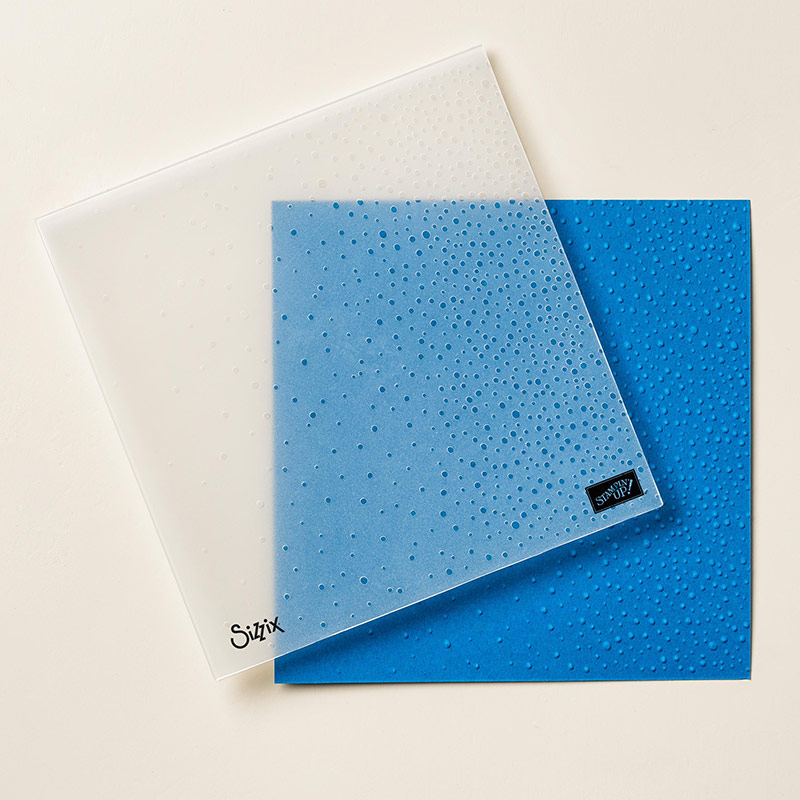
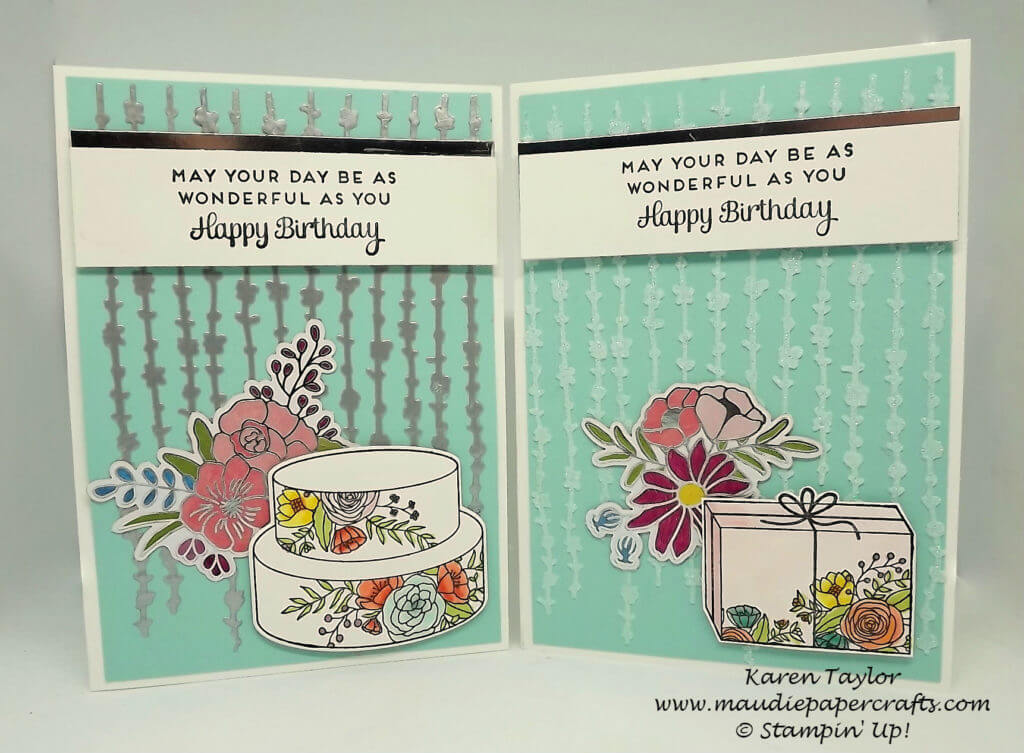
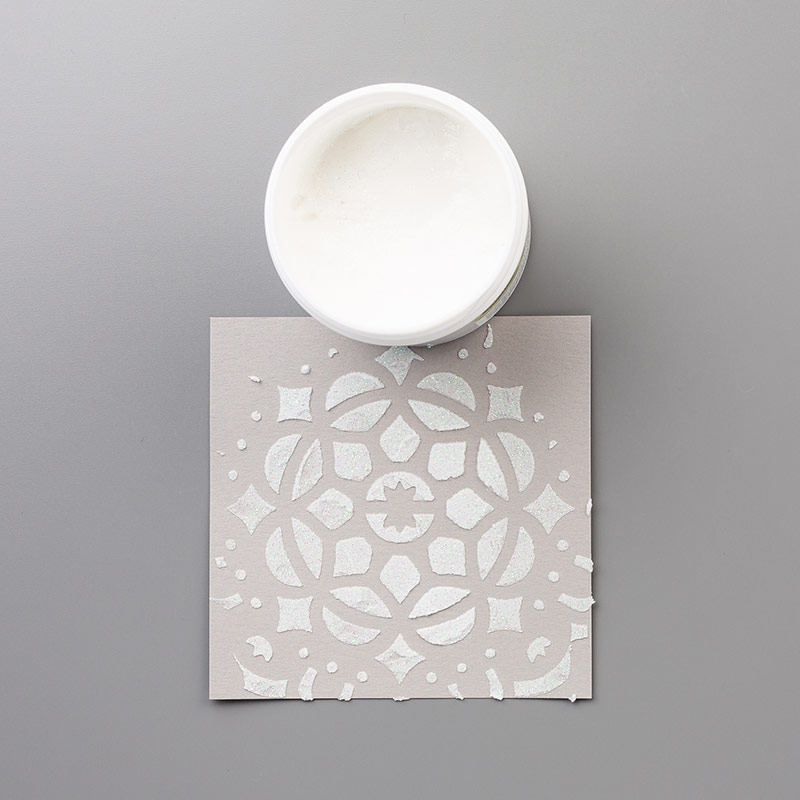
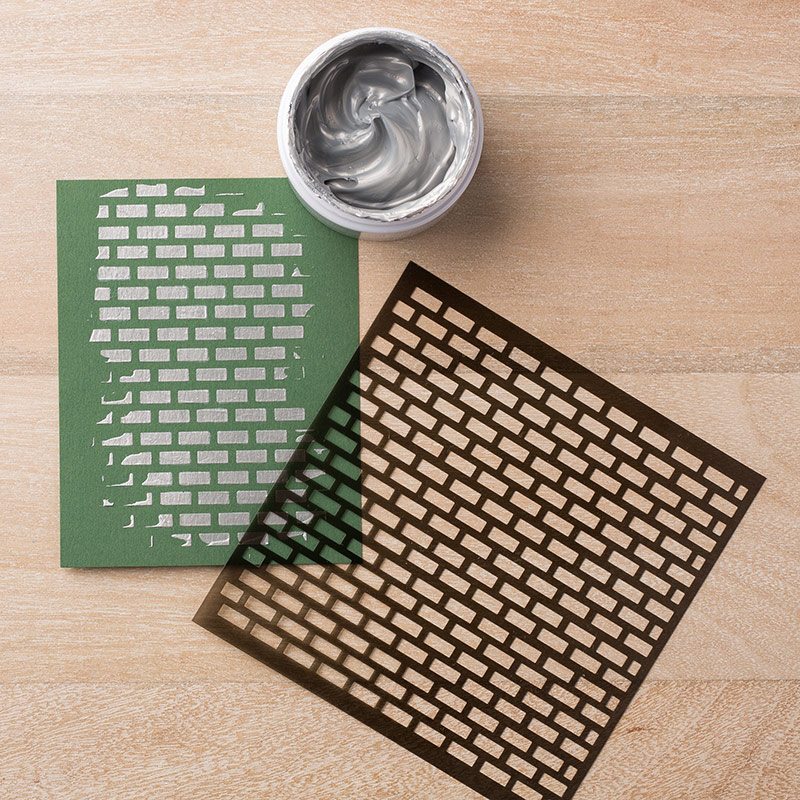
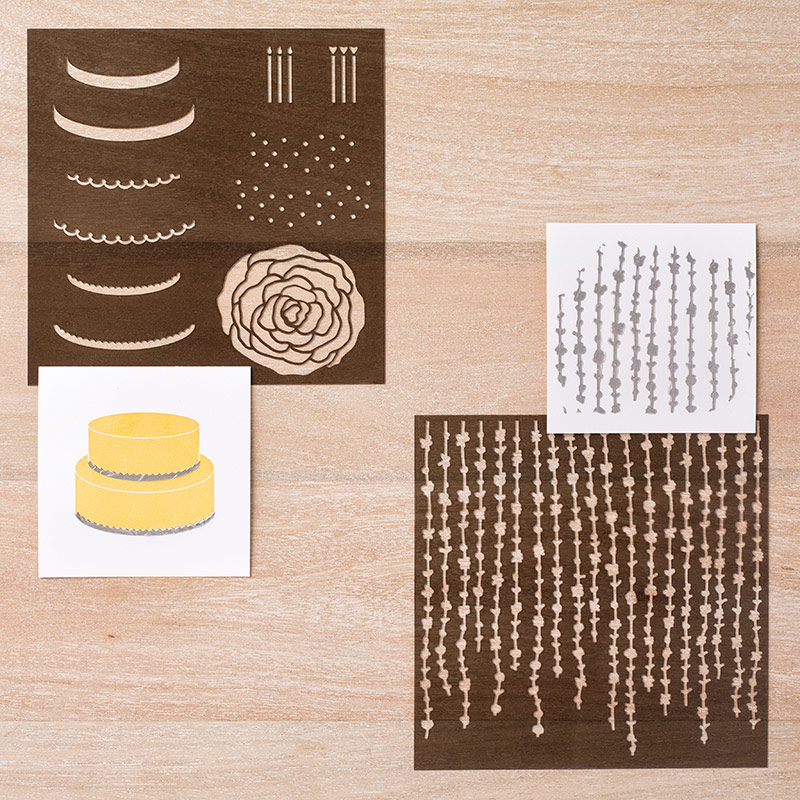
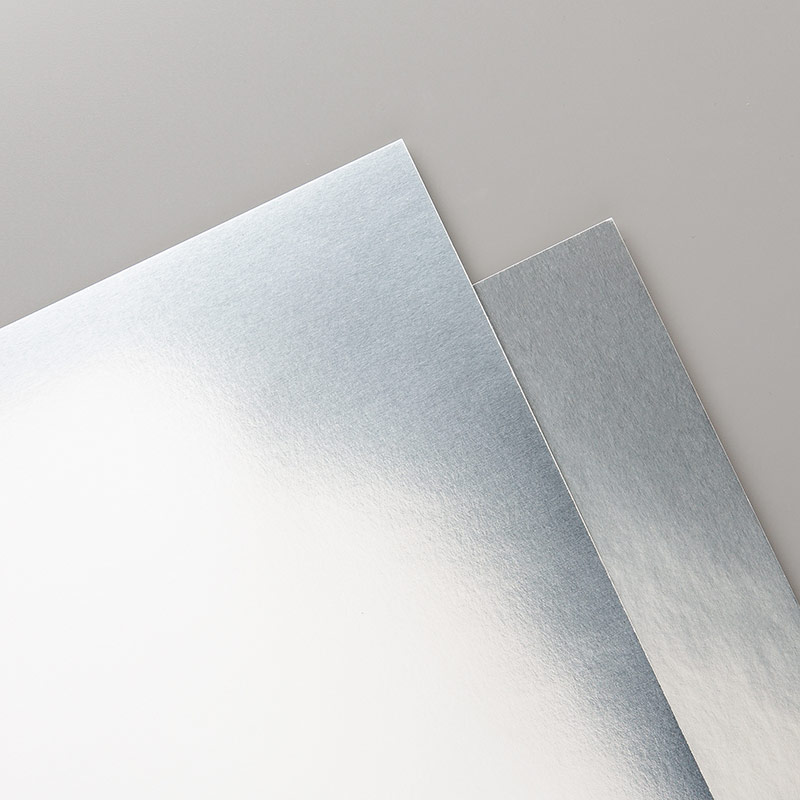
I’ve used some of them on these cards. Two new embossing pastes, Shimmery White and Silver, together with one of the new Sweet Soirée decorative masks. And the flowers are from the new Sweet Soirée Embellishment kit.

Stampin' Up! Cake Soirée


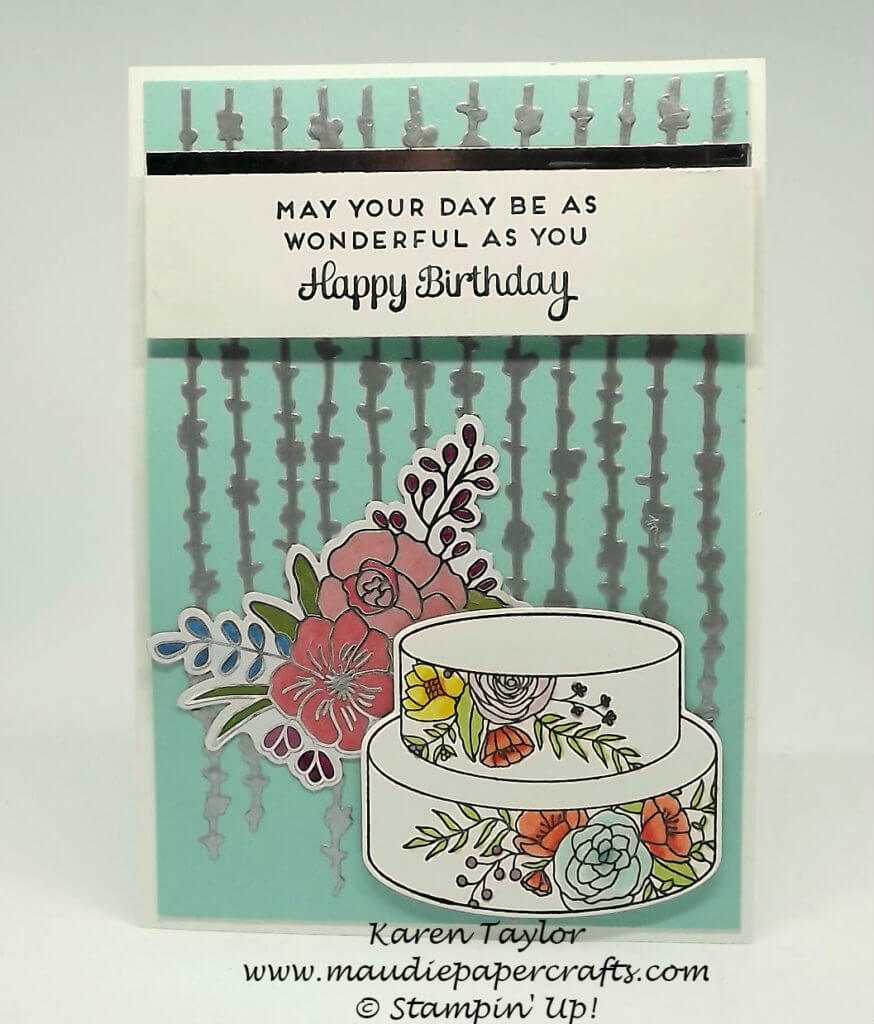
The silver embossing paste which I used on the card with the cake is slightly more liquid than the embossing paste from the annual catalogue, and I found it took longer to dry. But it wasn’t a problem.

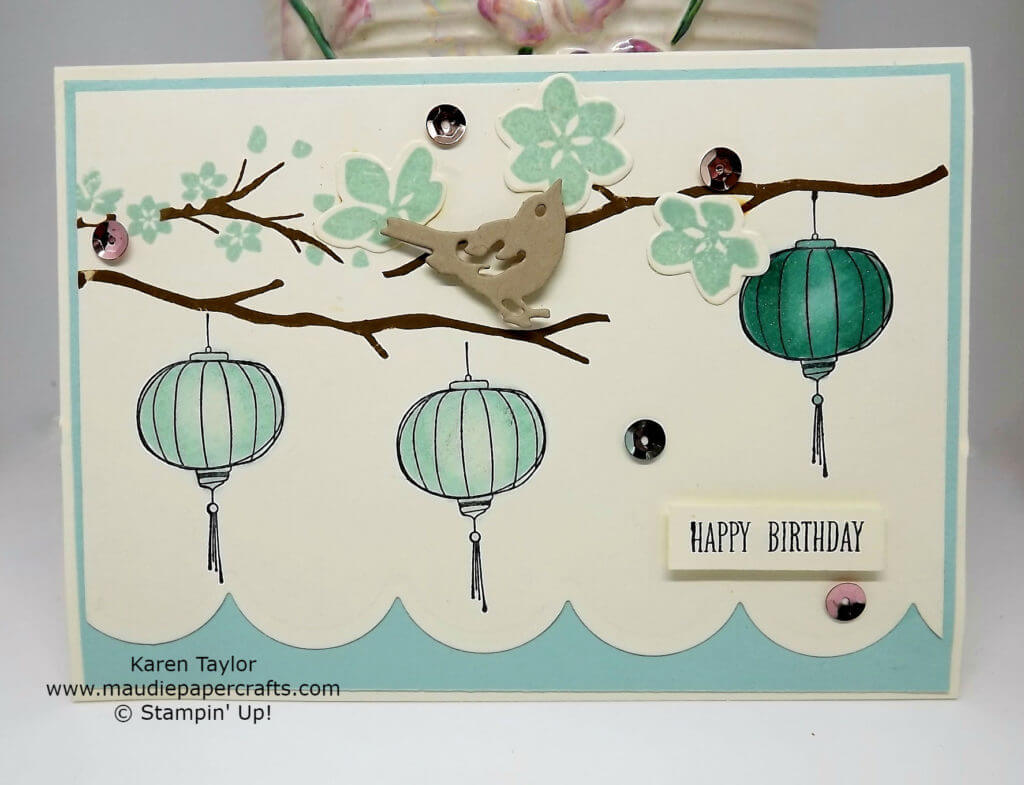
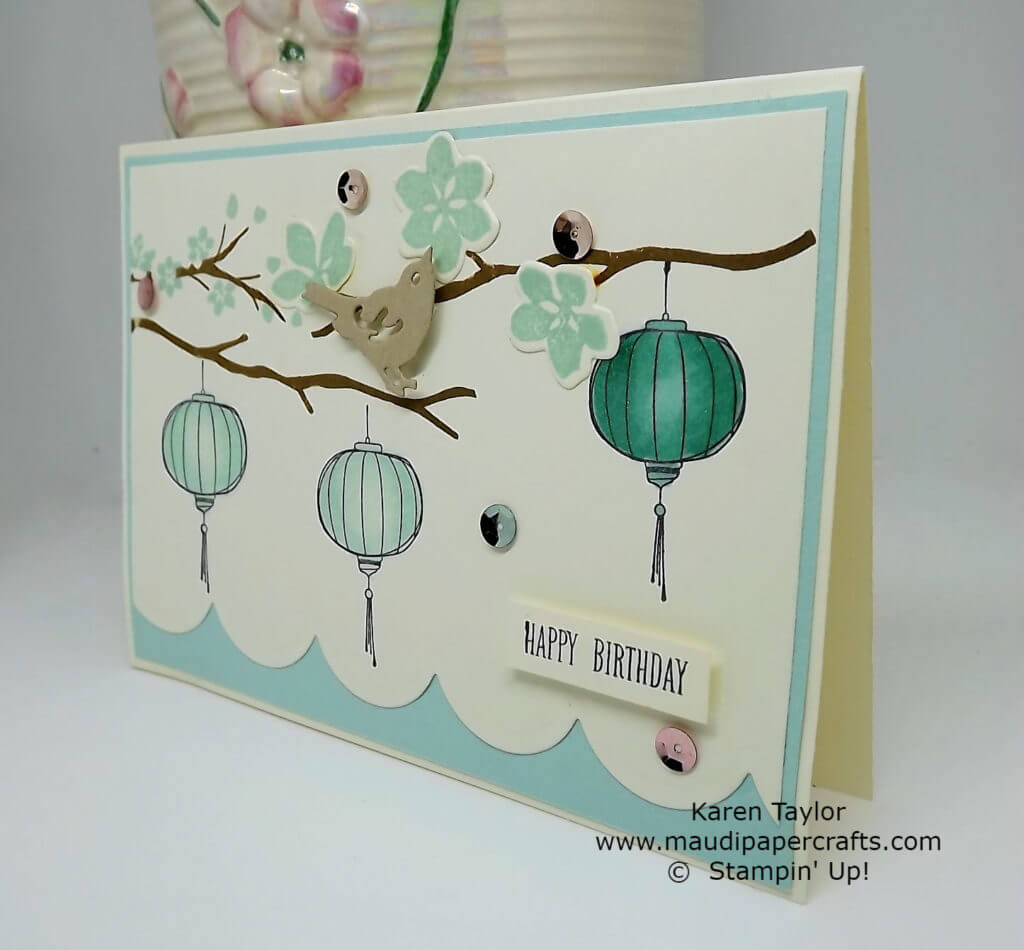
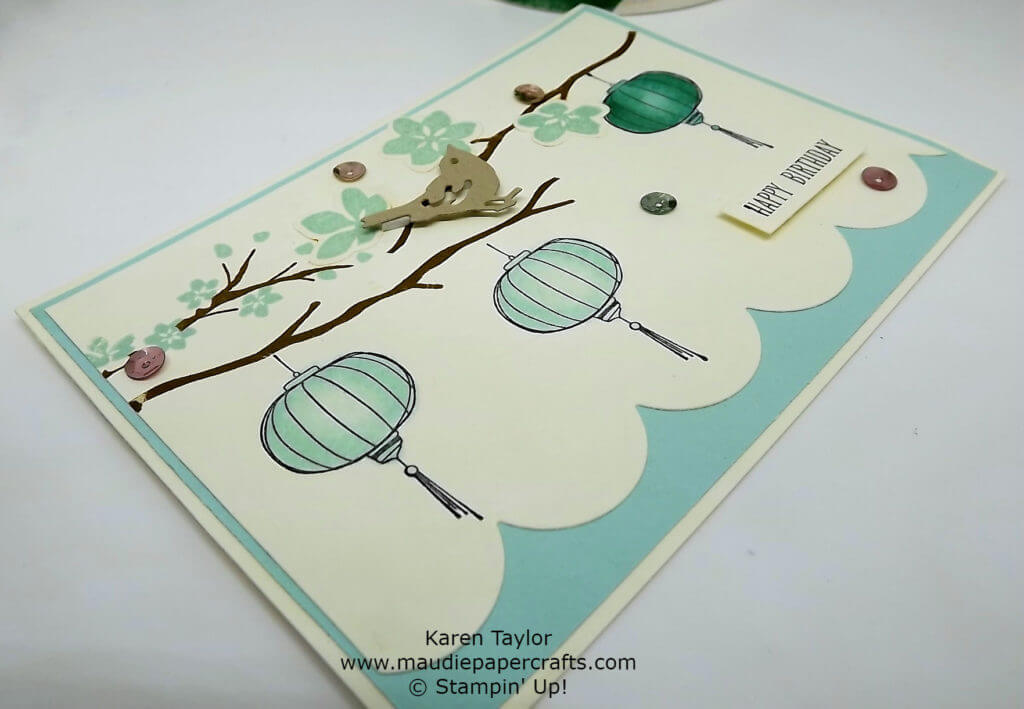
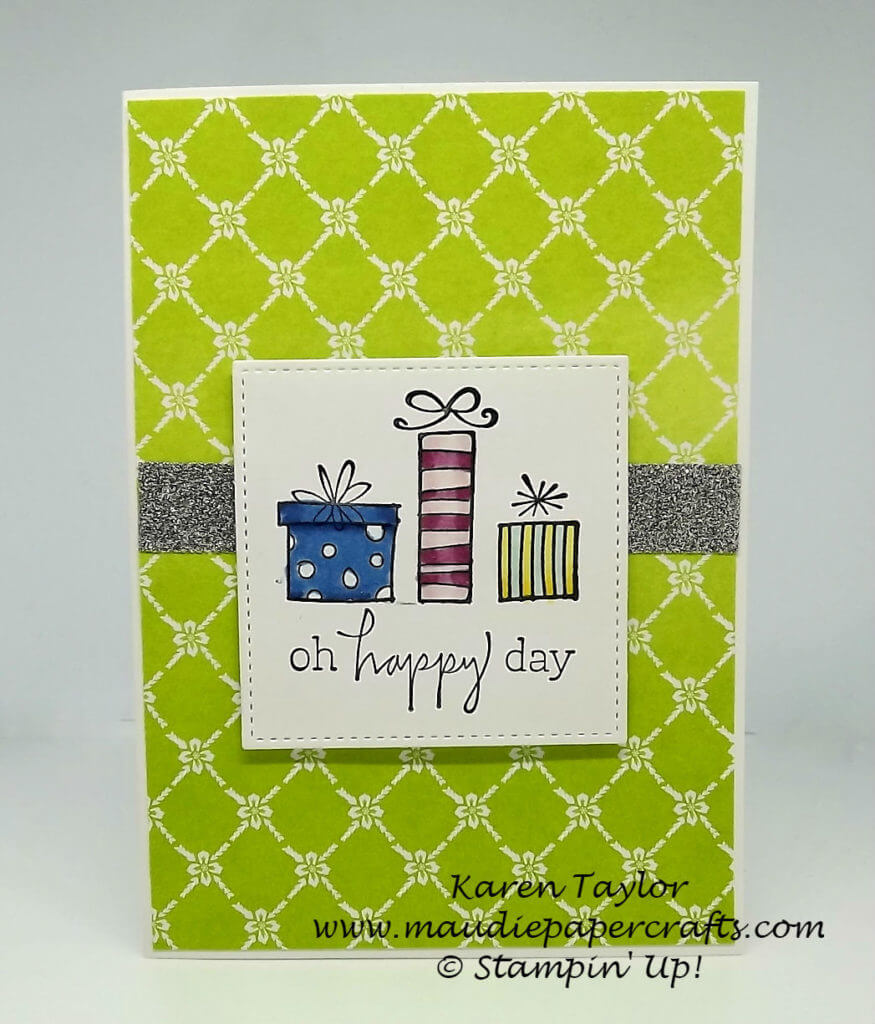
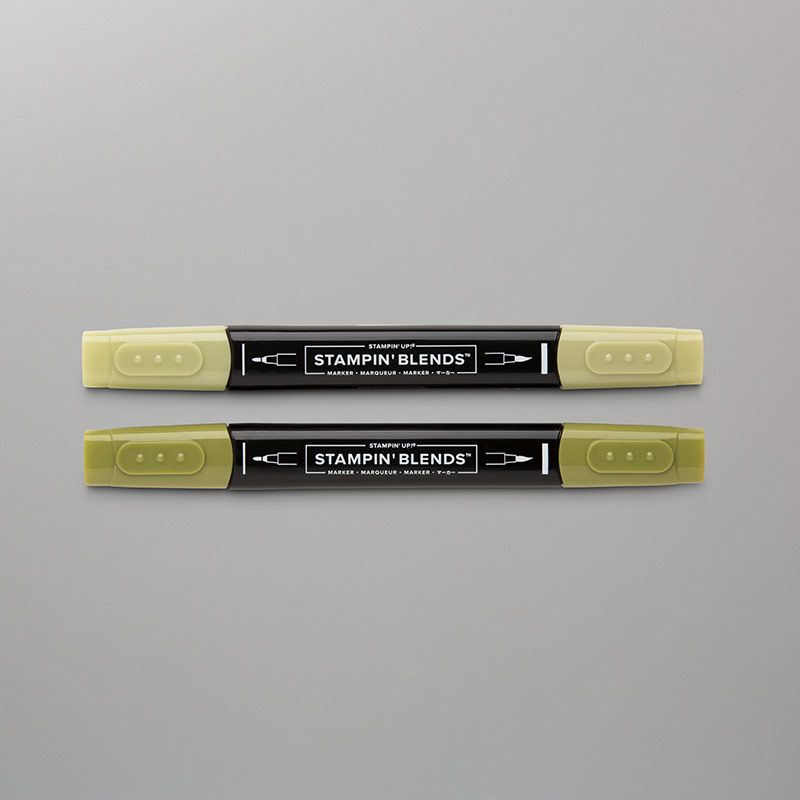
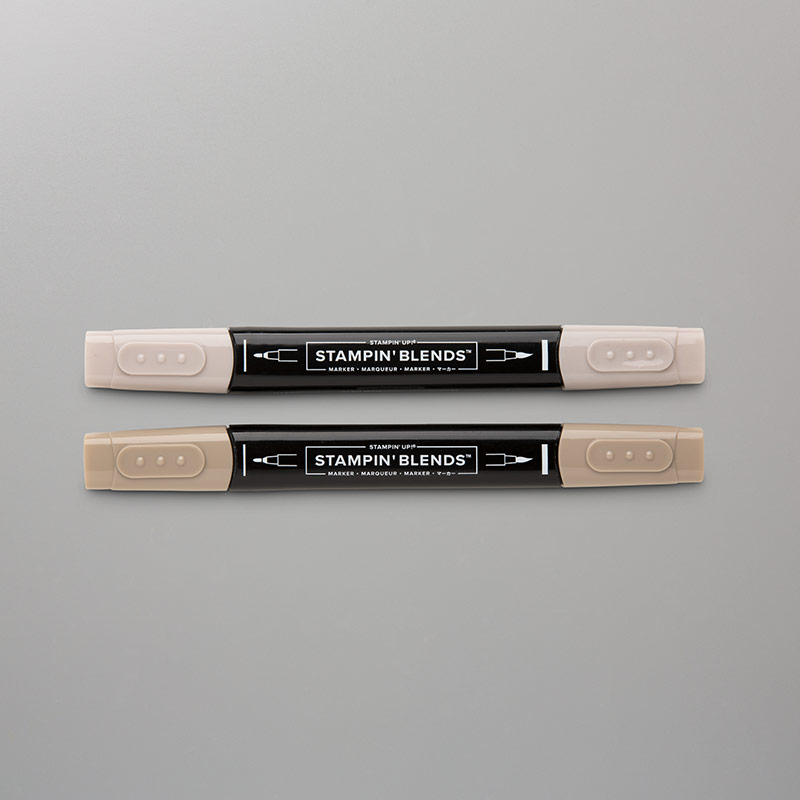
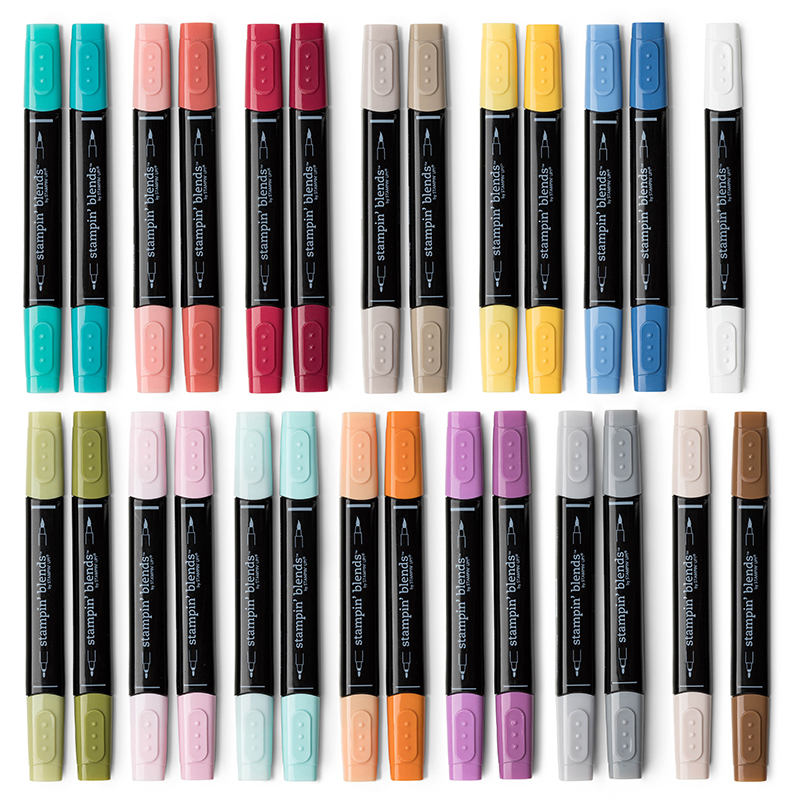
The cake and present I coloured using Blends pens, and added some Wink of Stella which you can’t see in the photos. I popped them up on dimensionals and in real life they do really stand out in front of the flowers which I glued to the card.

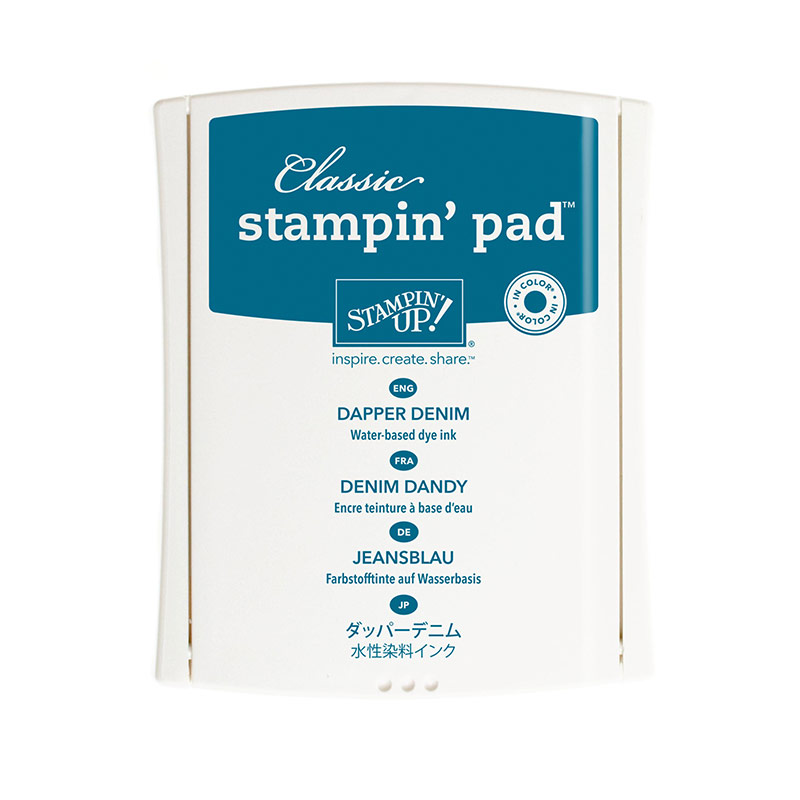
I used Pool Party card for the background because I thought the silver and shimmery white would look good on it, but other colours would look just as good I’m sure.

Stampin' Up! Cake Soiree

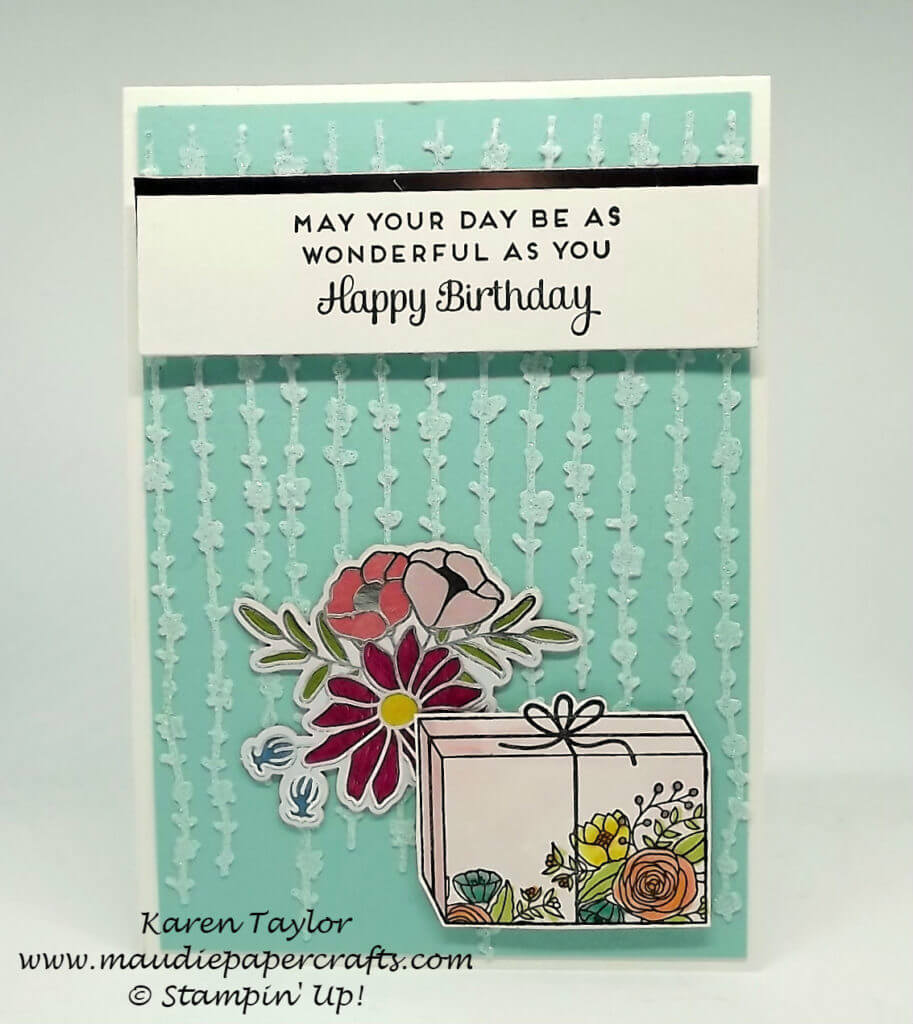
There’s no die for the present but it’s not difficult to fussy cut out. And that Shimmery White embossing paste really is very shimmery and beautiful, the photo doesn’t do it justice.

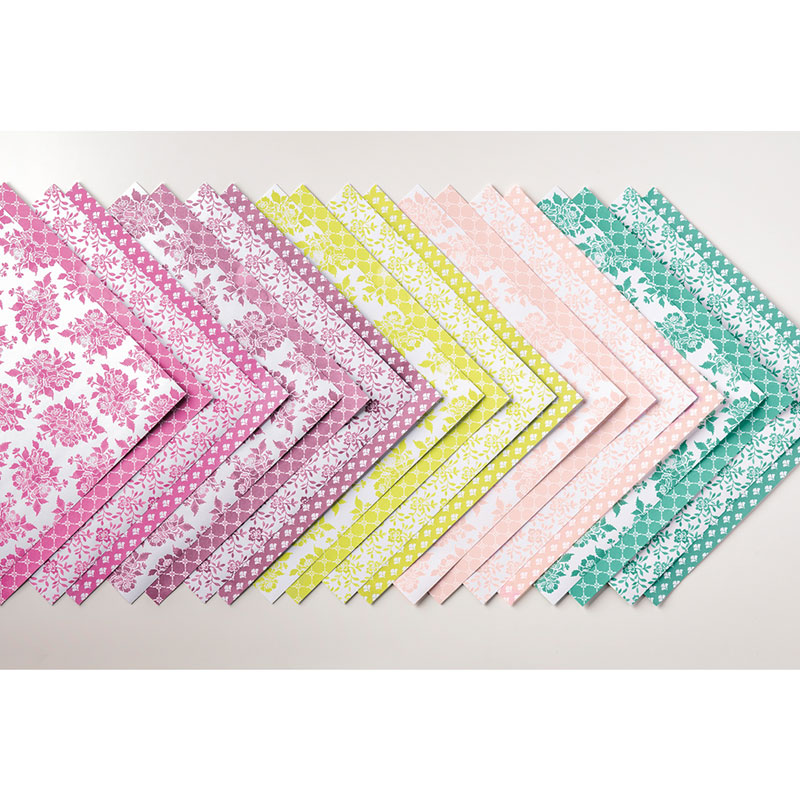
I didn’t use the absolutely beautiful Sweet Soirée DSP here, I’ll save that for another time!

You can hop to the Next blog by clicking below:

Here’s what I used to make this card

Table built using Product Table Builder by The Crafty Owl – Independent Stampin’ Up! Demonstrator.

Stampin’ Up! Sale-a-bration Panda card

It’s the second week of my time as guest designer for the Daring Cardmakers, and this week’s challenge was Black and White with a pop of colour.

So, of course that meant pandas:

This wonderful set is part of Sale-a-bration – you can’t buy the set, you can only get it free! How great is that. Spend €60/£45 and this set could be yours.

It’s a simple card as you can see. I used Memento Tuxedo Black for the pandas, and orange balloon, hat and tiny heart on the envelope I used Pumpkin Pie blends pens – both light and dark.

Stampin' Up! Sale-a-bration Panda card

You can do so much with this stamp set – look our for more cards from me using it.

If you have any questions about Sale-a-bration and how to get this set free please contact me.

Don’t forget to go to the Daring Cardmakers to see what the others have made!


Table built using Product Table Builder by The Crafty Owl – Independent Stampin’ Up! Demonstrator.

Stampin’ Up! Join the Fun!

Sale-a-bration is a great time for joining Stampin’ Up! As well as the usual great deal – €175/£130 worth of products of your choice for just €129/£99 you get 2 extra free stamp sets!

That’s any 2 stamp sets from the Annual or Spring/Summer catalogue – how great is that. You’ll also get a starter business kit of catalogues, invitations, order forms etc, plus there’s no postage to pay.

If that wasn’t enough, then you have until the end of June to make your first quarterly minimums because the first quarter is free. And don’t forget that you’ll get your demonstrator’s discount on all your purchases.

Whether you want to be a hobby demo or make a business of it, now is a great time to join. There’s no pressure from Stampin’ Up!, and if you feel it isn’t for you, then you just drop, there’s no penalty, you keep all your products.

If you live in France, the UK, the Netherlands, Germany or Austria then I’d love to have you on my team.

If you have any questions please feel free to contact me. Or, if you’re ready to join, just click HERE

Stampin’ Up! Birthday card using Colorful Seasons and Color me Happy

I’m super excited today because my card was designed for the Daring Cardmakers. I am a guest designer for them for January and February – how good is that! Check out the other designers and what the Daring Cardmakers are all about HERE

This week we were challenged to make a card using this picture for inspiration:

And here is my card:

Stampin Up Color Me Happy and Colorful Seasons

I’ve used a Very Vanilla base for this card, and Pool Party for the blue.  I used two stamp sets – Colorful Seasons and Color Me Happy.

The little bird is from the Birds and Blooms thinlits, and the scalloped edge die is from the Seasonal Layers thinlits that goes with the Colorful Seasons stamp set.

Stampin' Up! Color Me Happy and Colourful Seasons

I used Pool Party and Bermuda Bay blends for the lanterns, then added some Wink of Stella, but that doesn’t show up well in the photo.

I think this card looks quite peaceful which I’m pleased with. It’s not at all the card that I set out to make, but that’s OK, I’m happy with it anyway.

Don’t forget to come back next Friday to find out what the next Daring Cardmakers challenge is.

Stampin' Up! Color Me Happy and Colorful Seasons

A word about Sale-a-bration. From now until the end of March you can earn free products for each €60/£45 you spend.

There’s also a great joining offer. Choose any products you like up to a value of €175/130 and pay just €129/£99 – you get free postage on your first parcel, plus catalogues and other things to help your business if that’s what you want. PLUS, during Sale-a-bration you can choose an extra 2 stamp sets free!


Table built using Product Table Builder by The Crafty Owl – Independent Stampin’ Up! Demonstrator.

Pootler’s Blog Hop, Picture Perfect Birthday card from Stampin’ Up!

Today’s post is part of the Pootler’s Blog hop, organised by the lovely Hannah. We’re featuring new products from the Spring/Summer catalogue, and we’d love it if you  have time to hop around everyone.

My choice for this hop is a stamp set right at the beginning of the catalogue – Picture Perfect Birthday. It was those two step bows that drew me to it, so they had to feature prominently on my card.

Stampin' Up! Picture Perfect Birthday card

The stamp set has lots of images and sentiments, all great for birthdays. I used Lemon Lime Twist, Tempting Turquoise and Powder Pink for the main colours.

When choosing your colours, make sure you have a co-ordinating darker colour to hand  for the darker inside bits of the bows. I found that they take a bit of practice to line up, but once you’ve worked it out it really makes the bows pop.

Here’s a close up of the stamp set:

Stampin' Up! Picture Perfect Birthday card

I painted each bow with my Wink of Stella pen to add some sparkle, but it doesn’t show up well on the photos.

I have lots more cards lined up for this stamp set – candles, confetti, hooters – so make sure to come back and see what I’ve made (or just subscribe to my blog and get it delivered to your Inbox).

Stampin' Up! Picture Perfect Birthday card

Don’t forget that Sale-a-bration has started now! From now until the end of March you can choose an item FREE from the Sale-a-bration brochure for every £45/€60 you spend. So the more you spend, the more free stuff you get. Yippee!

Here are the rest of the blogs on this blog hop – be sure to take a look at the wonderful creations!


Table built using Product Table Builder by The Crafty Owl – Independent Stampin’ Up! Demonstrator.

Stampin’ Up! Spring Summer catalogue and Sale-a-bration

Happy days! The new Spring Summer catalogue, and Sale-a-bration brochures are now live.

Download your copy here:

In case you’ve never seen the Sale-a-bration promotion before let me explain how you can get FREE goodies!

From now until the end of March, for every €60/£45 you spend you get to choose a free item from the Sale-a-bration brochure. These items can’t be bought, they are free items. This year Stampin’ Up! have changed things a little and there a couple of items that are only available if you spend €120/£90 – one of these items is a set of dies.

You can choose items from the Annual catalogue or Spring Summer catalogue, they all qualify towards you free stuff. The only restriction is that to qualify for free products you have order enough each time, it’s not a cumulative thing.

If you have any questions please ask!

This little video shows some of the products from the new Spring Summer catalogue.


Stampin’ Up! Another Happiest of Days birthday card

Today’s card uses the Happiest of Days card like the last post, but in a completely different way. I’ve used the Lemon Lime Twist DSP from the Fresh Florals pack to make a very cheerful card.

Stampin' Up! Happiest of Days birthday card

And like there had to be cake on the last cards, there had to be presents on this one. Once again I used Stamin’ Blends to colour them in – I can’t stop using those pens!

There’s not much more to it. I die cut the presents using the Stitched Shapes Framelits and popped it up on the background.

Stampin' Up! Happiest of Days birthday card

I don’t know what I’ll be posting next – sneak peek or not? You’ll have to wait and see.

Here’s both types of card I made with this lovely stamp set.

Stampin' Up! Happiest of Days birthday card

Back soon!

Here’s what I used to make this card:


Table built using Product Table Builder by The Crafty Owl – Independent Stampin’ Up! Demonstrator.

Stampin’ Up! Happiest of Days card with vellum

Stampin' Up! Happiest of Days card with vellum

Back to the annual catalogue today so that I can use the beautiful Happiest of Days stamp set. I love the whimsy of it, and you can do lots with it.

For these cards I used the rose stamp to make a background. Then I coloured each rose with the Blends markers – Pink Pirouette, Old Olive and Pool Party.

Stampin' Up! Happiest of Days card with vellum

Because I liked the background I didn’t want to cover it up too much so I used a vellum strip heat embossed with the sentiment – that way you can still see what’s below.

There had to be cake! So I stamped and coloured it using Crumb Cake and Daffodil Delight. I used the darker pens at the side to try to give the cake a rounded look.

Stampin' Up! Happiest of Days card with vellum

I took one of these cards in pink to a craft fair the other week and sold it straight away. So I made these and my husband chose it to send to his sister. Obviously I’m not the only one who likes the set.

Plus, it’s another one of the few where I know I’ll use all the stamps which is always a bonus. Next time I have another card made with this set using a different stamp.


Table built using Product Table Builder by The Crafty Owl – Independent Stampin’ Up! Demonstrator.

Stampin’ Up! Hearts Come Home Christmas card version 2

Stampin' Up! Hearts Come Home card with Maudiepapercrafts

So here it is, my last Christmas card this year. Unless I change my mind and make more of course, but that is unlikely.

Like my last post, these cards also use the Hearts Come Home stamp set, but this time I’ve teamed it with the Hometown Greeting edgelits. Aren’t those egdelits wonderful? Love them.

I used all three of the detailed dies for these cards, and layered them up. They are so cleverly done, with the top layer having a little gap so that the church spire from the next row down can fit in.

Stampin' Up! Hearts Come Home card with Maudiepapercrafts

For the sky I started with Pool Party card, then sponged some Dapper Denim on to it. It’s not completely smooth which gives it some dimension and it looks like a snowy sky I think.

You can see that I coloured the trees on one of the cards, and just added some Wink of Stella on the other.

Stampin' Up! Hearts Come Home card with Maudiepapercrafts

What took the most time when making these cards was popping out all the little bits from the die cuts!

What’s coming next? I don’t know, you’ll have to come back and see.


Table built using Product Table Builder by The Crafty Owl – Independent Stampin’ Up! Demonstrator.

Stampin’ Up! Hearts Come Home Christmas card

Stampin' Up! Hearts Come Home card from Maudiepapercrafts

This is the last but one Christmas card that I have to show you – if you haven’t made yours by now then you’re really leaving it til the last minute!

These cards use the Hearts Come Home stamp set. It’s available as a bundle with the Hometown Greetings Edgelits dies – buy the bundle and get 10% discount. See my next post for the Edgelits.

This is a simple card that looks great nonetheless. I die cut a circle from the Stiched Shape Framelits set and stamped in a house and trees from the stamp set. Not forgetting Santa of course!

Stampin' Up! Hearts Come Home card from Maudiepapercrafts

Then I added a silver or copper circle around it and put that on Whisper White mat that I had embossed using the Softly Falling embossing folder.

Add a heat embossed sentiment and you’re done!

Stampin' Up! Hearts Come Home card from Maudiepapercrafts

A little tip regarding the ink pads. My Real Red ink pad has always been so juicy that I’ve rarely used it. Well, I got fed up with that, what’s the point of having it and not using it? So, I ran the open pad across my grid paper to soak up some of the ink, and now it works like a dream!

So, if your ink pads seem a little juicy – if the bubble when you use them – try getting rid of some of the ink.

My next card also uses the Hearts Come Home stamp set with the matching edgelits.


Table built using Product Table Builder by The Crafty Owl – Independent Stampin’ Up! Demonstrator.