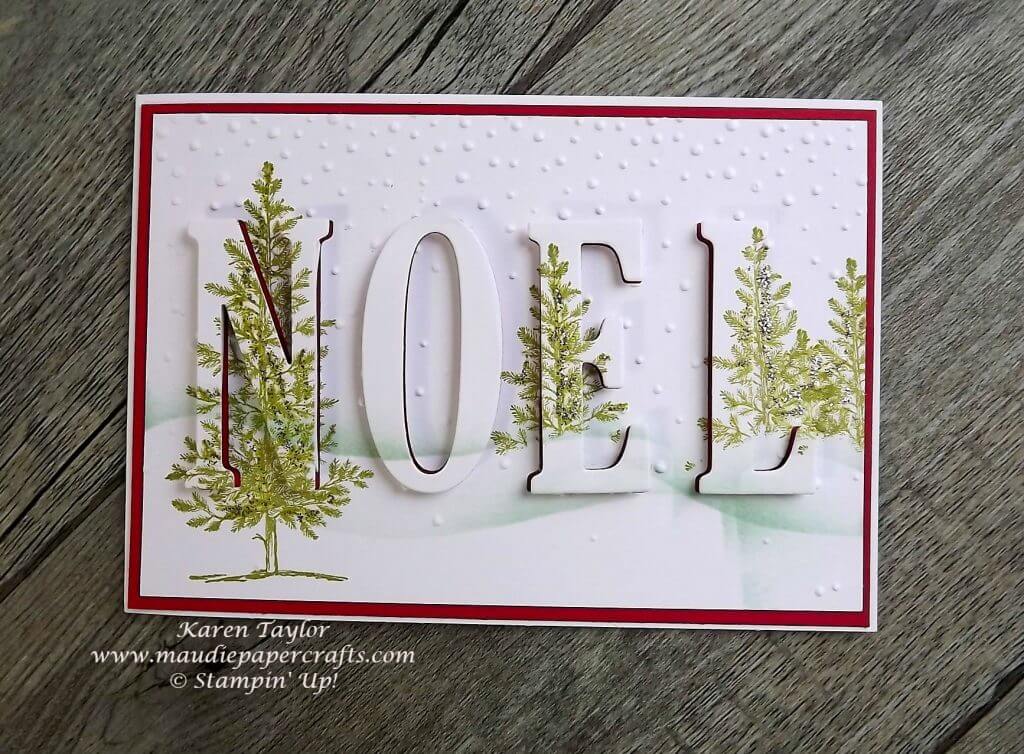
I wanted to make a Christmas card that used trees, and the only set I have that has trees is Lovely as a Tree. Then I wanted to use my lovely new Large Letters Framelits, and Softly Falling embossing folder. I had it all planned in my head, then found that Jan Clothier – a demo in New Zealand – had made the exact card that I had planned already! I guess that does happen sometimes.
This is such a striking card that I have made several to give to family members. You do need to make it in a certain way to get it all to work properly.
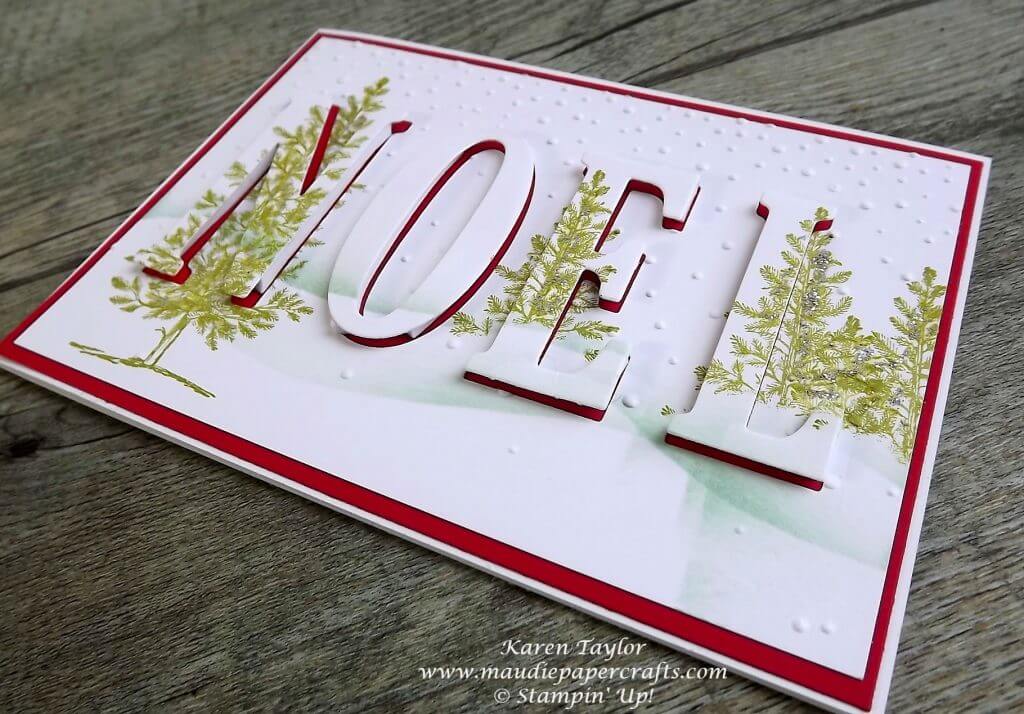
The first step is to blend in your snow banks, and then stamp your trees. I stamped mine so that that part of them would be cut out with the framelits.
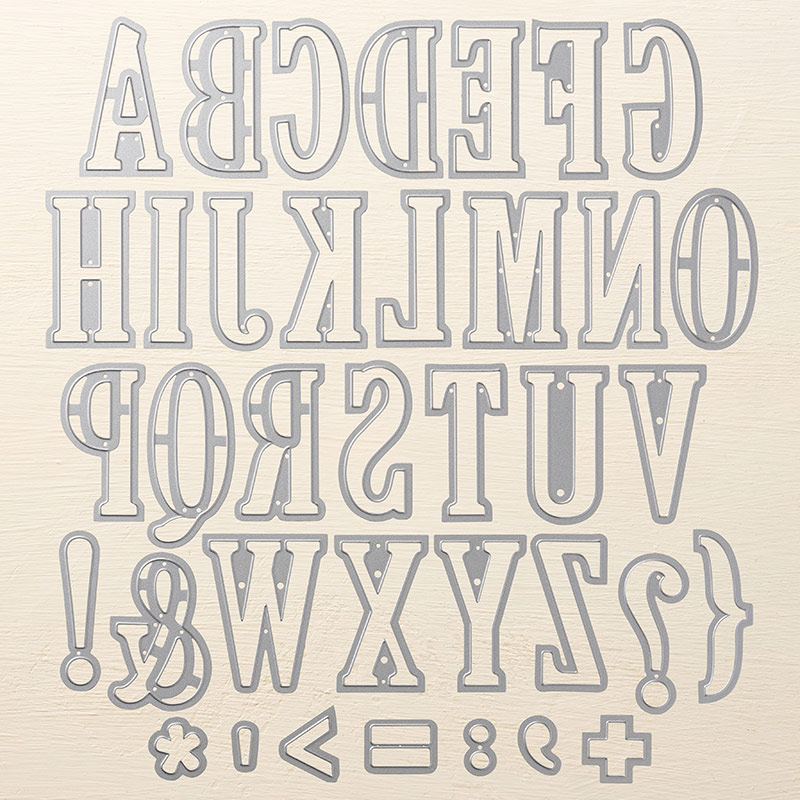
Then add the Noel word from you Large Letter Framelits and die cut it out, making sure to keep the middle bit from the O.
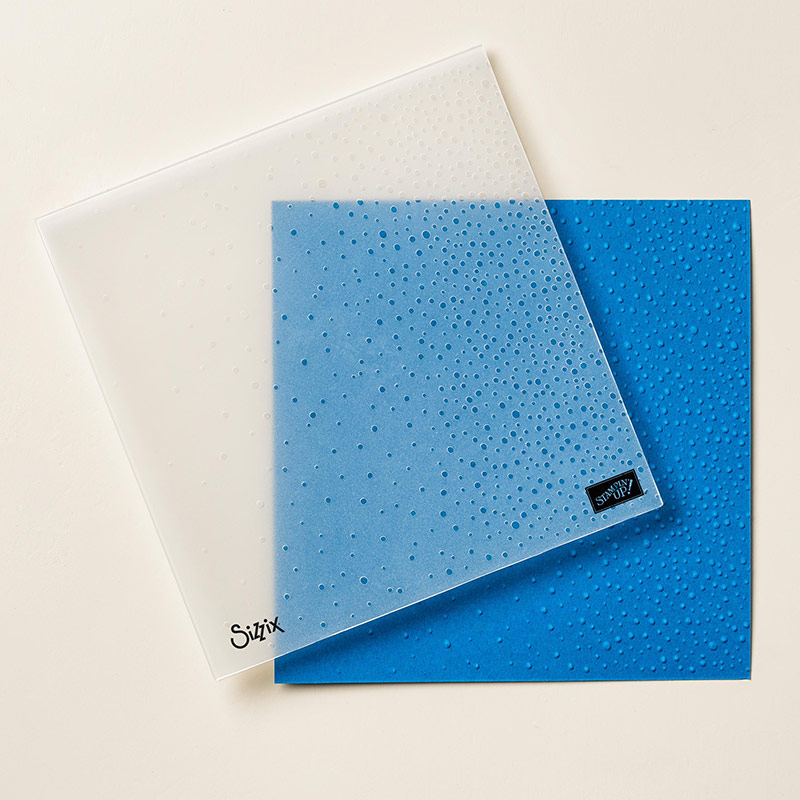
Then, use the Softly Falling embossing folder to emboss the snow. Put the middle bit from the O in somewhere so that it fits with everything else.
Then you can add back your letters to the card. I used a Real Red background to contrast against the white.
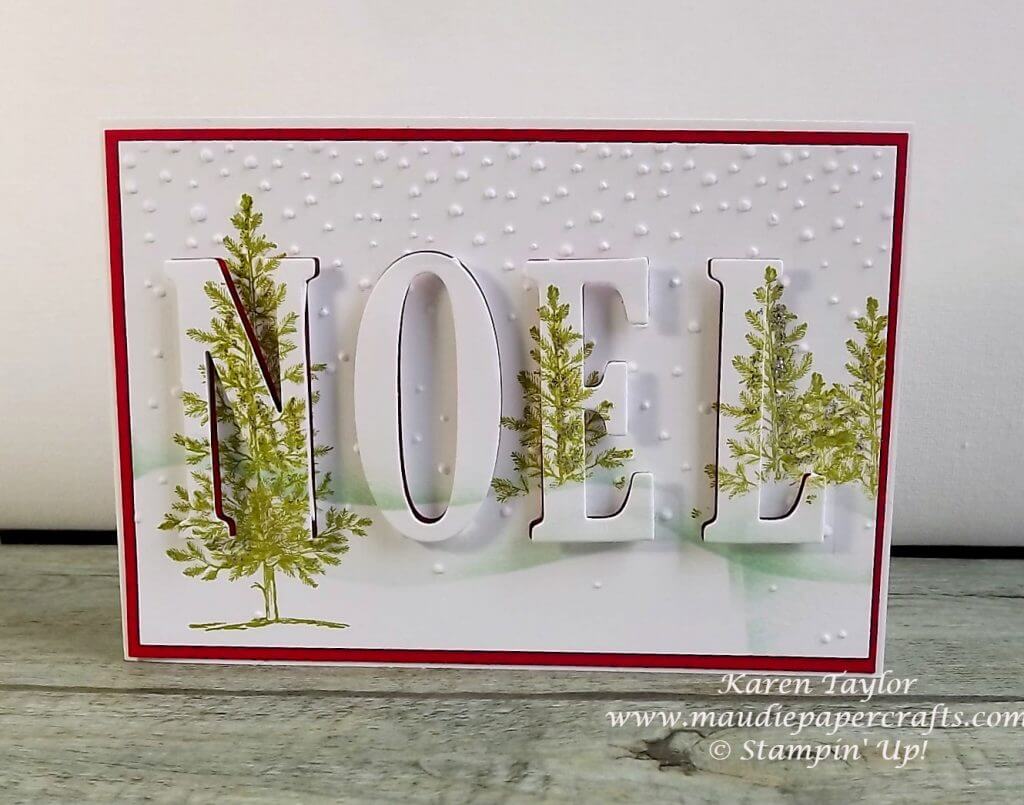
The last step was to add some glitter to the trees which doesn’t show up well in the photos, but does make a difference.
Hope you like it!
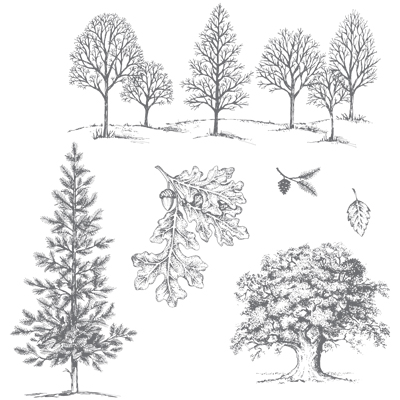
This is what I used to make the card:


My letters did NOT pop!! I used the small demensionals because they fit the letters….but the did not raise my letters enough….what am I doing wrong? Thank you
Kate
Hi Kate – I used the Foam Adhesive strips (p 203 of the catalogue). The strips are narrow but taller (thicker) than the dimensionals which made them pop a bit more. I’m sure your card looked lovely, even with less pop!
I cut another set of letters out of blank card and stuck them to the back of the stamped ones then used the mini dimensionals, either whole or strips cut from the edges. As I was sending the cards through the post that gave just enough lift for me. Hope that’s useful!!